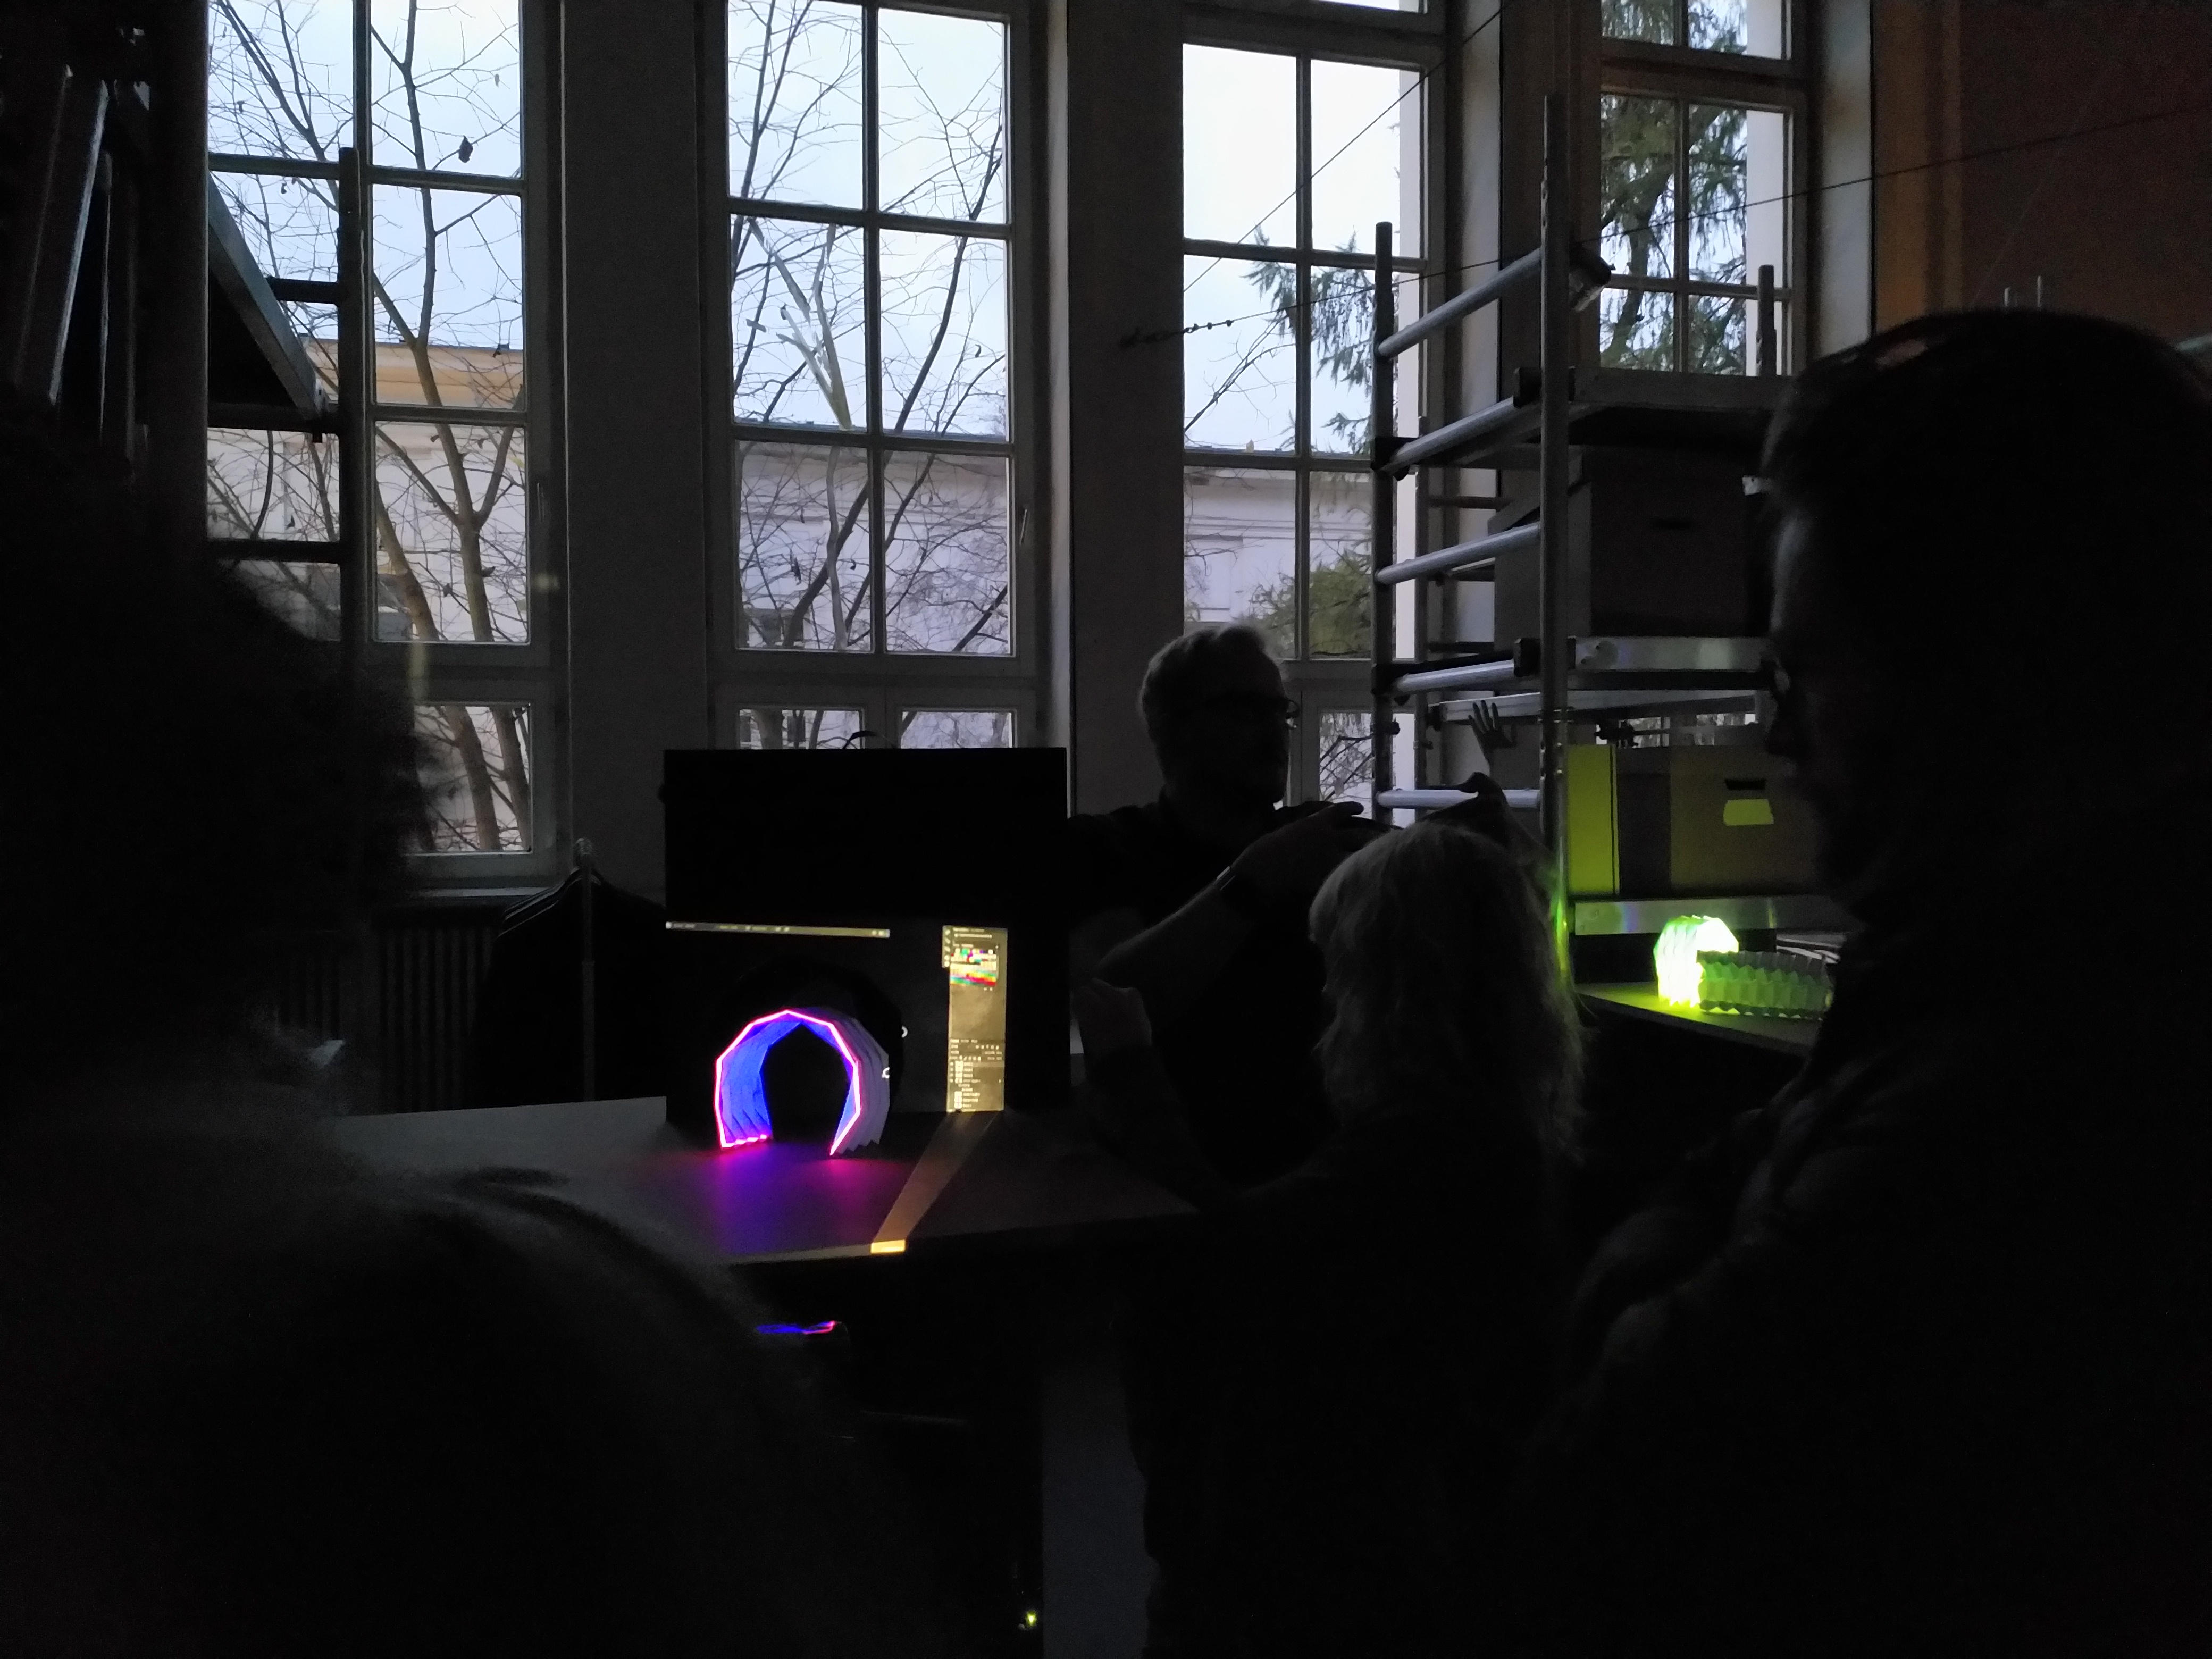
Table of Contents
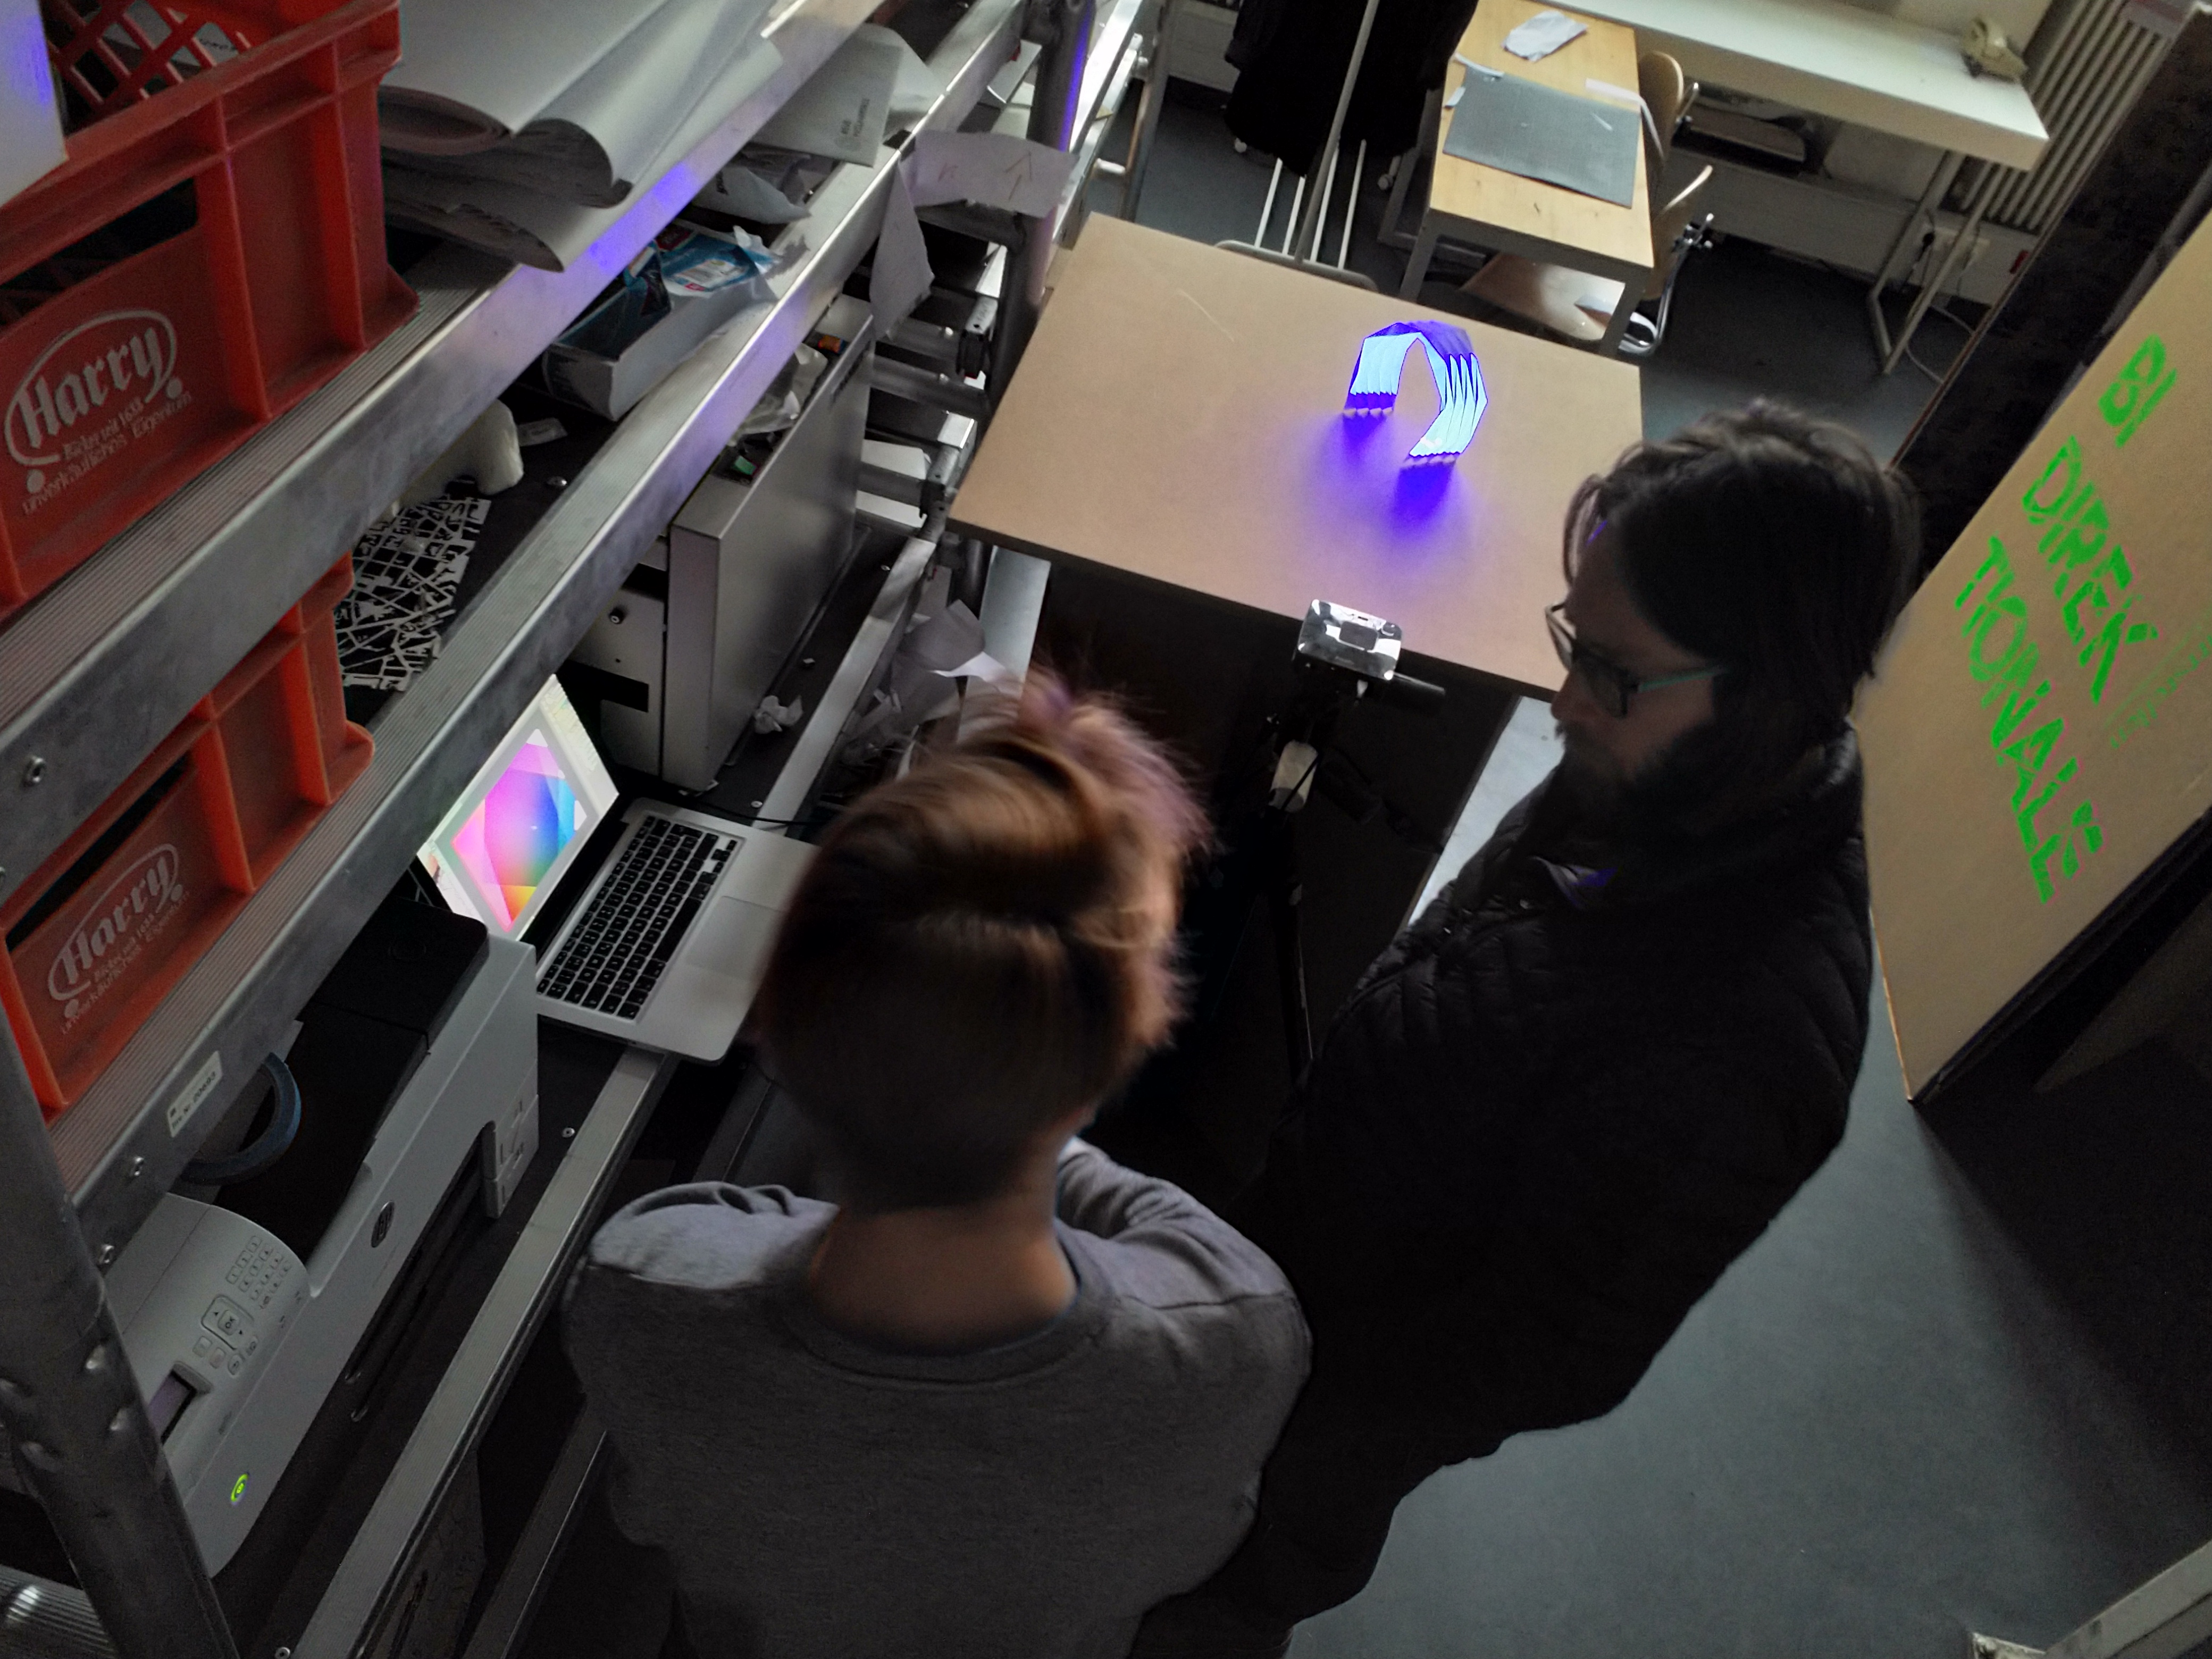
Workshop at University of the Arts Berlin | 1. December 2017
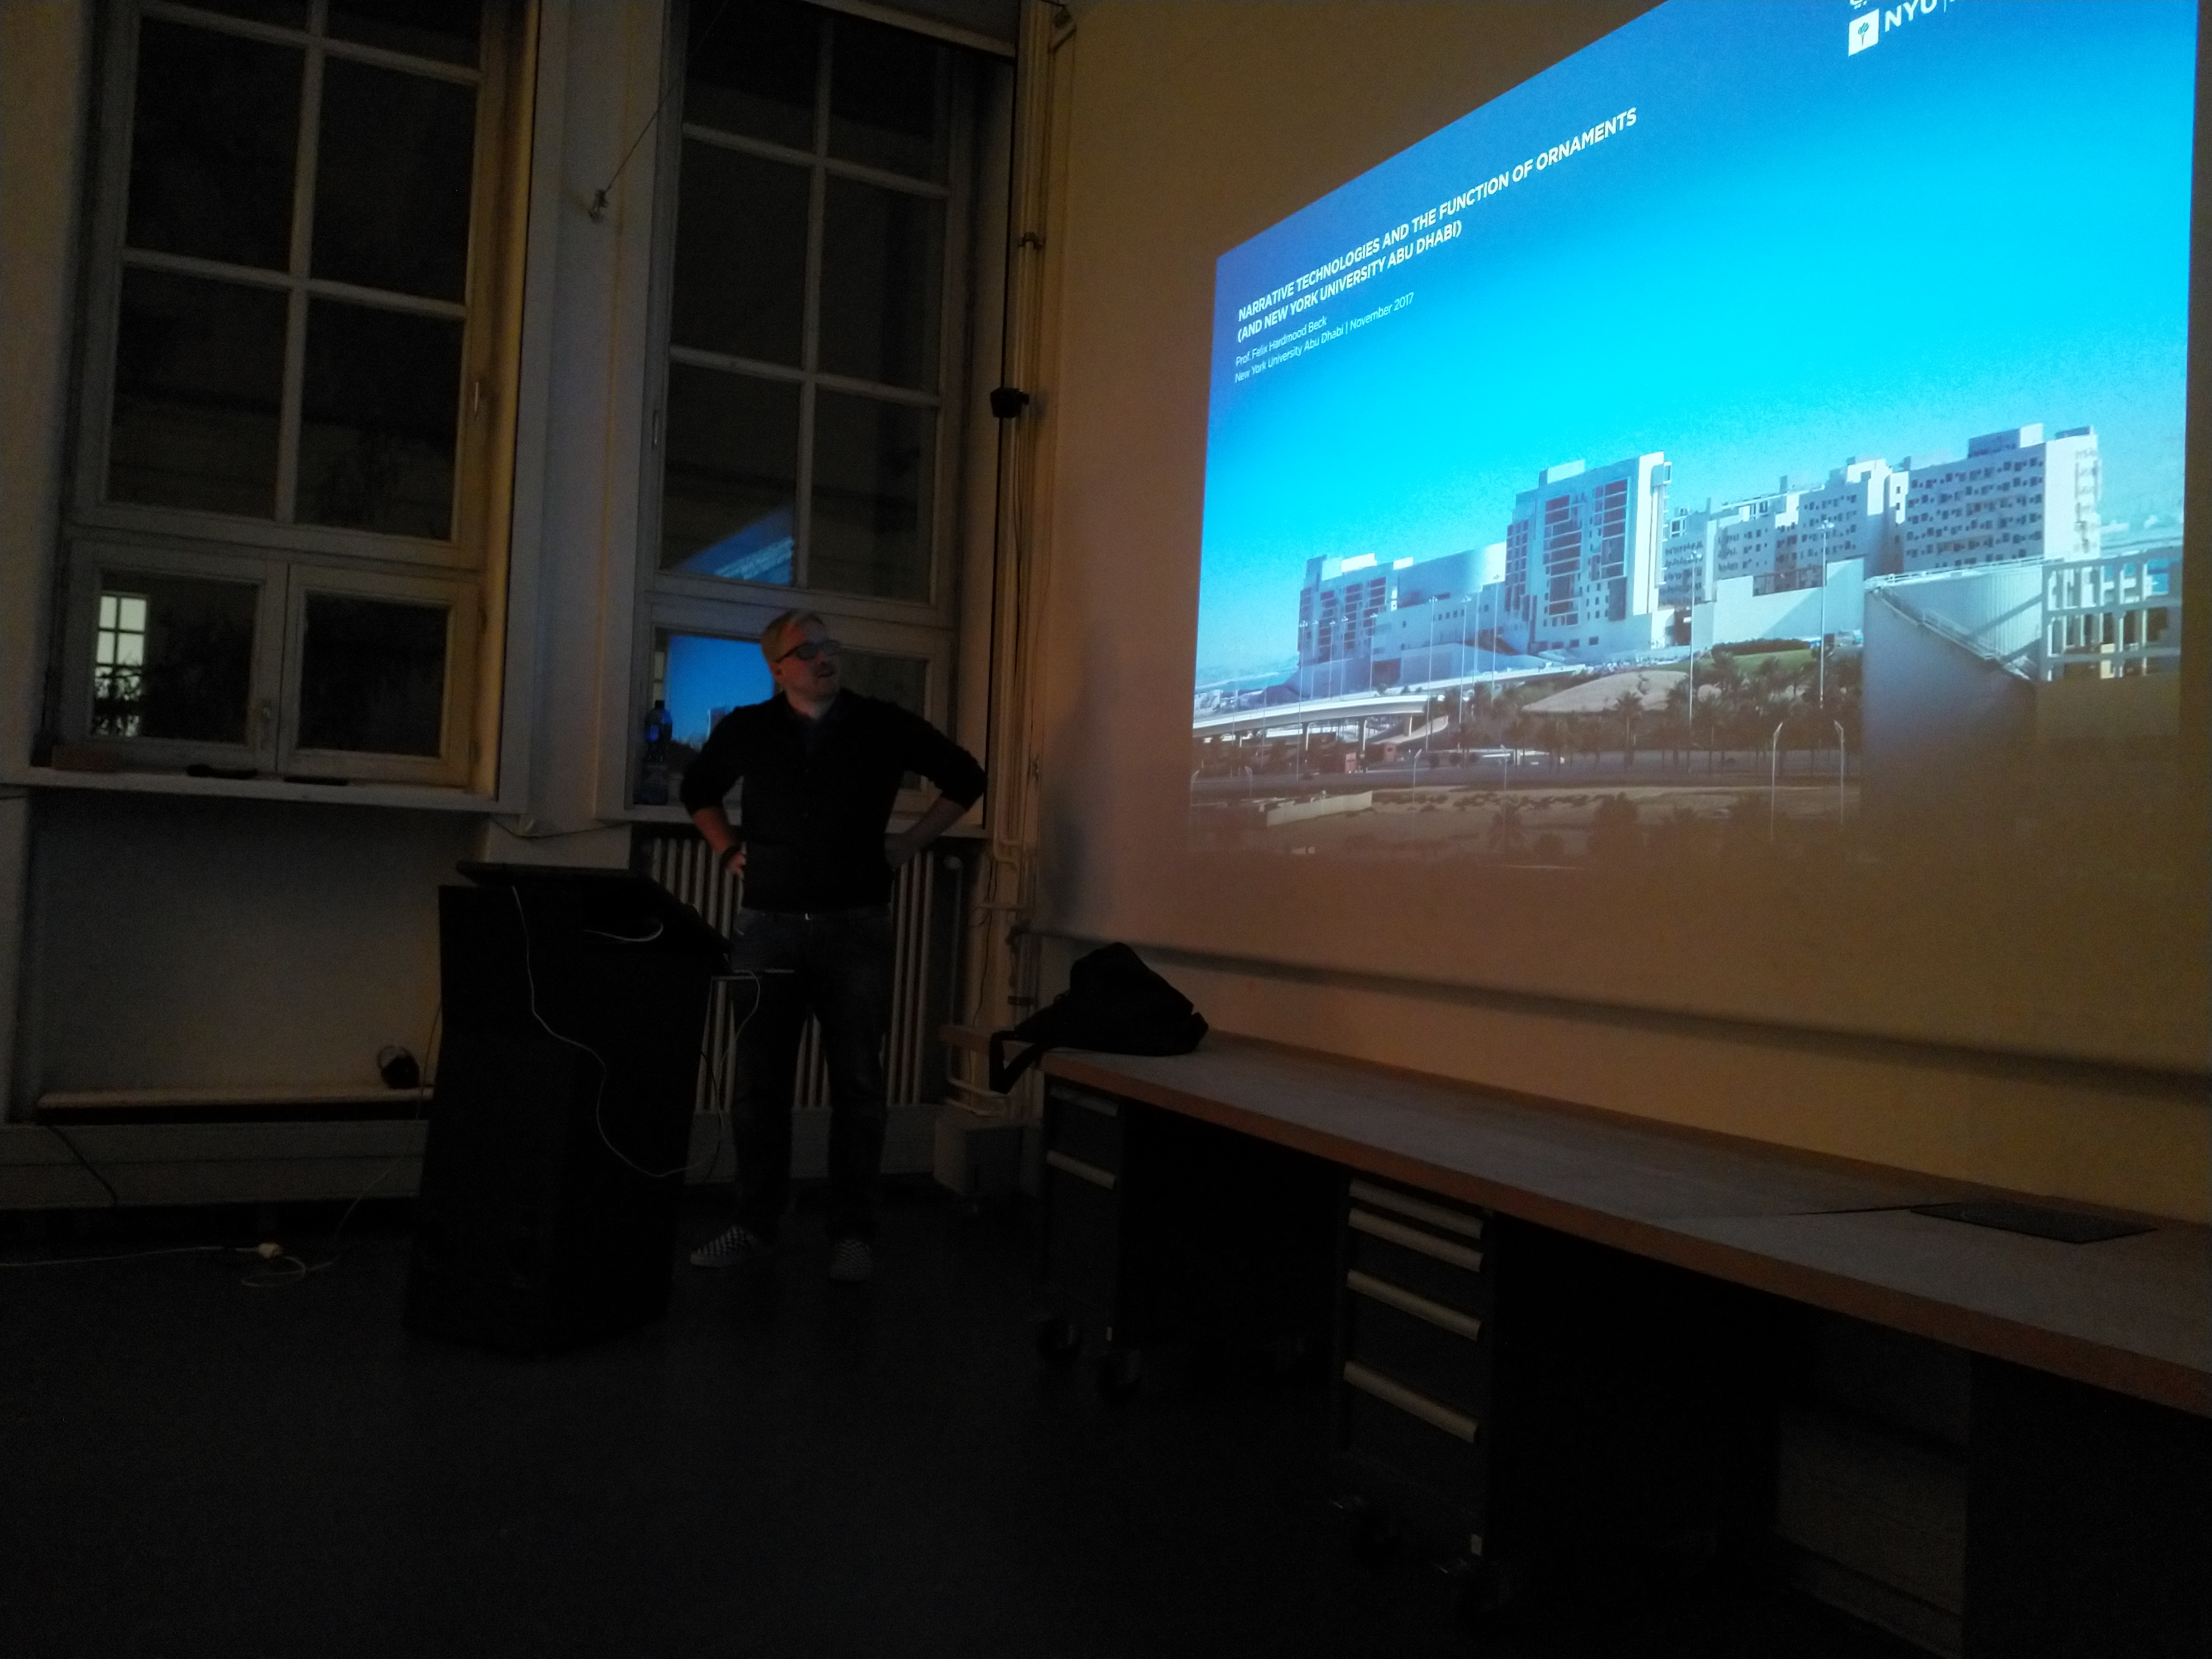
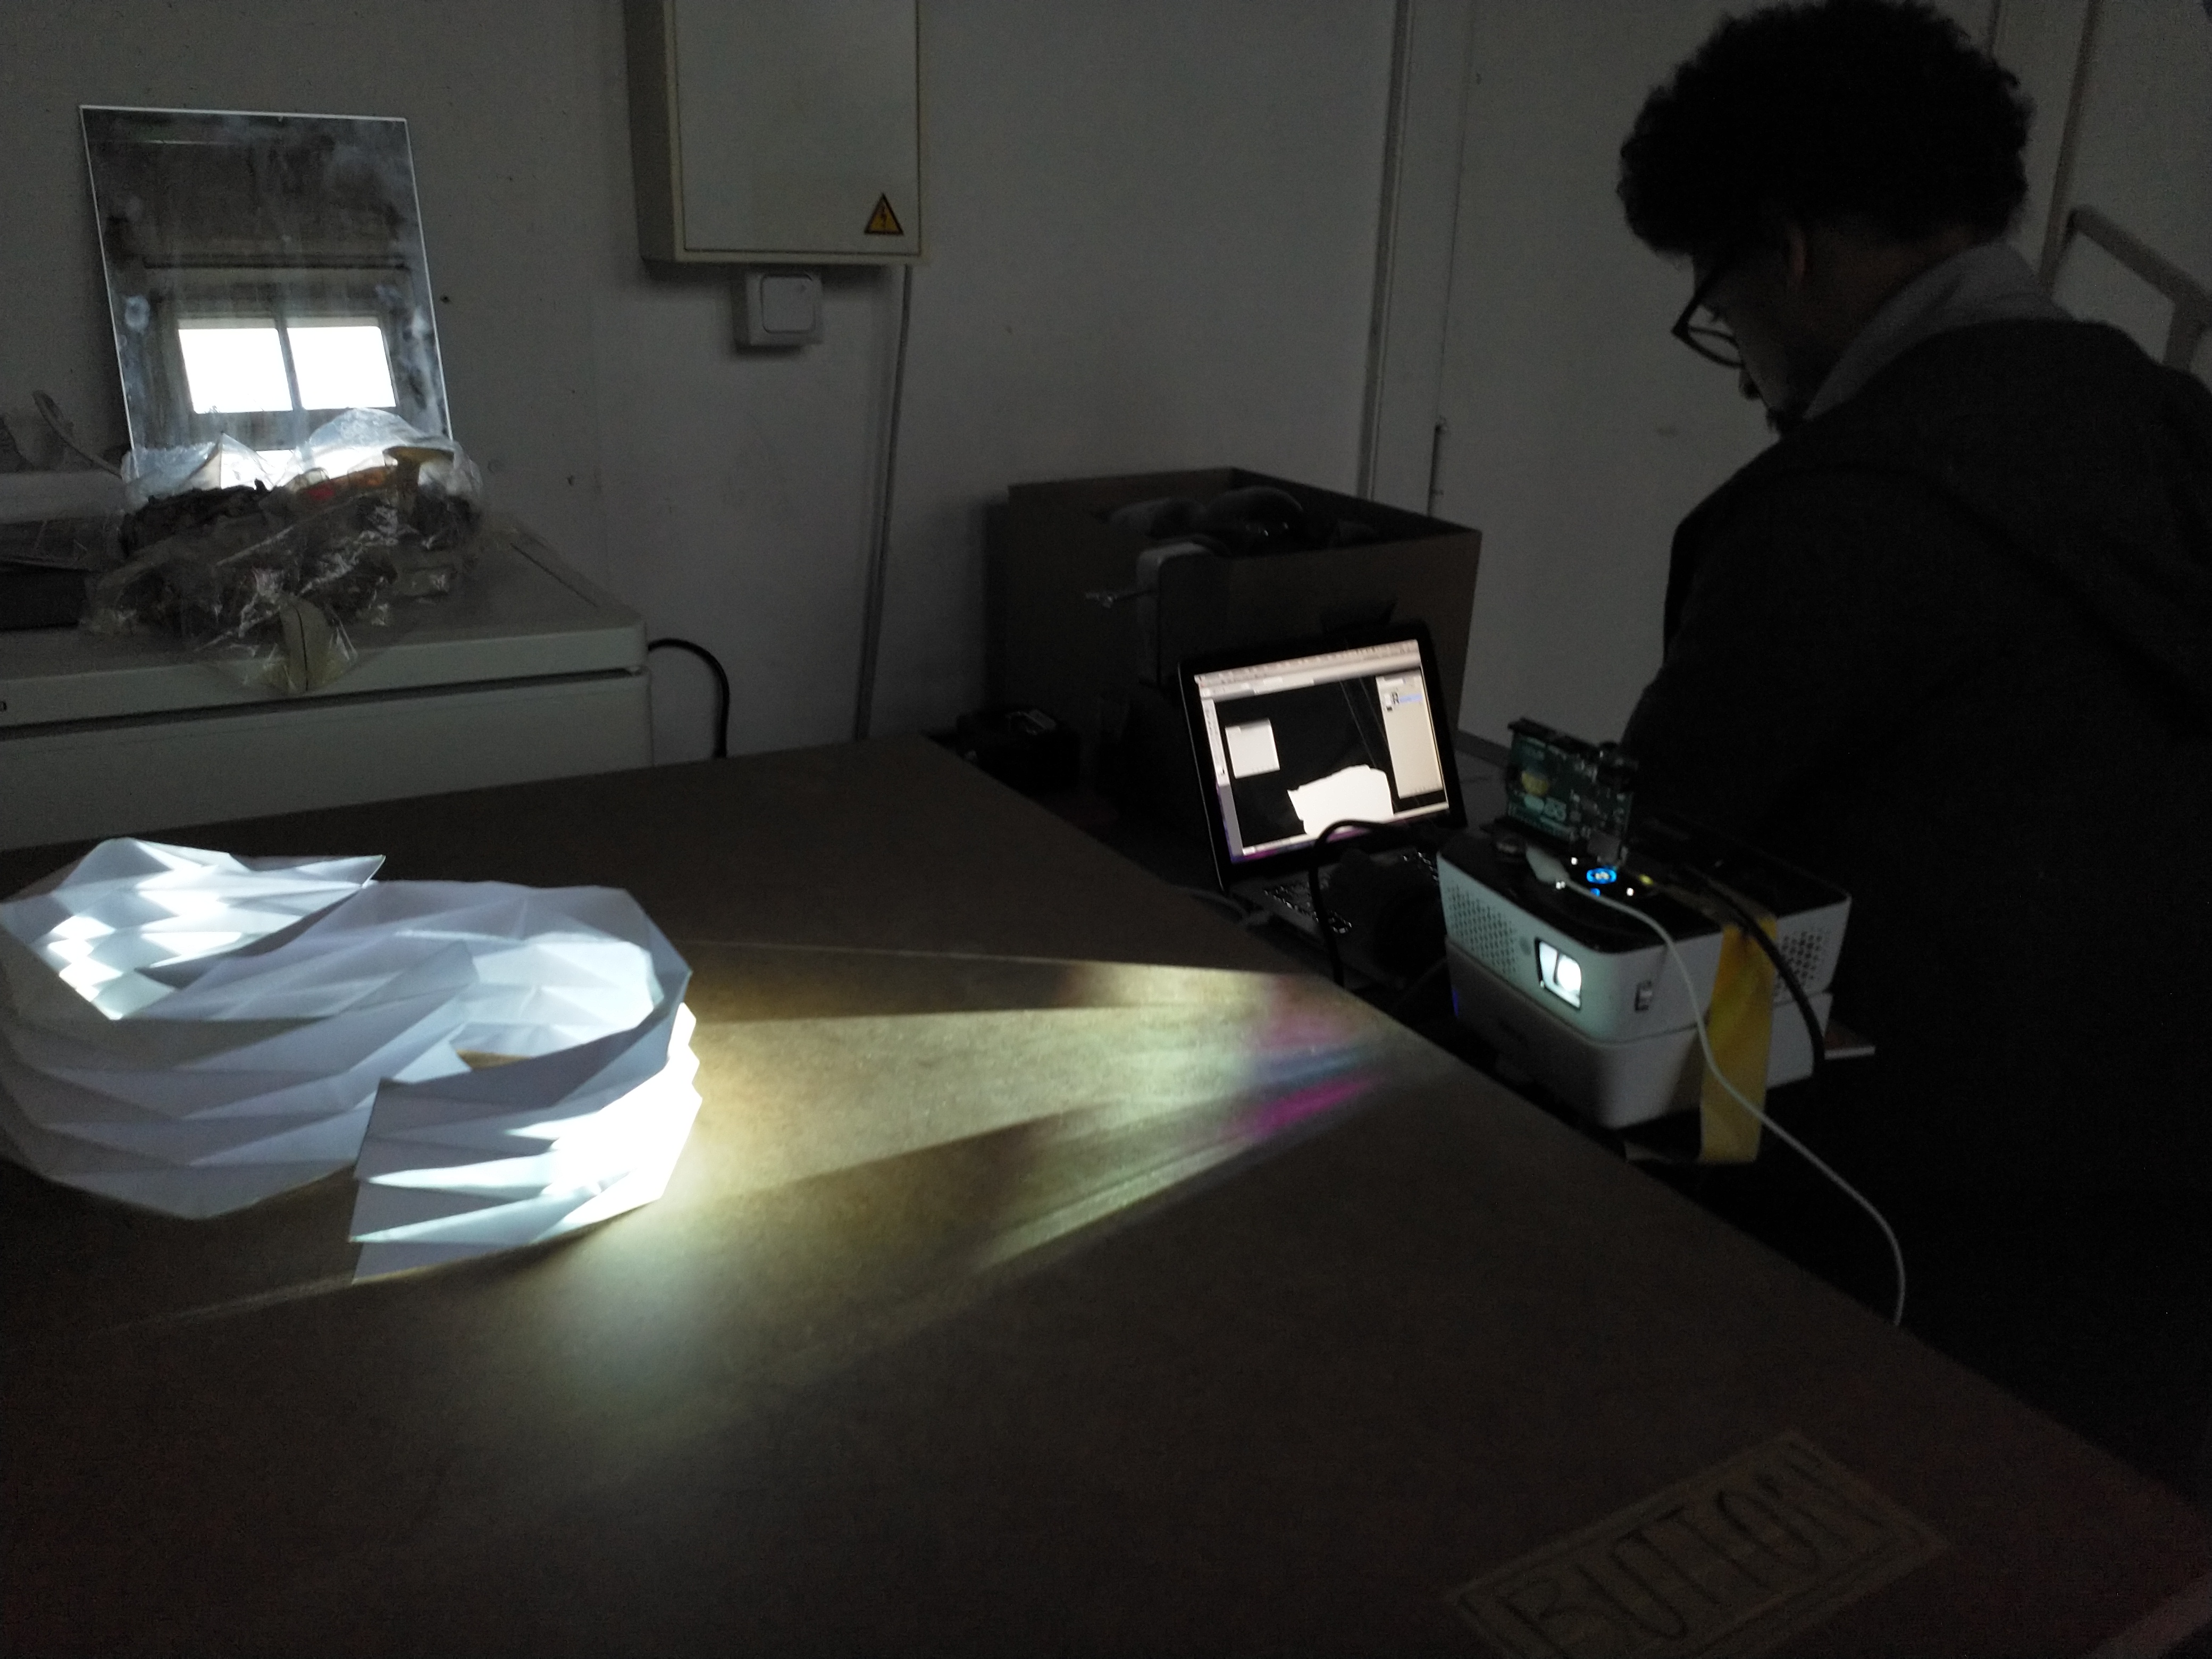
In her book »The Function of Ornament« Farshid Moussavi describes visible and invisible forces that will shape the architecture of the future. The combination of new mechanisms with cultural, political and temporal effects will manifestate in new aesthetic compositions and affects. In the workshop the participants will concentrate on the visible forces (structural, functional and physical) to develop paper prototypes for future exhibition designs in the context of »Media in Space«.
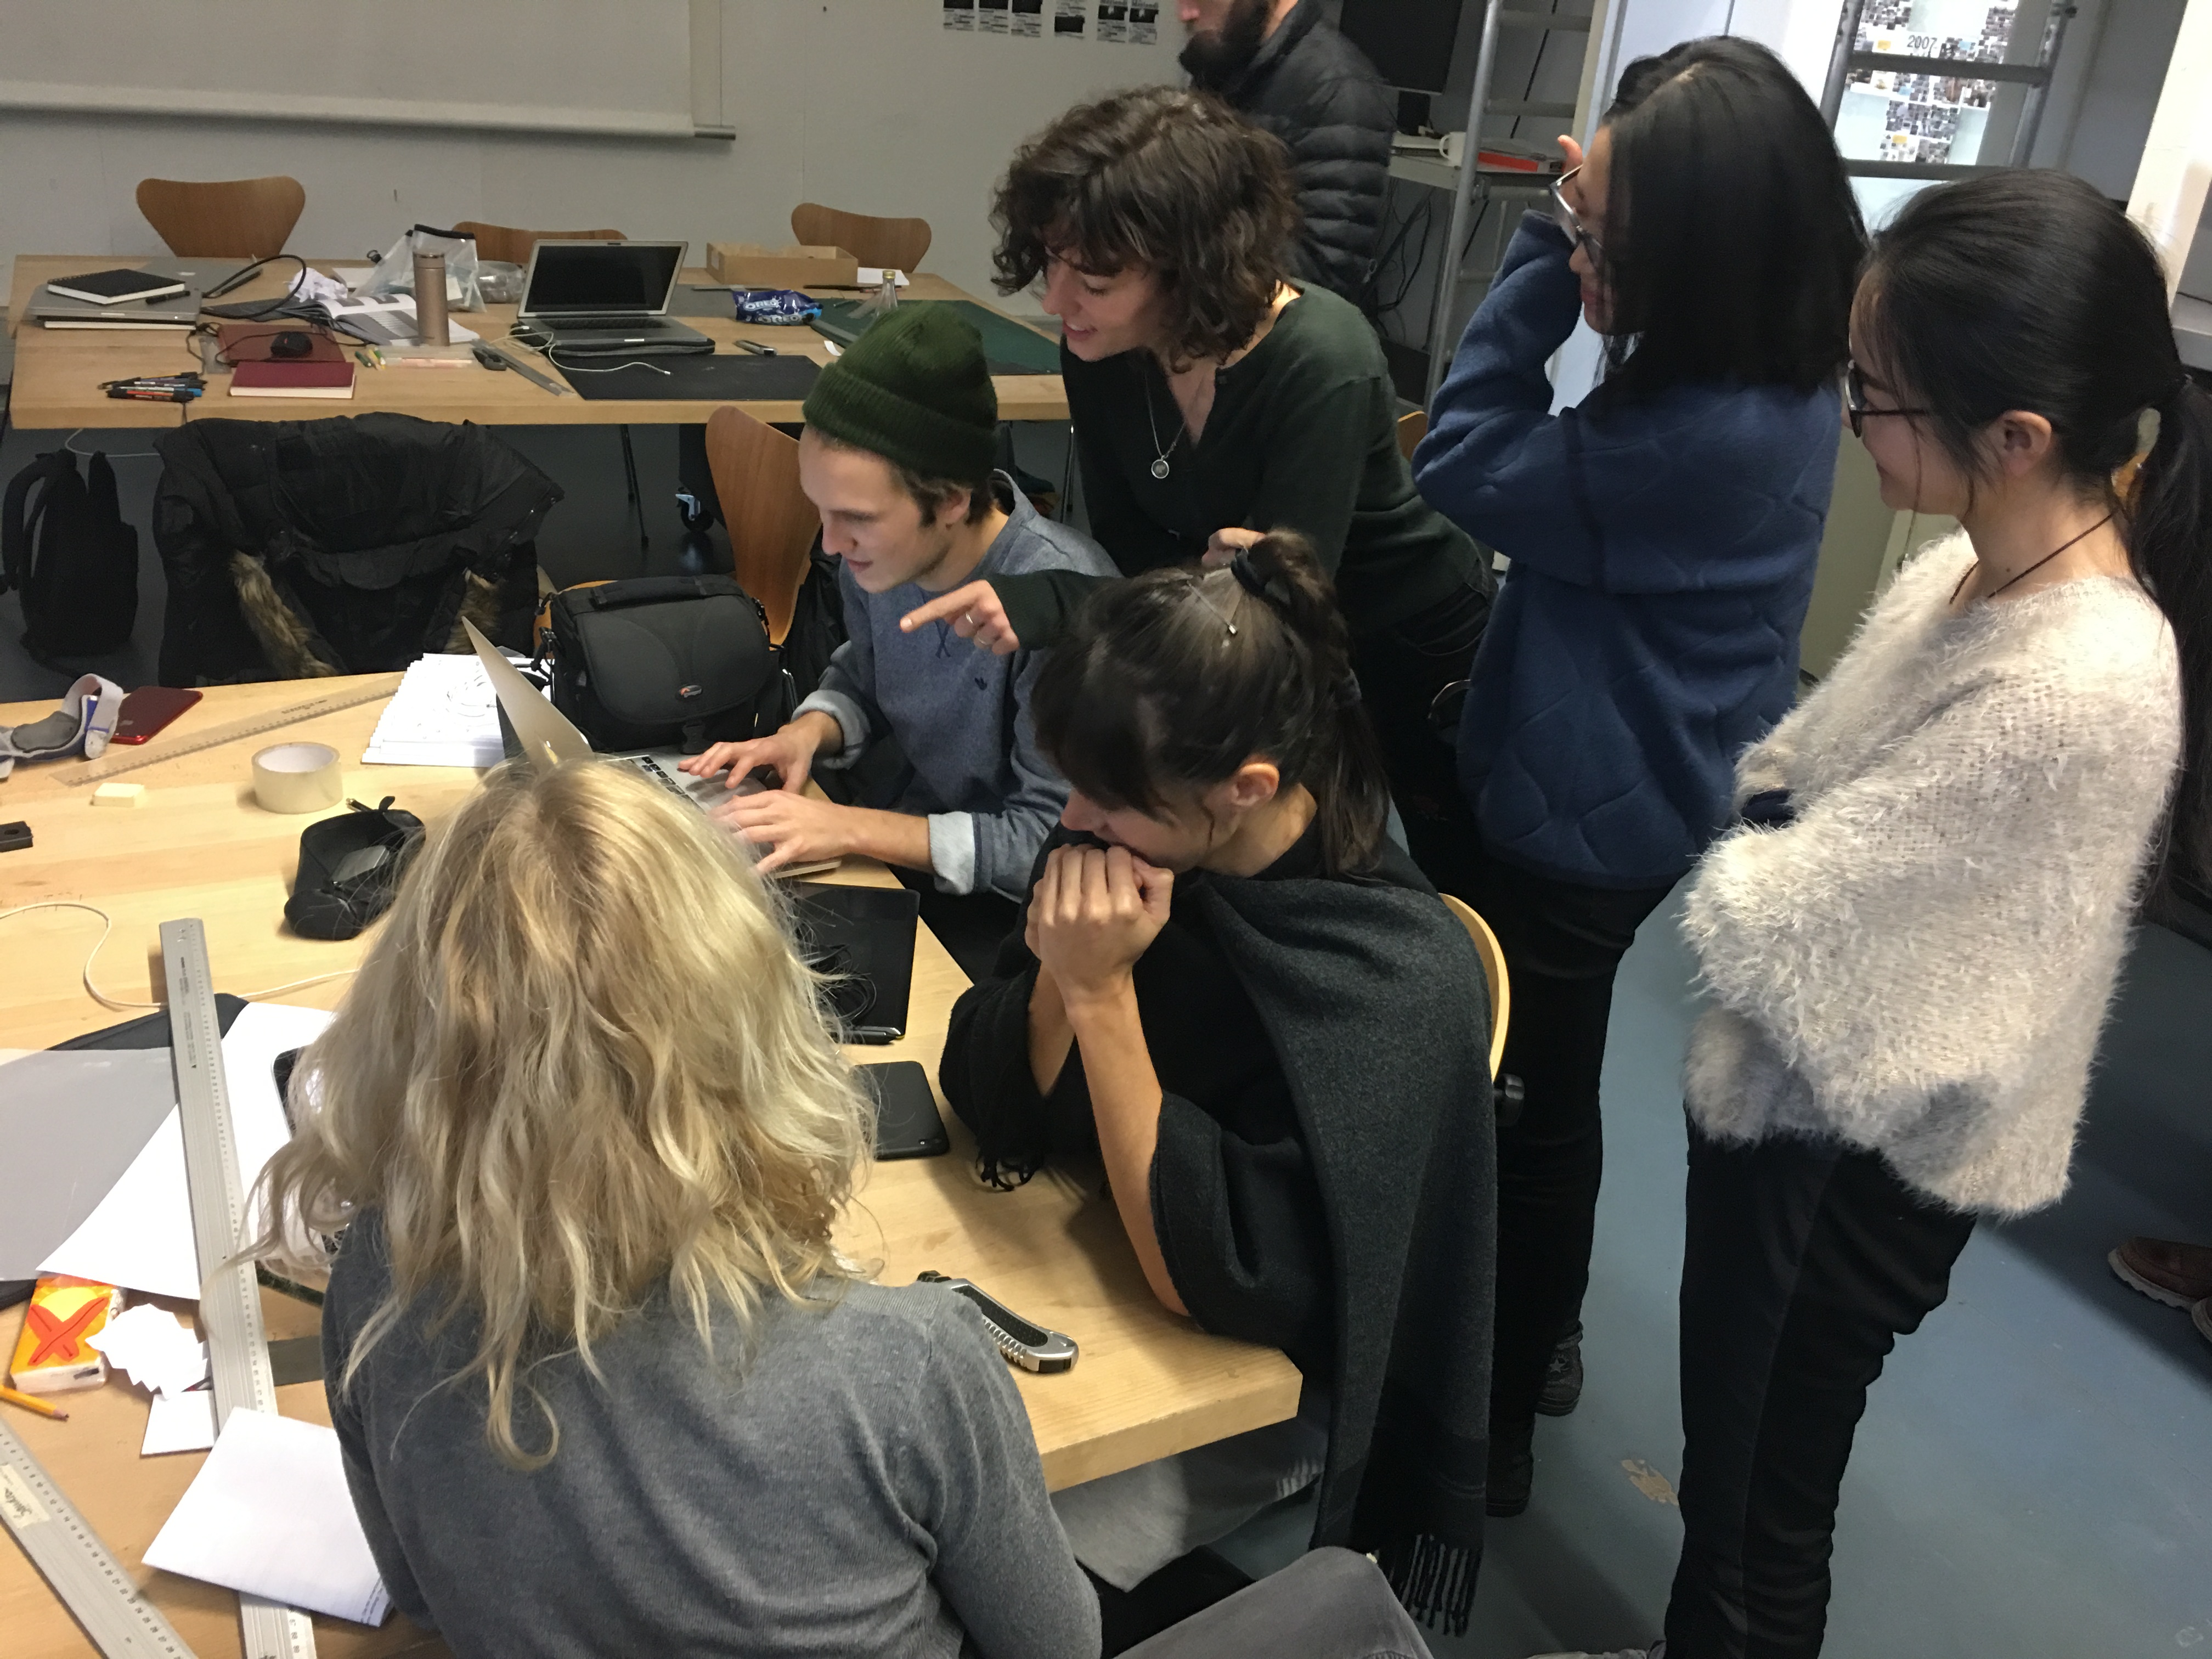
Workshop Participants
- Prof. Felix Beck (Assistant Professor of Practice of Design New York University Abu Dhabi)
- Prof. Pablo Dornhege (Guest Professor University of the Arts Berlin, Class for Exhibitiondesign)
- Cristina Achury
- Nils Hoepke
- Junqiao Huang
- Ting Liu
- Edgar Ludert
- Ismael Sanou
- Afra Schanz
- Sandra Stiehler
- Julius Winckler
Documentation
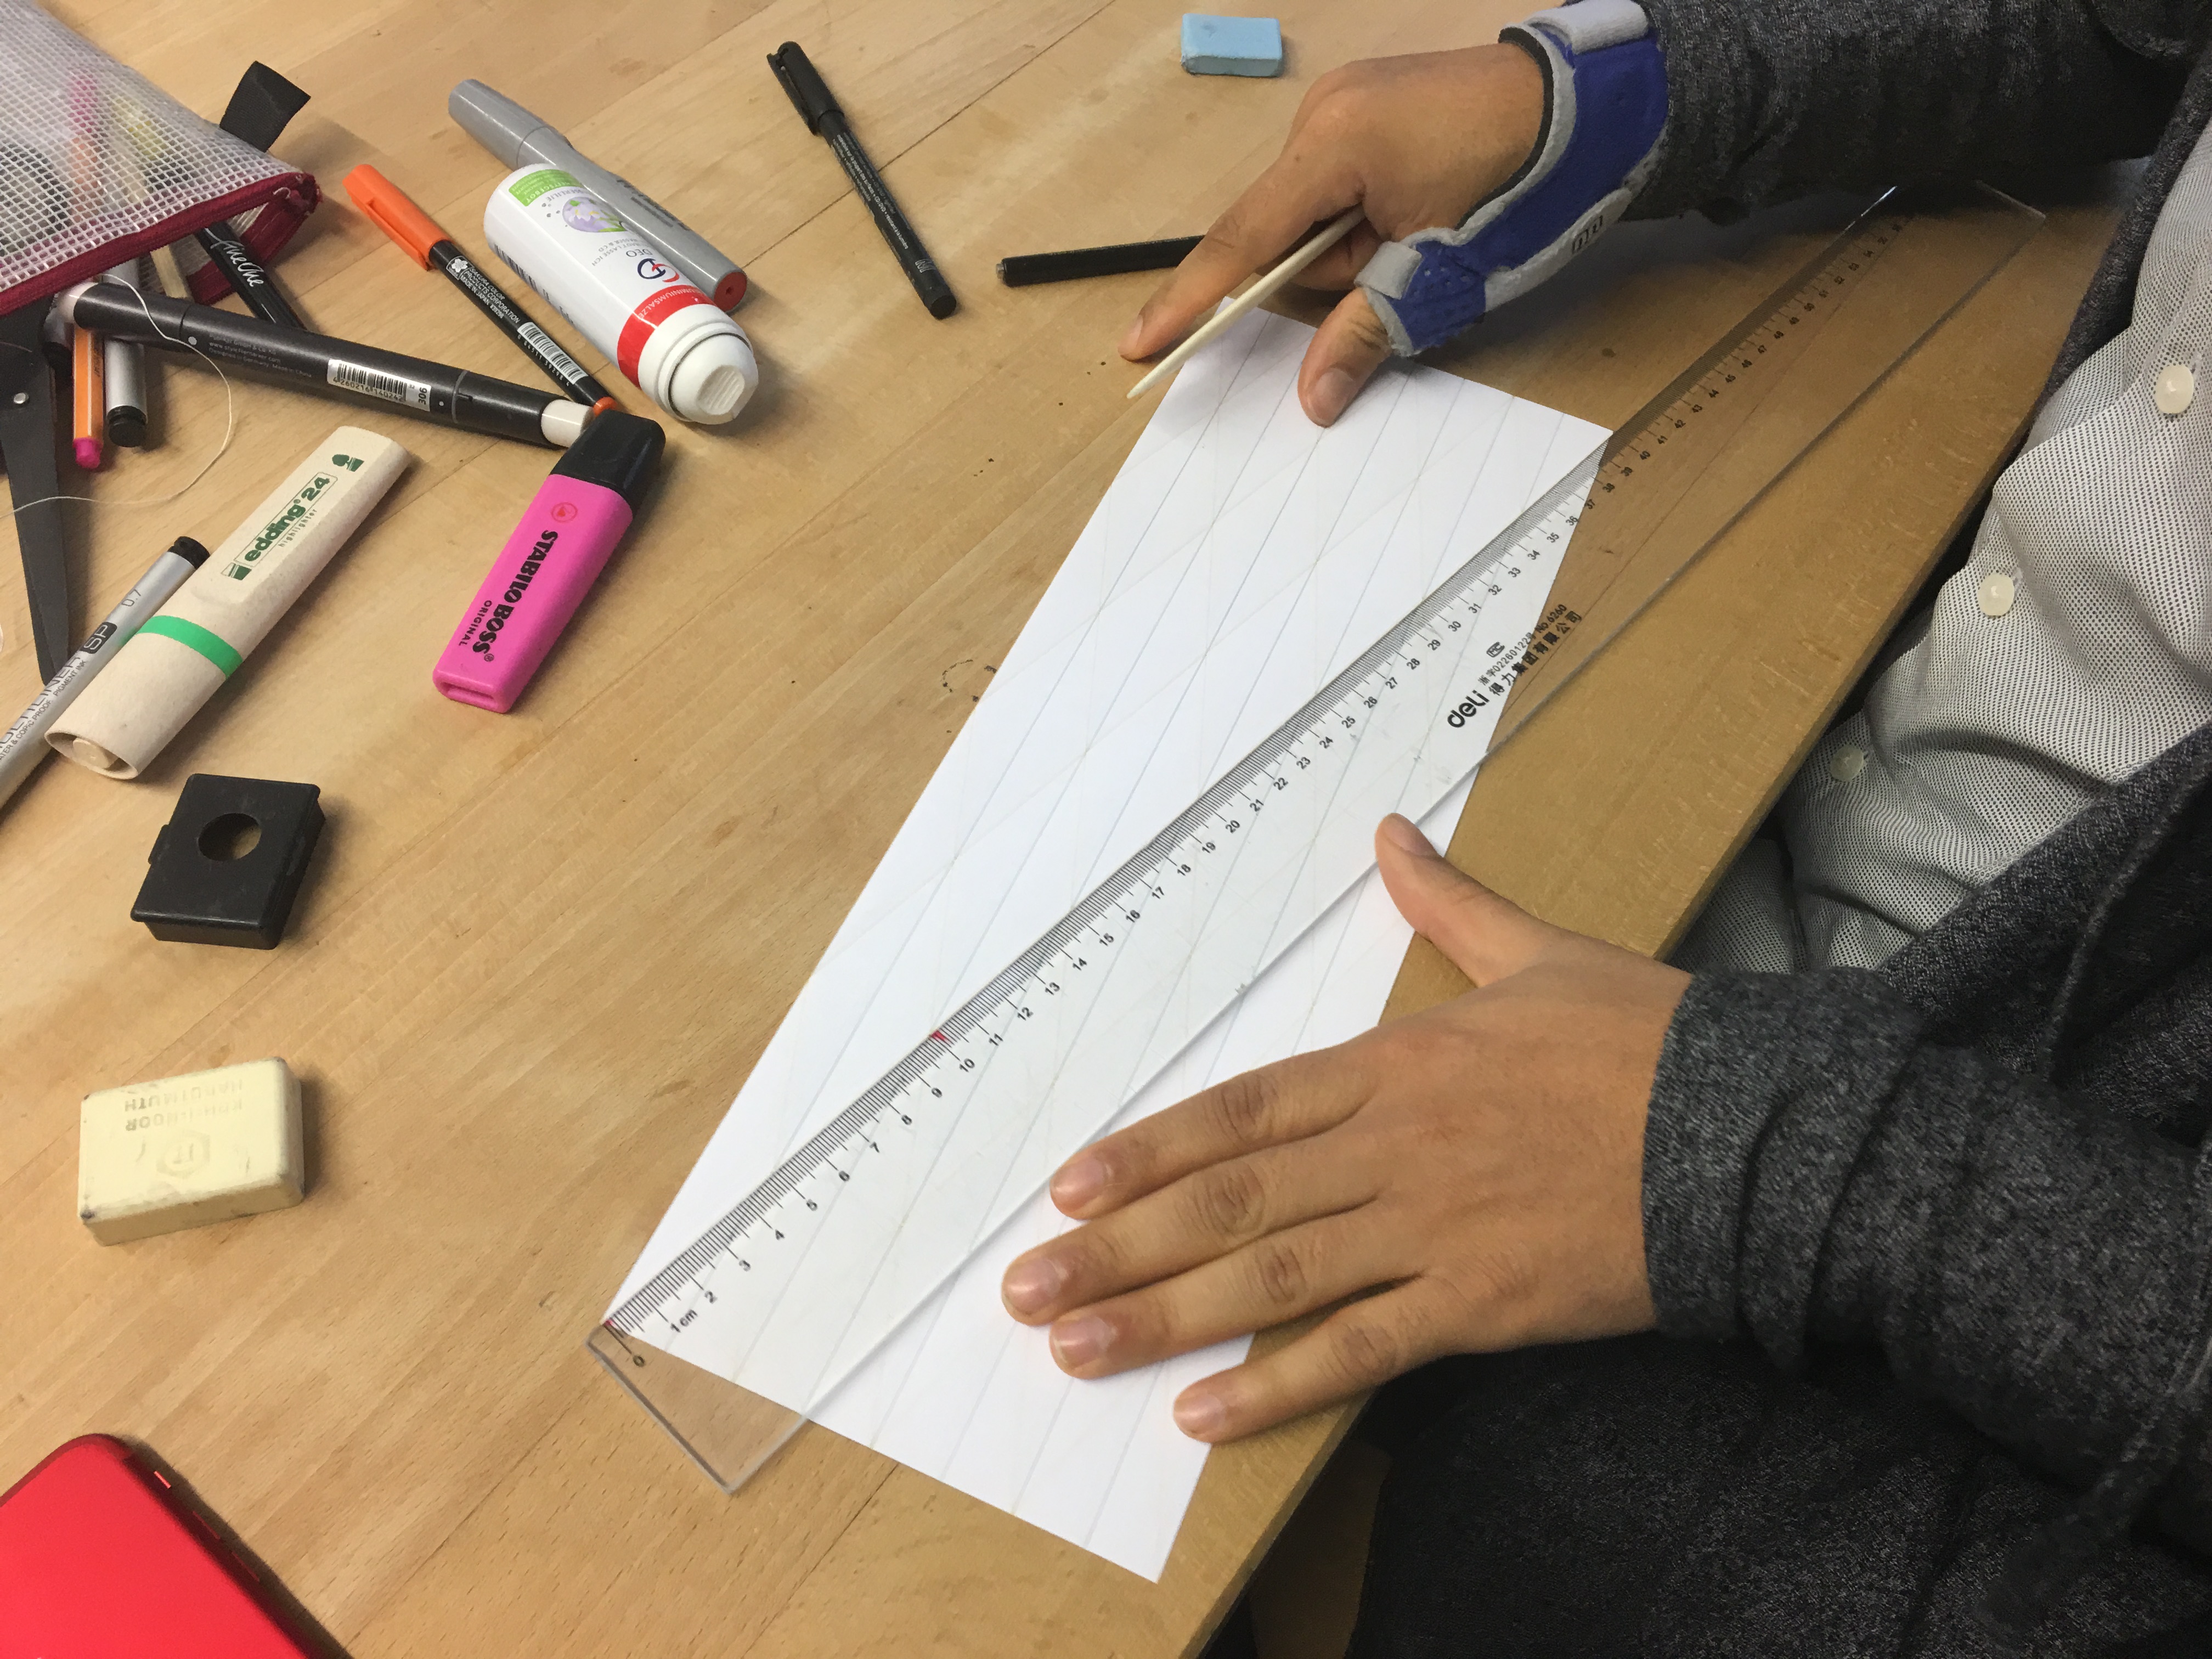

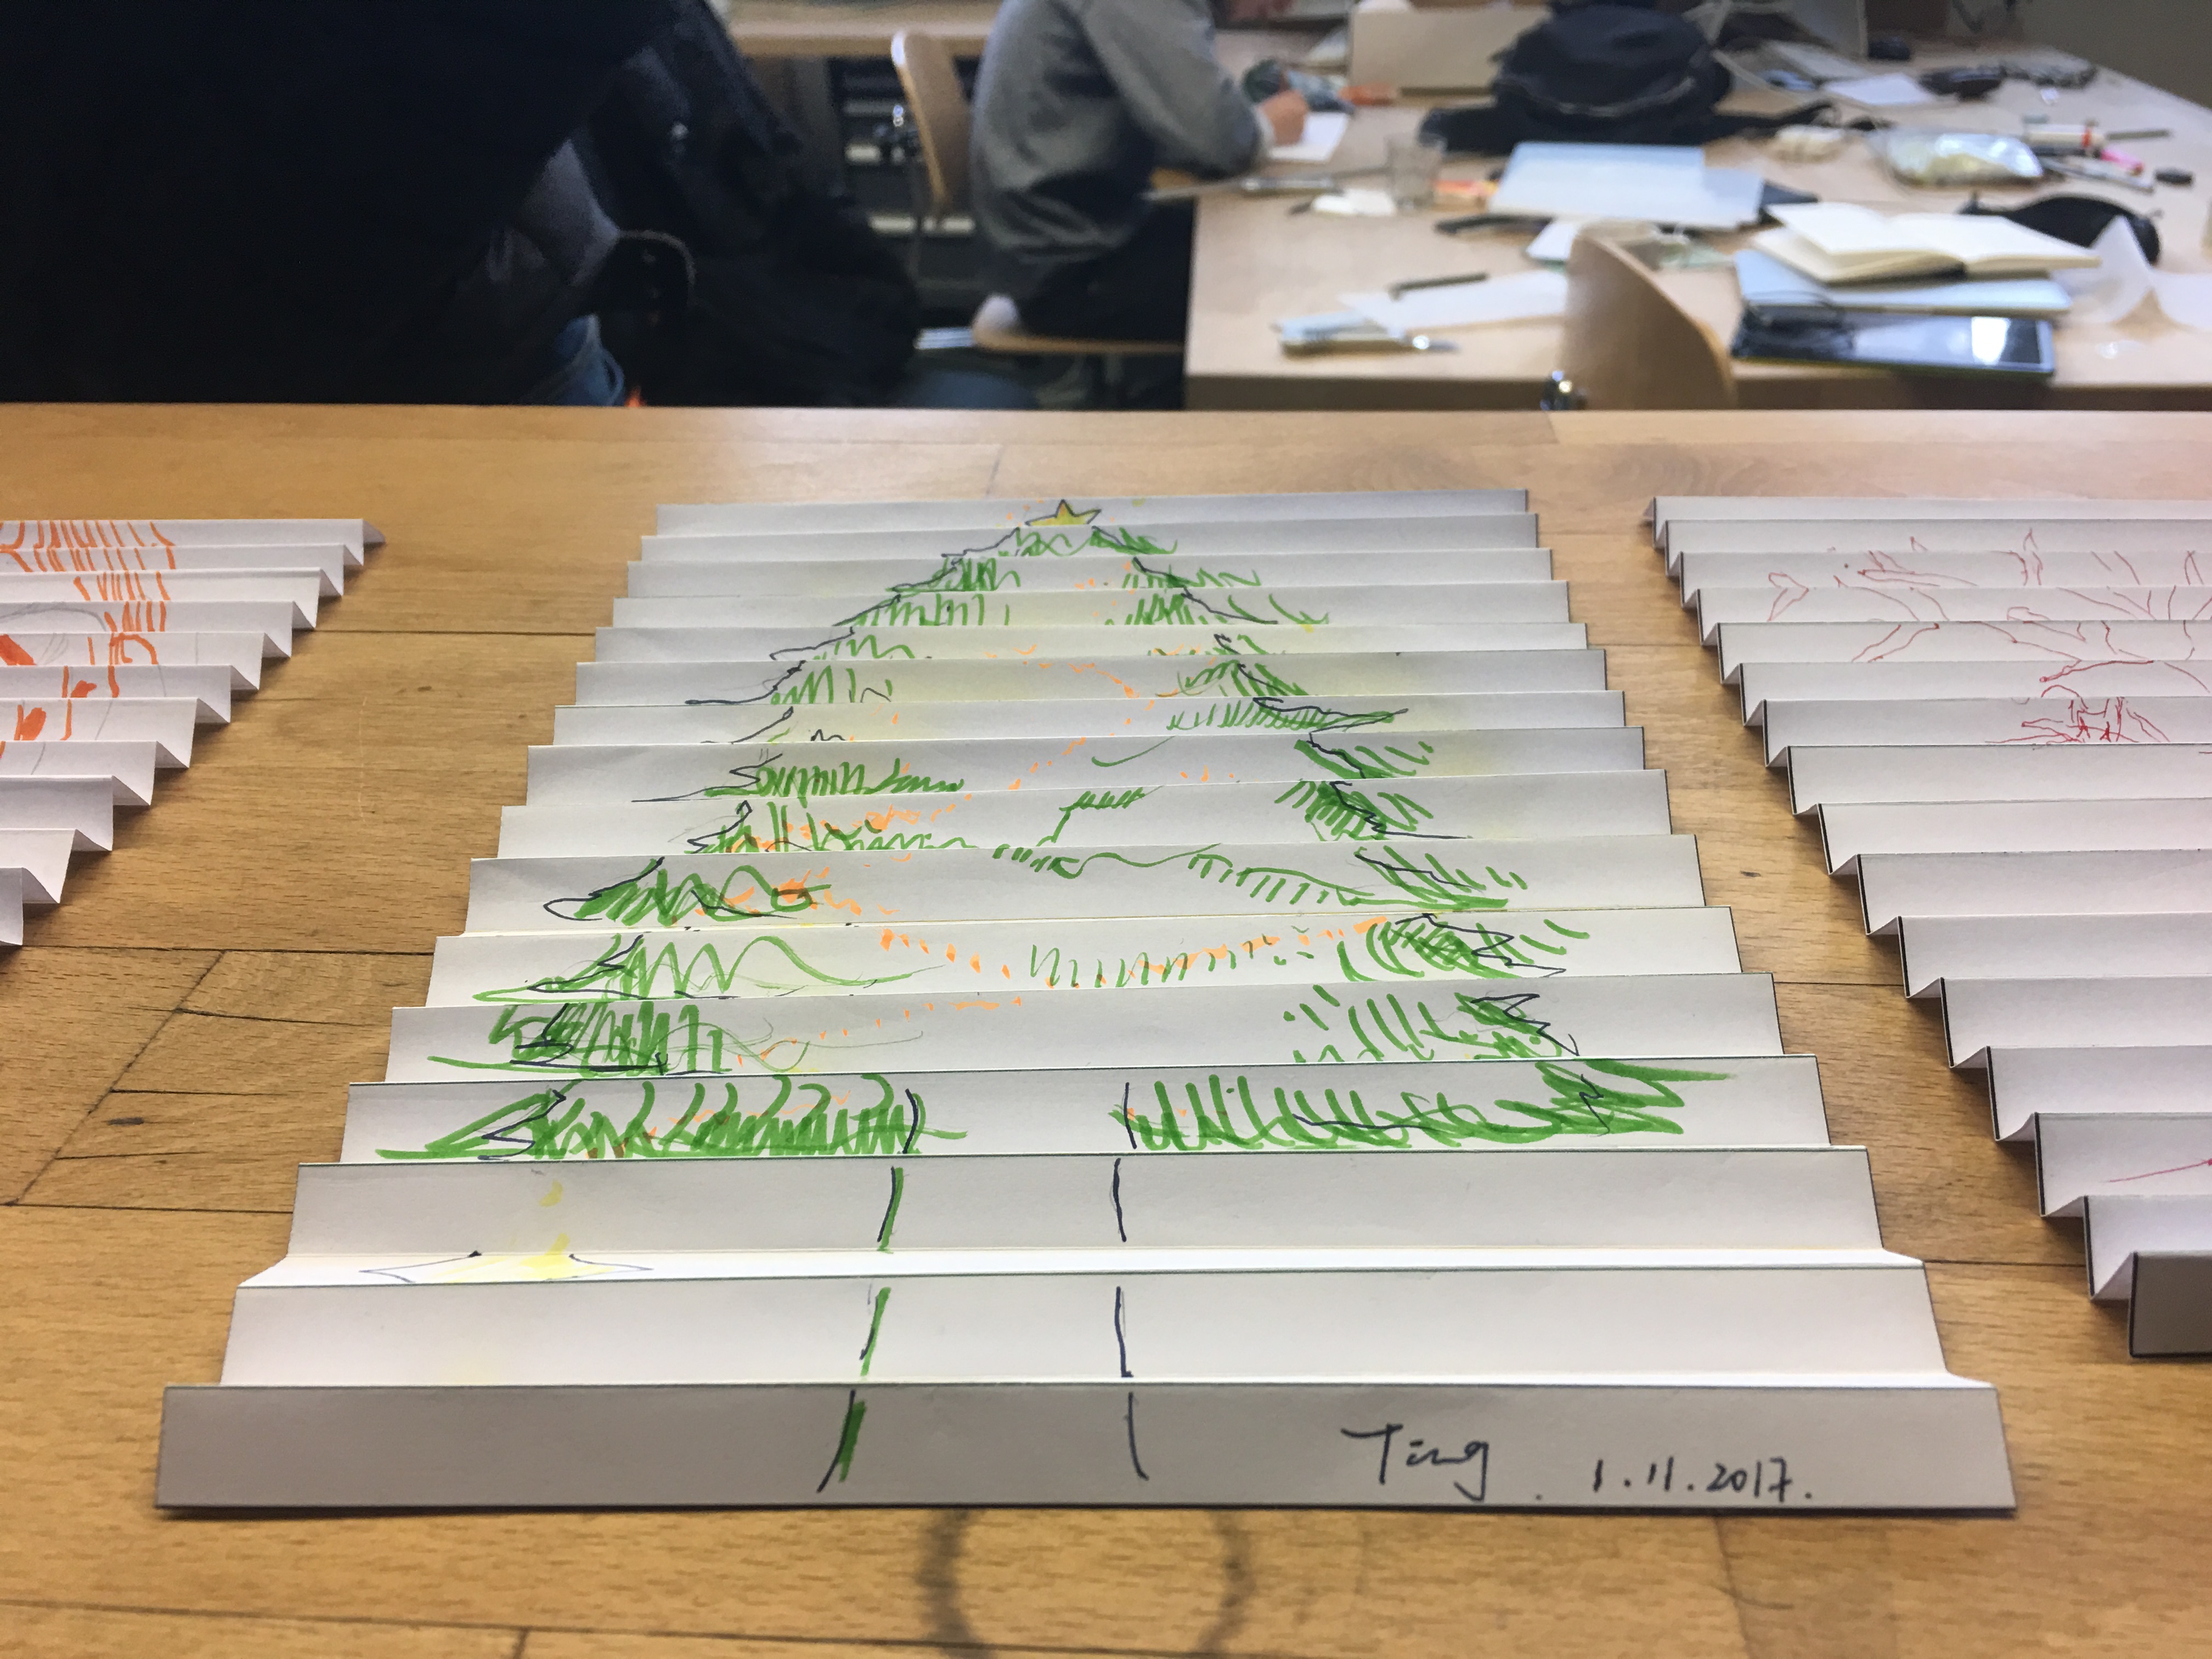
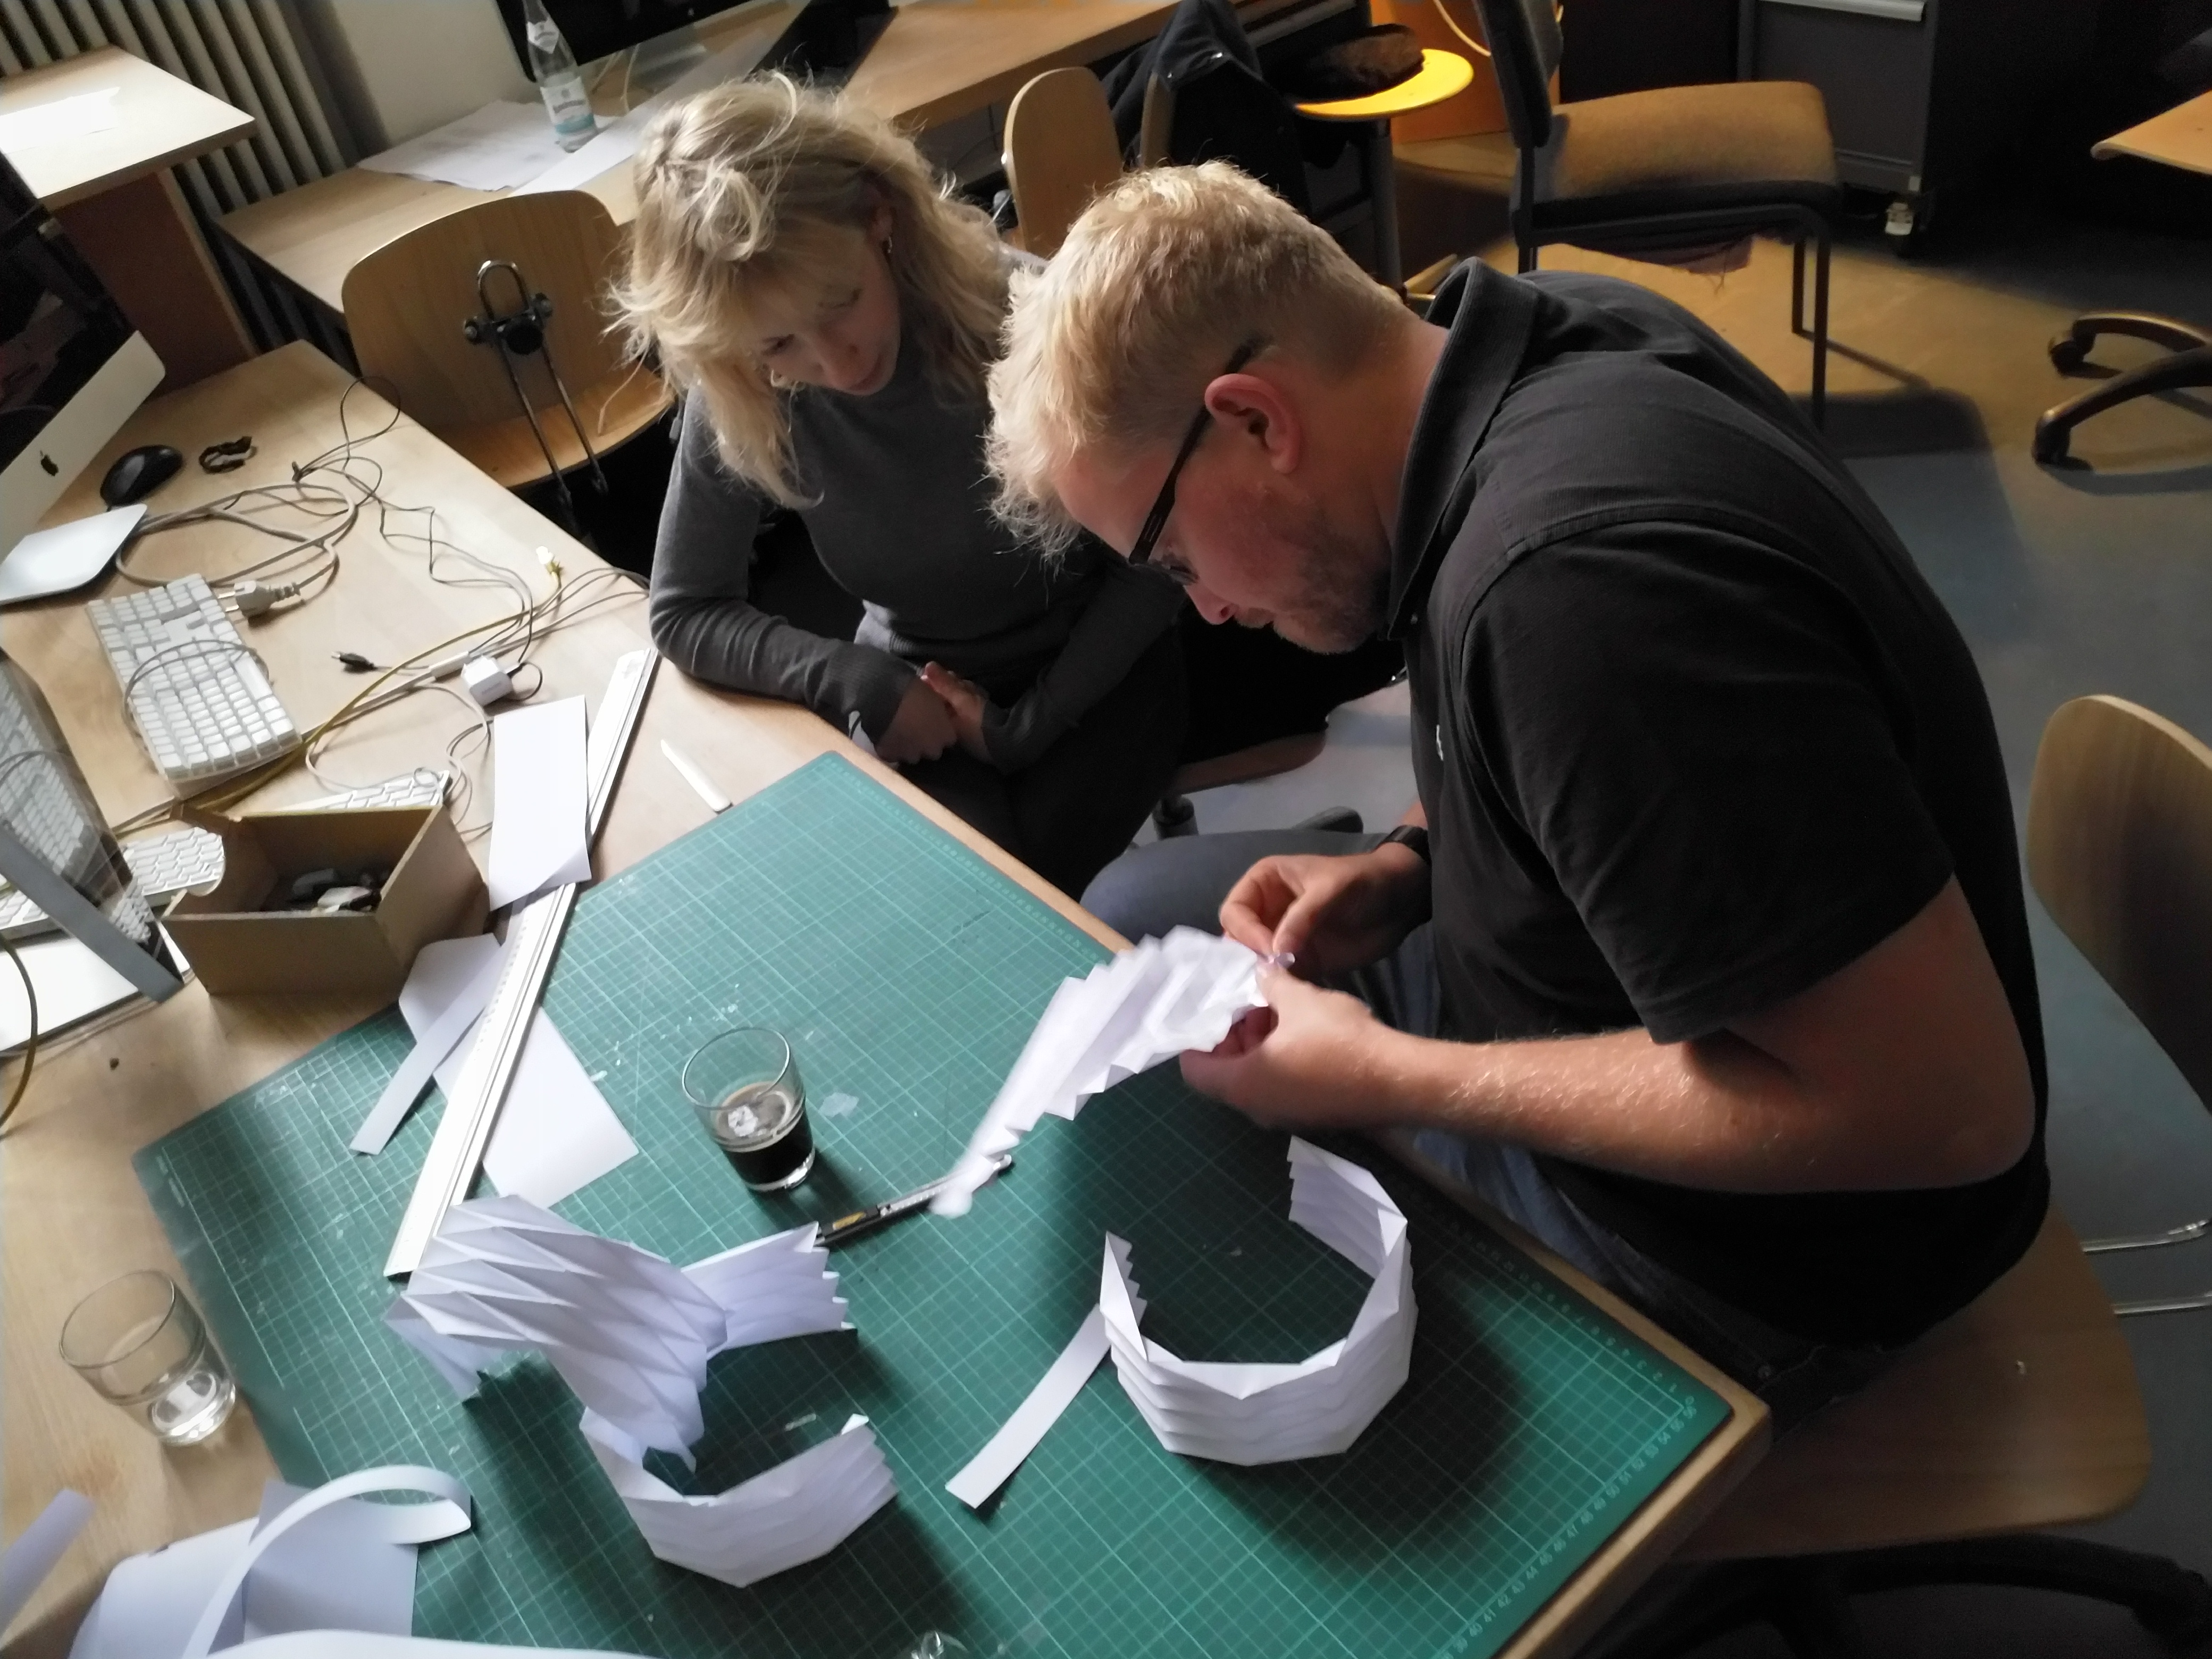
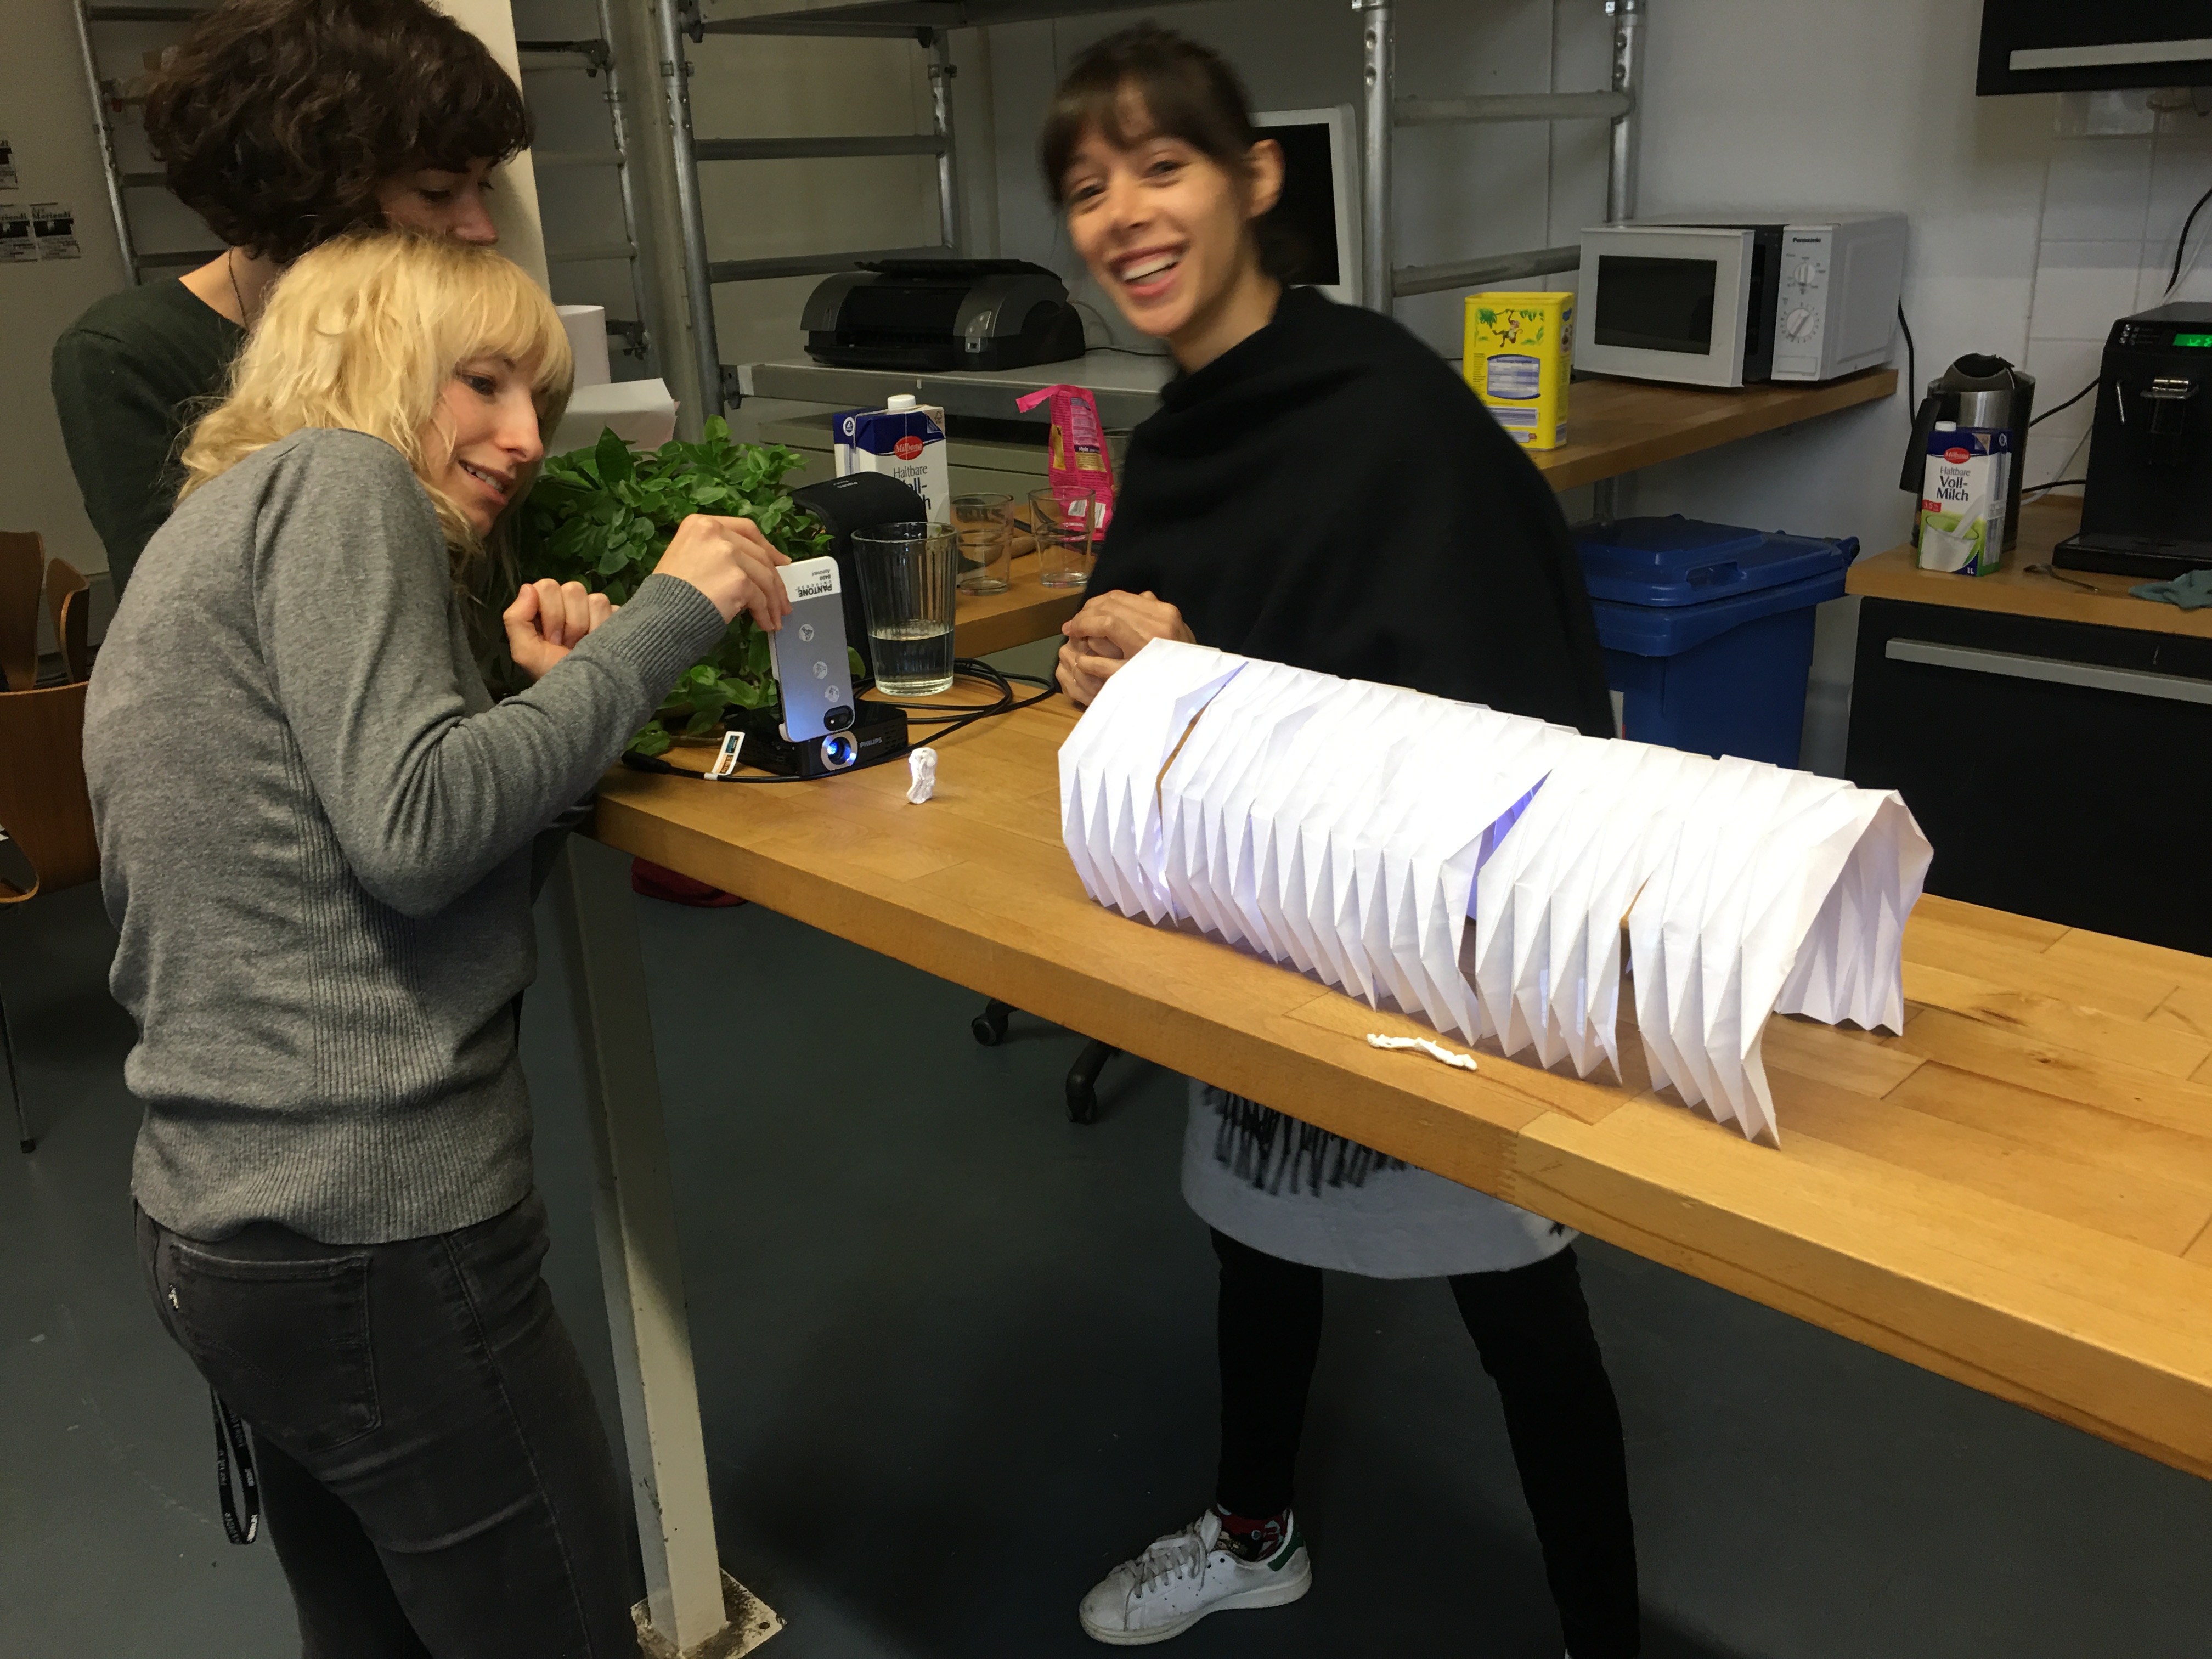

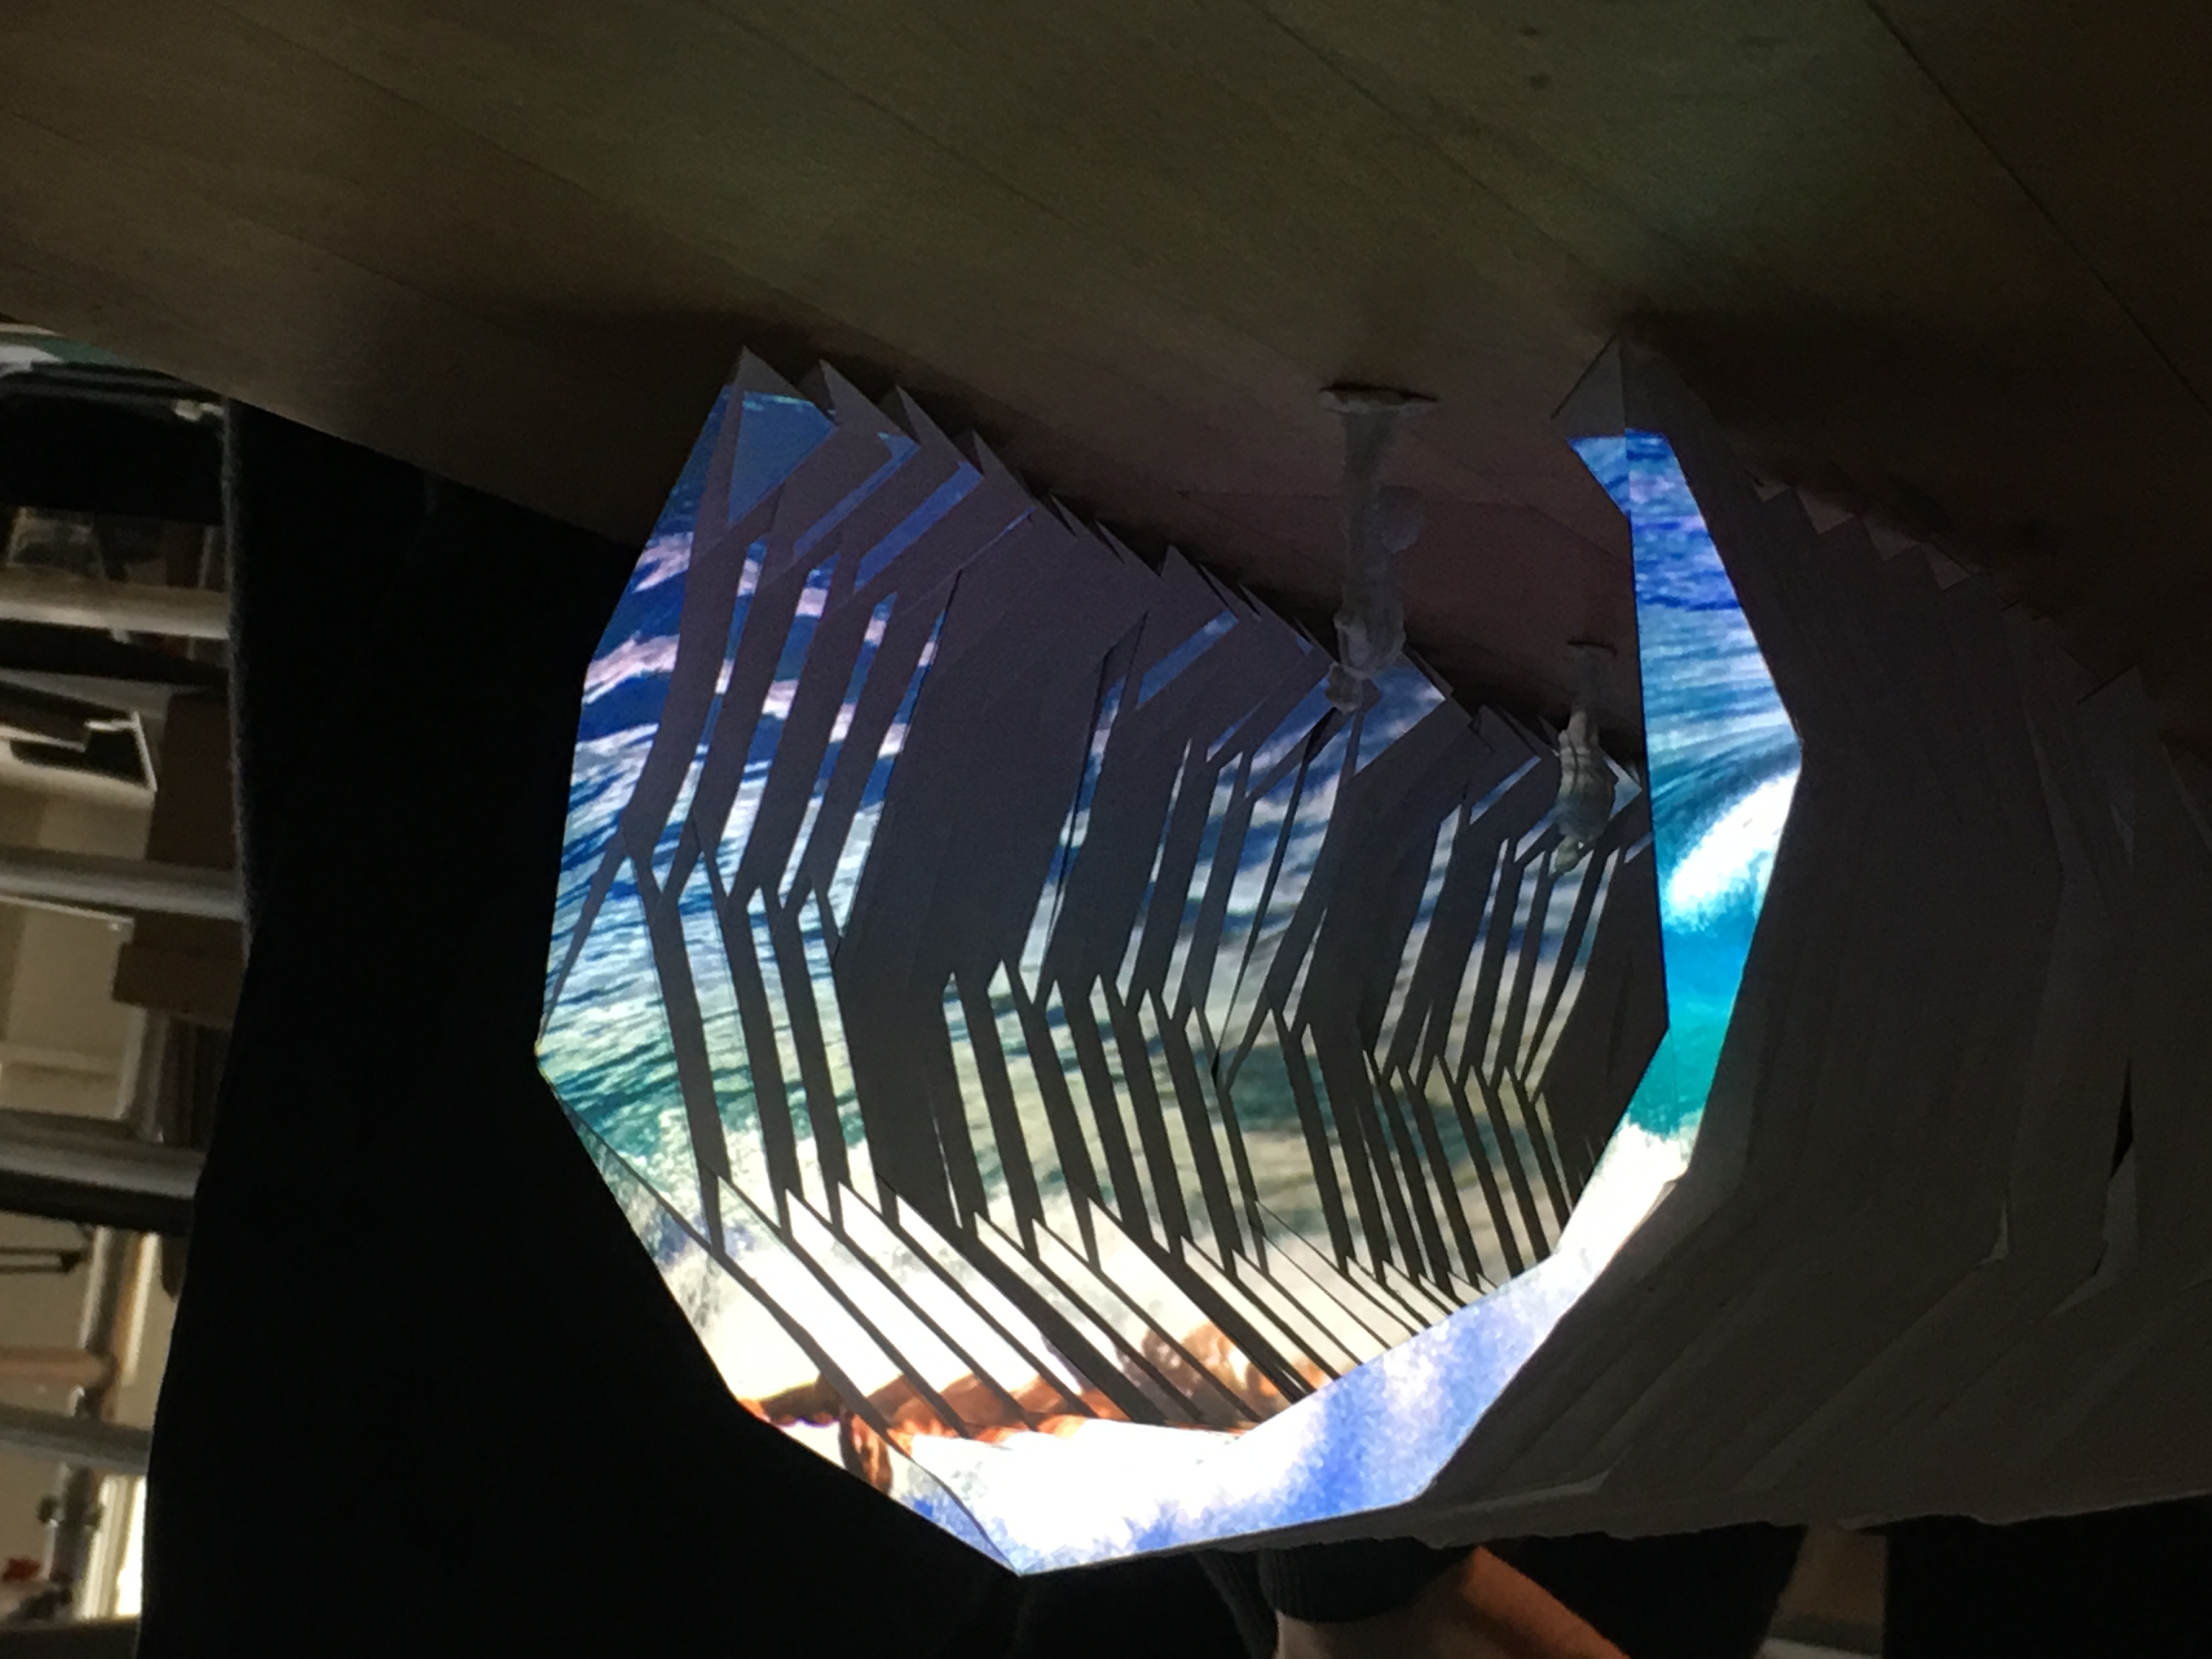
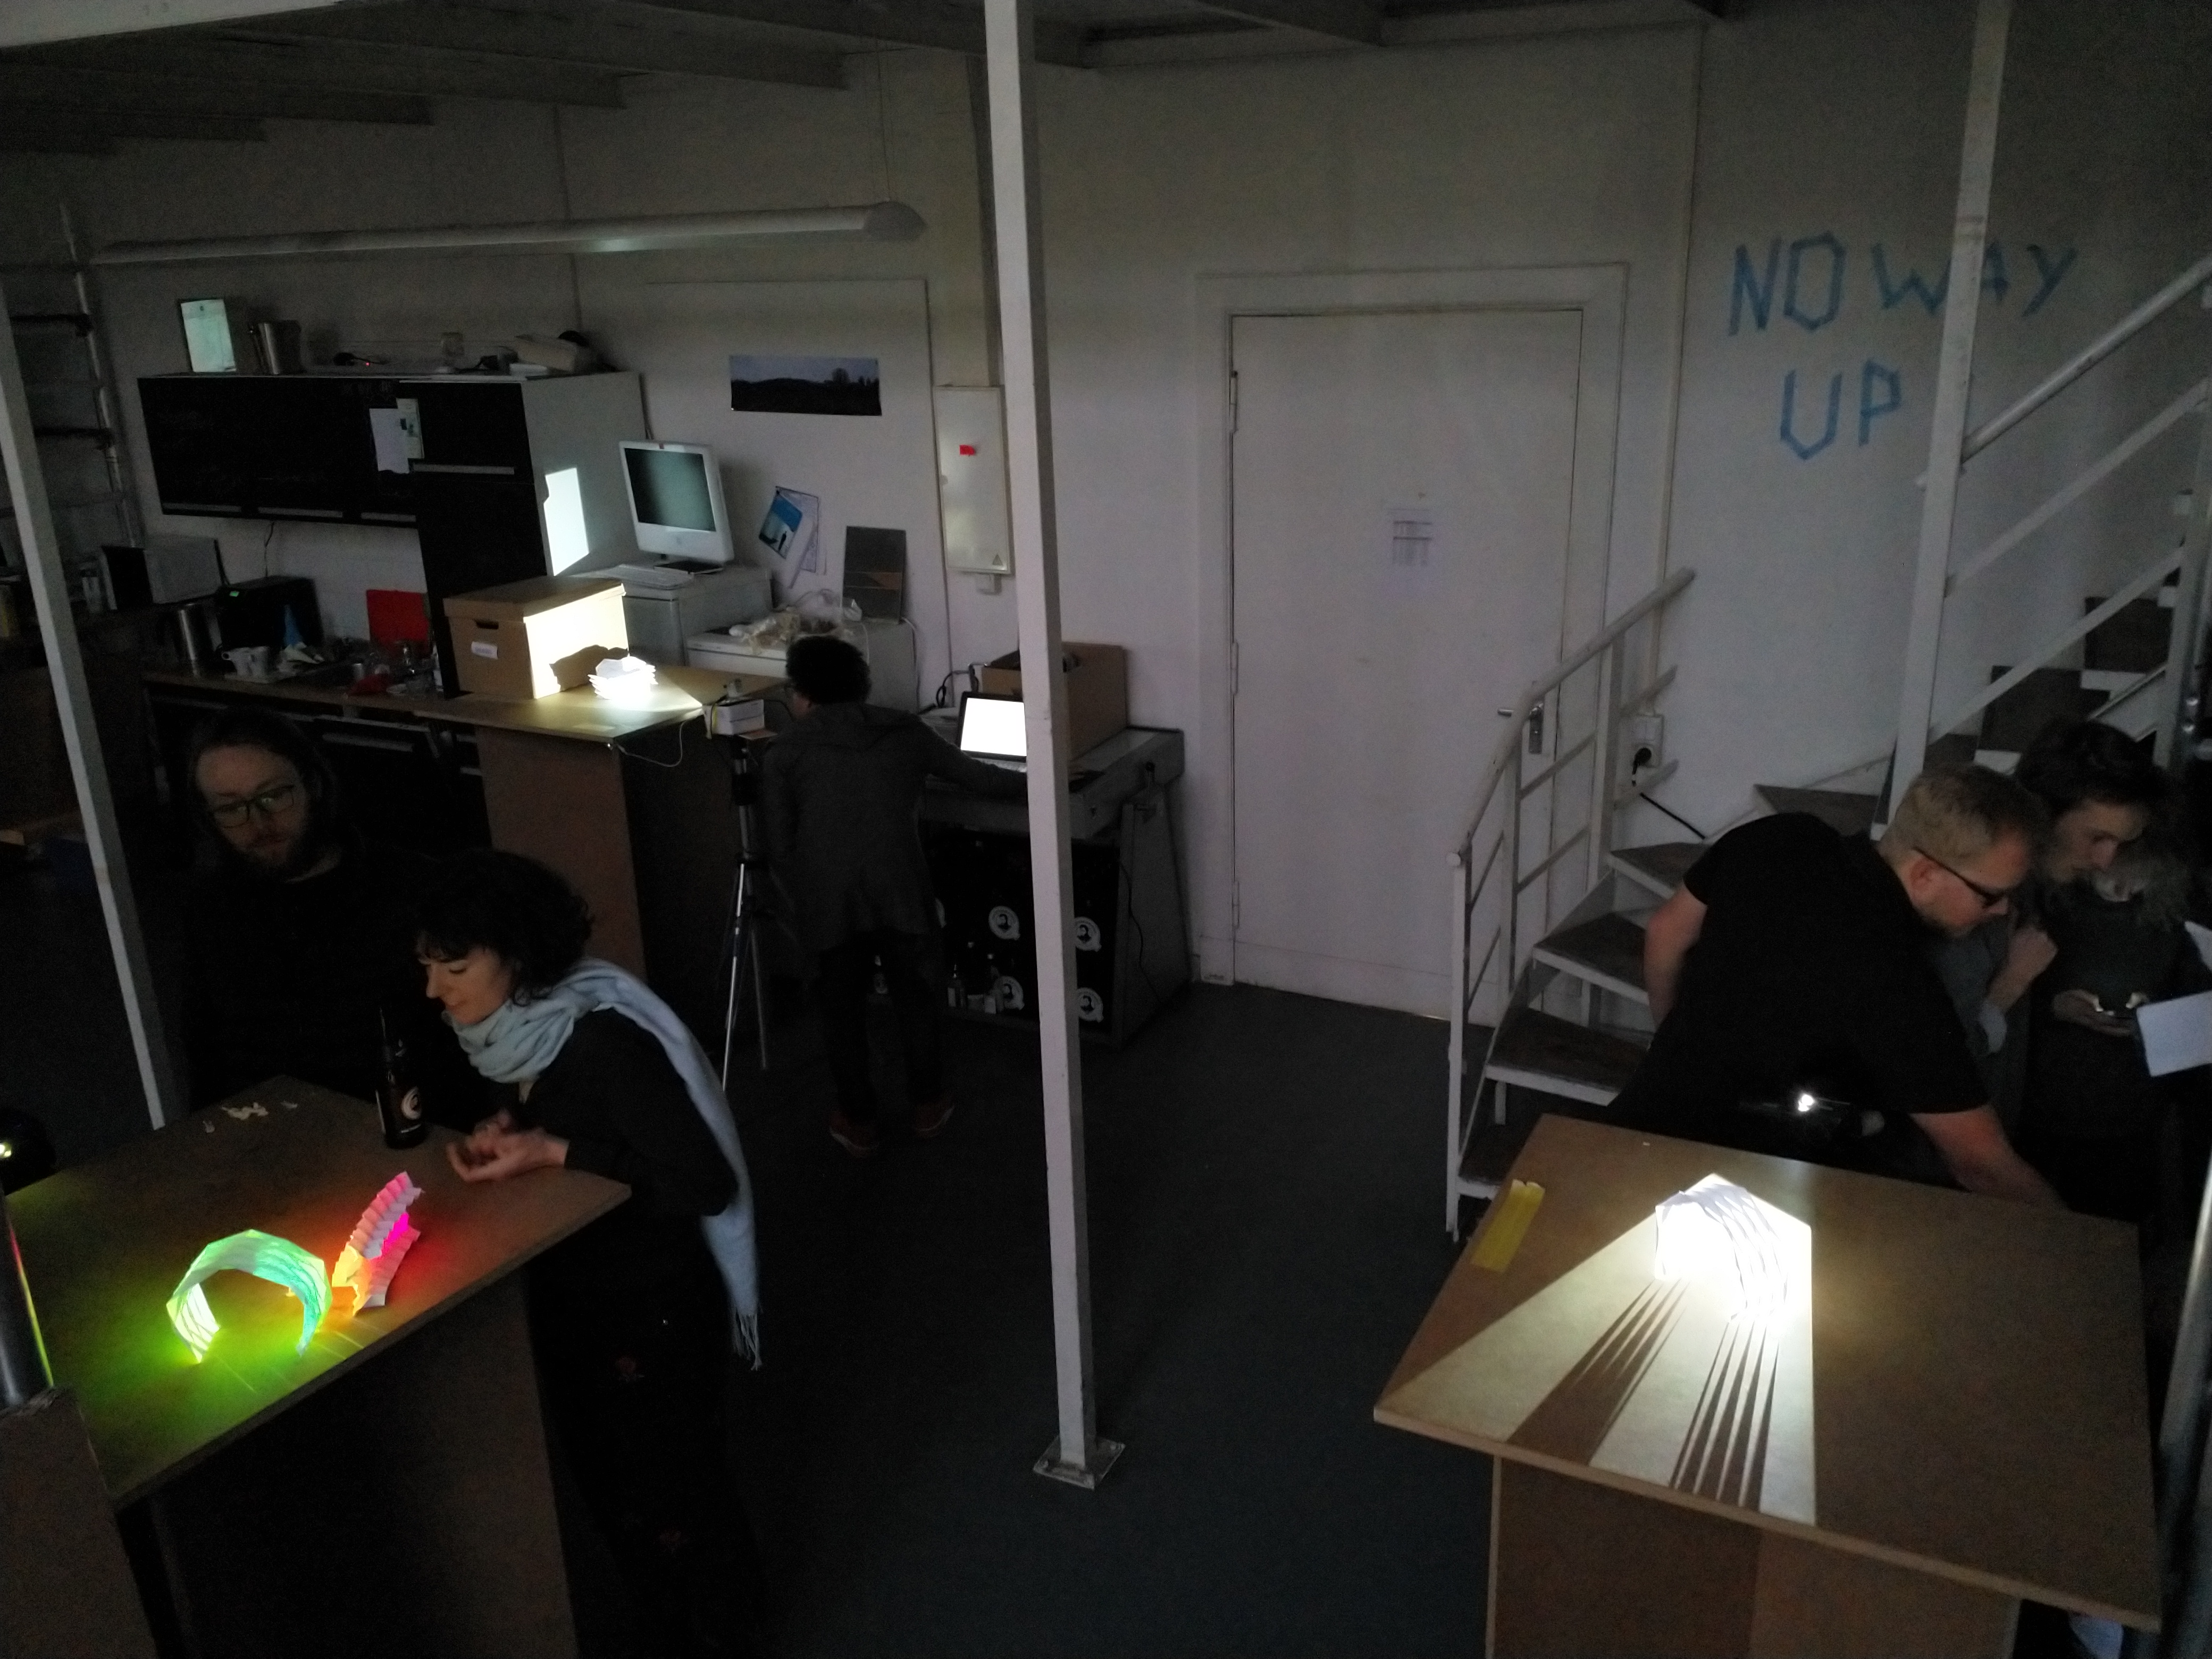
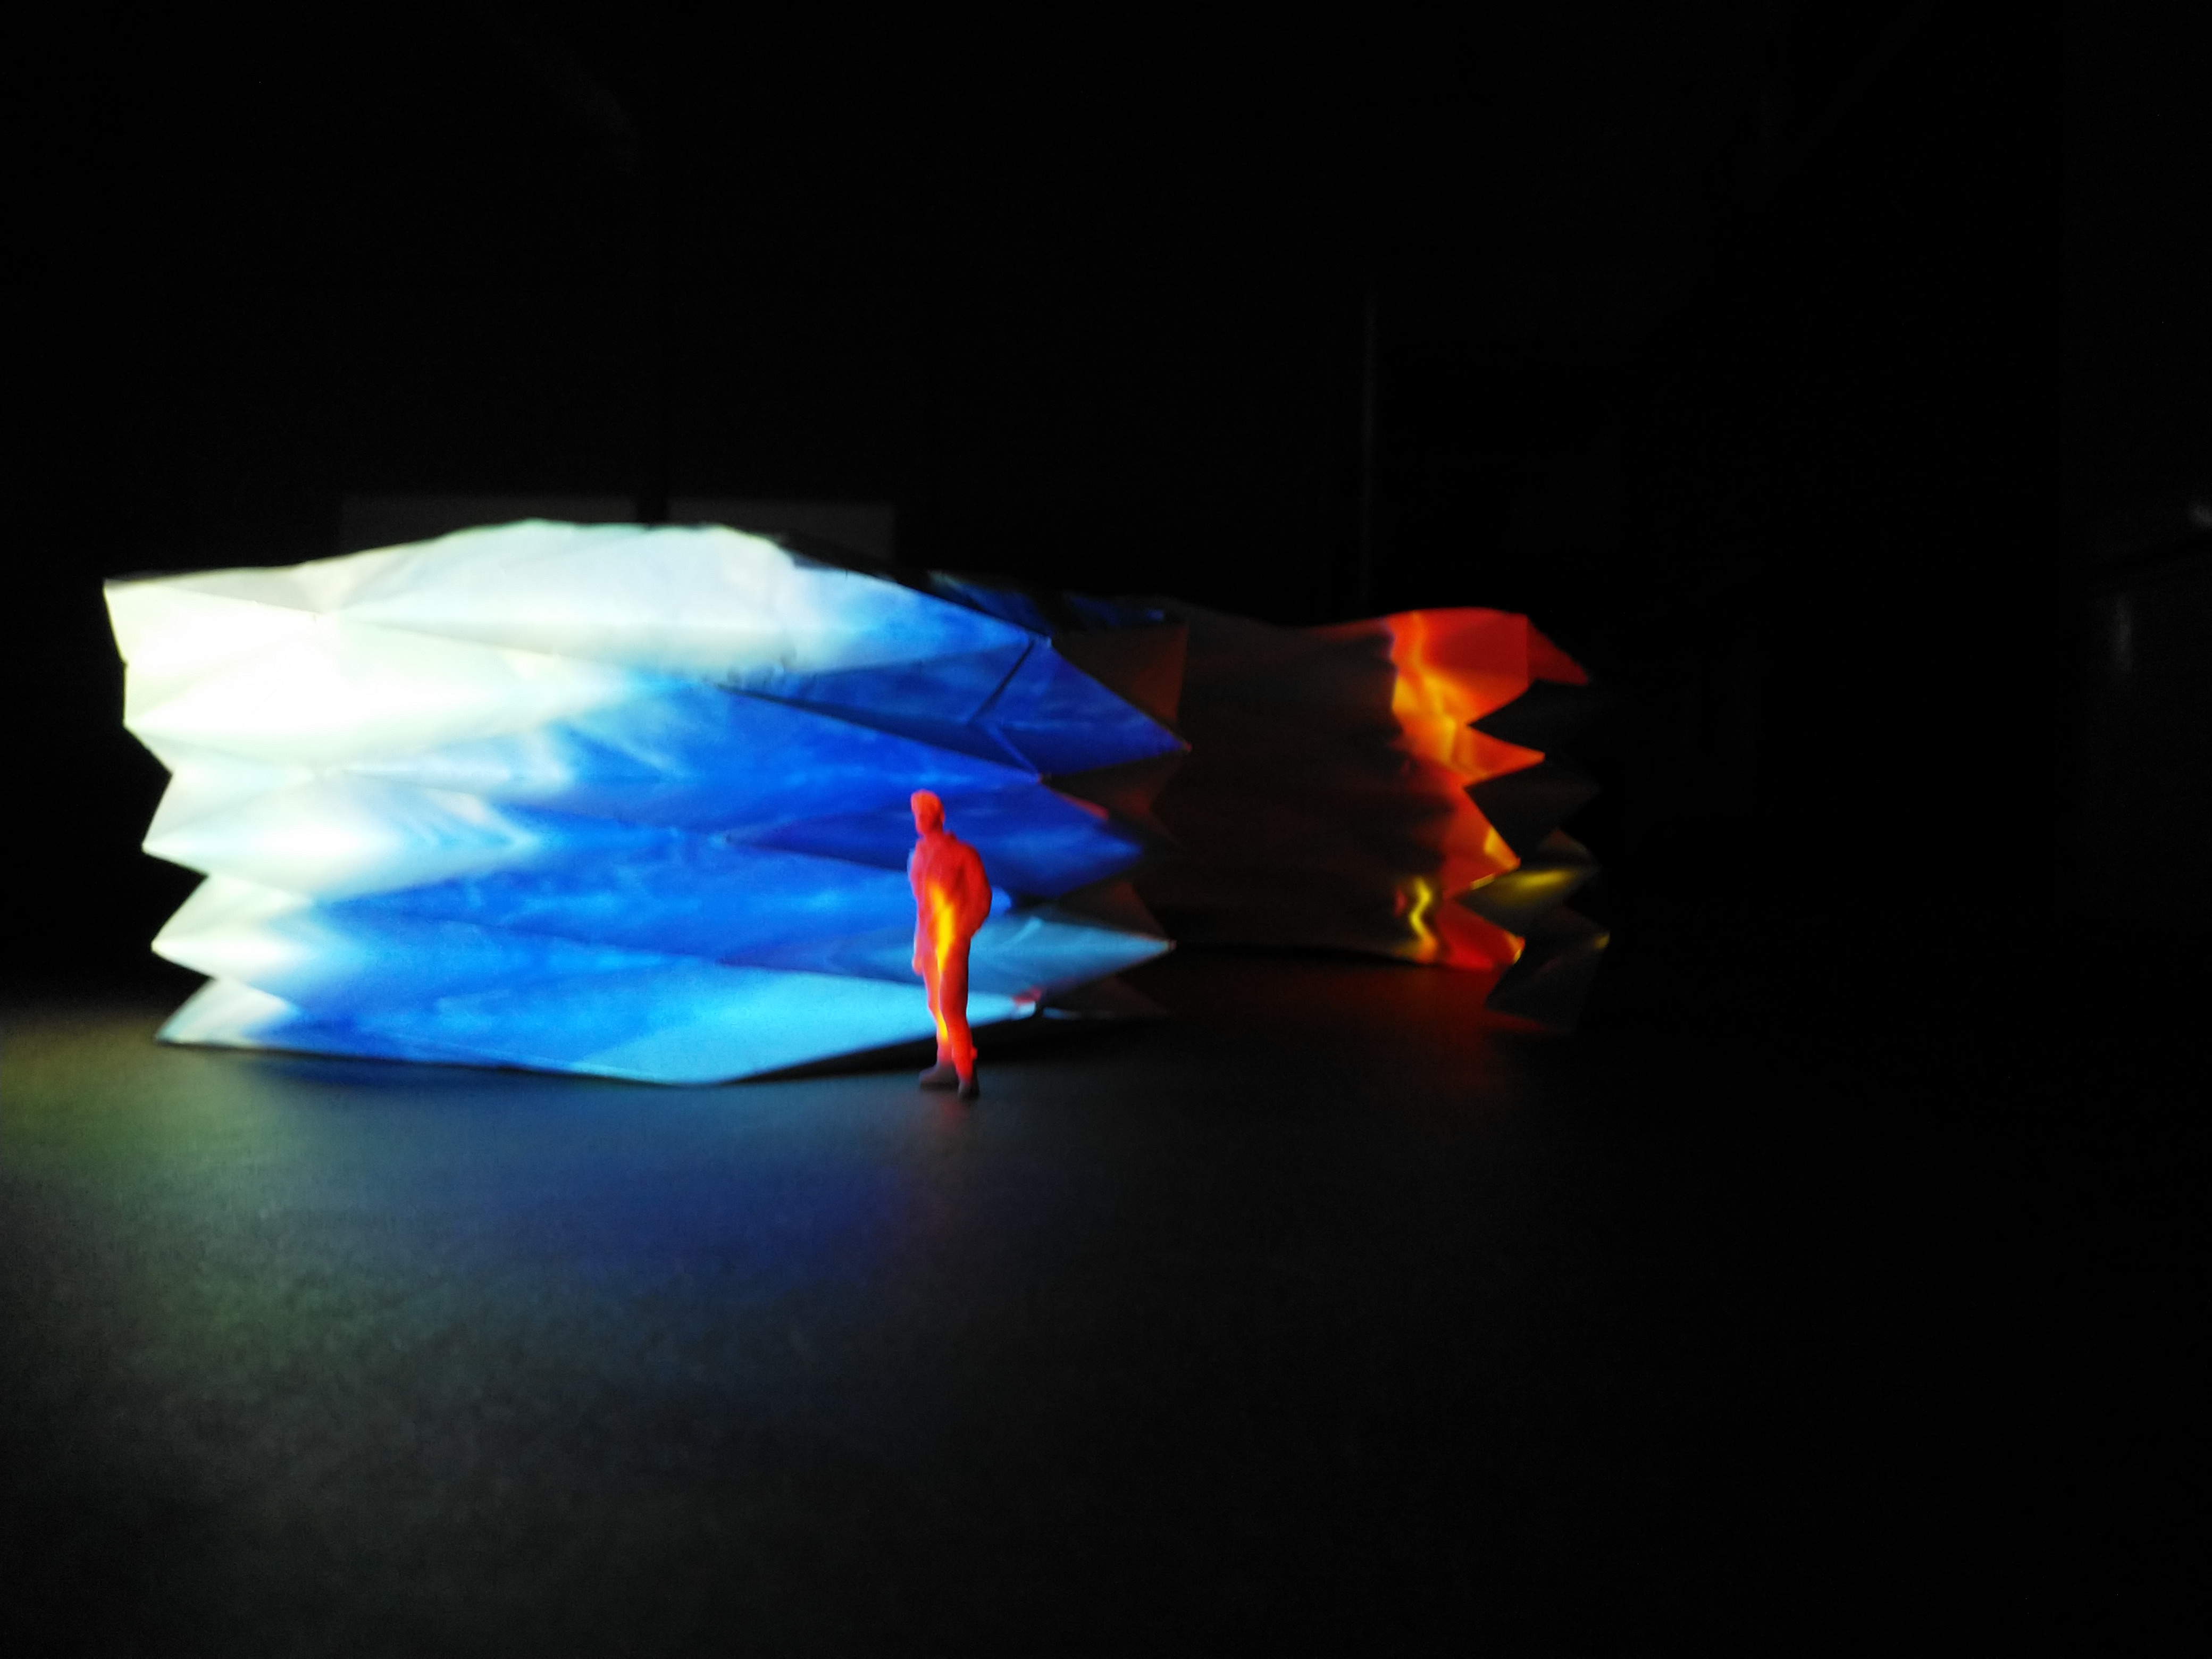
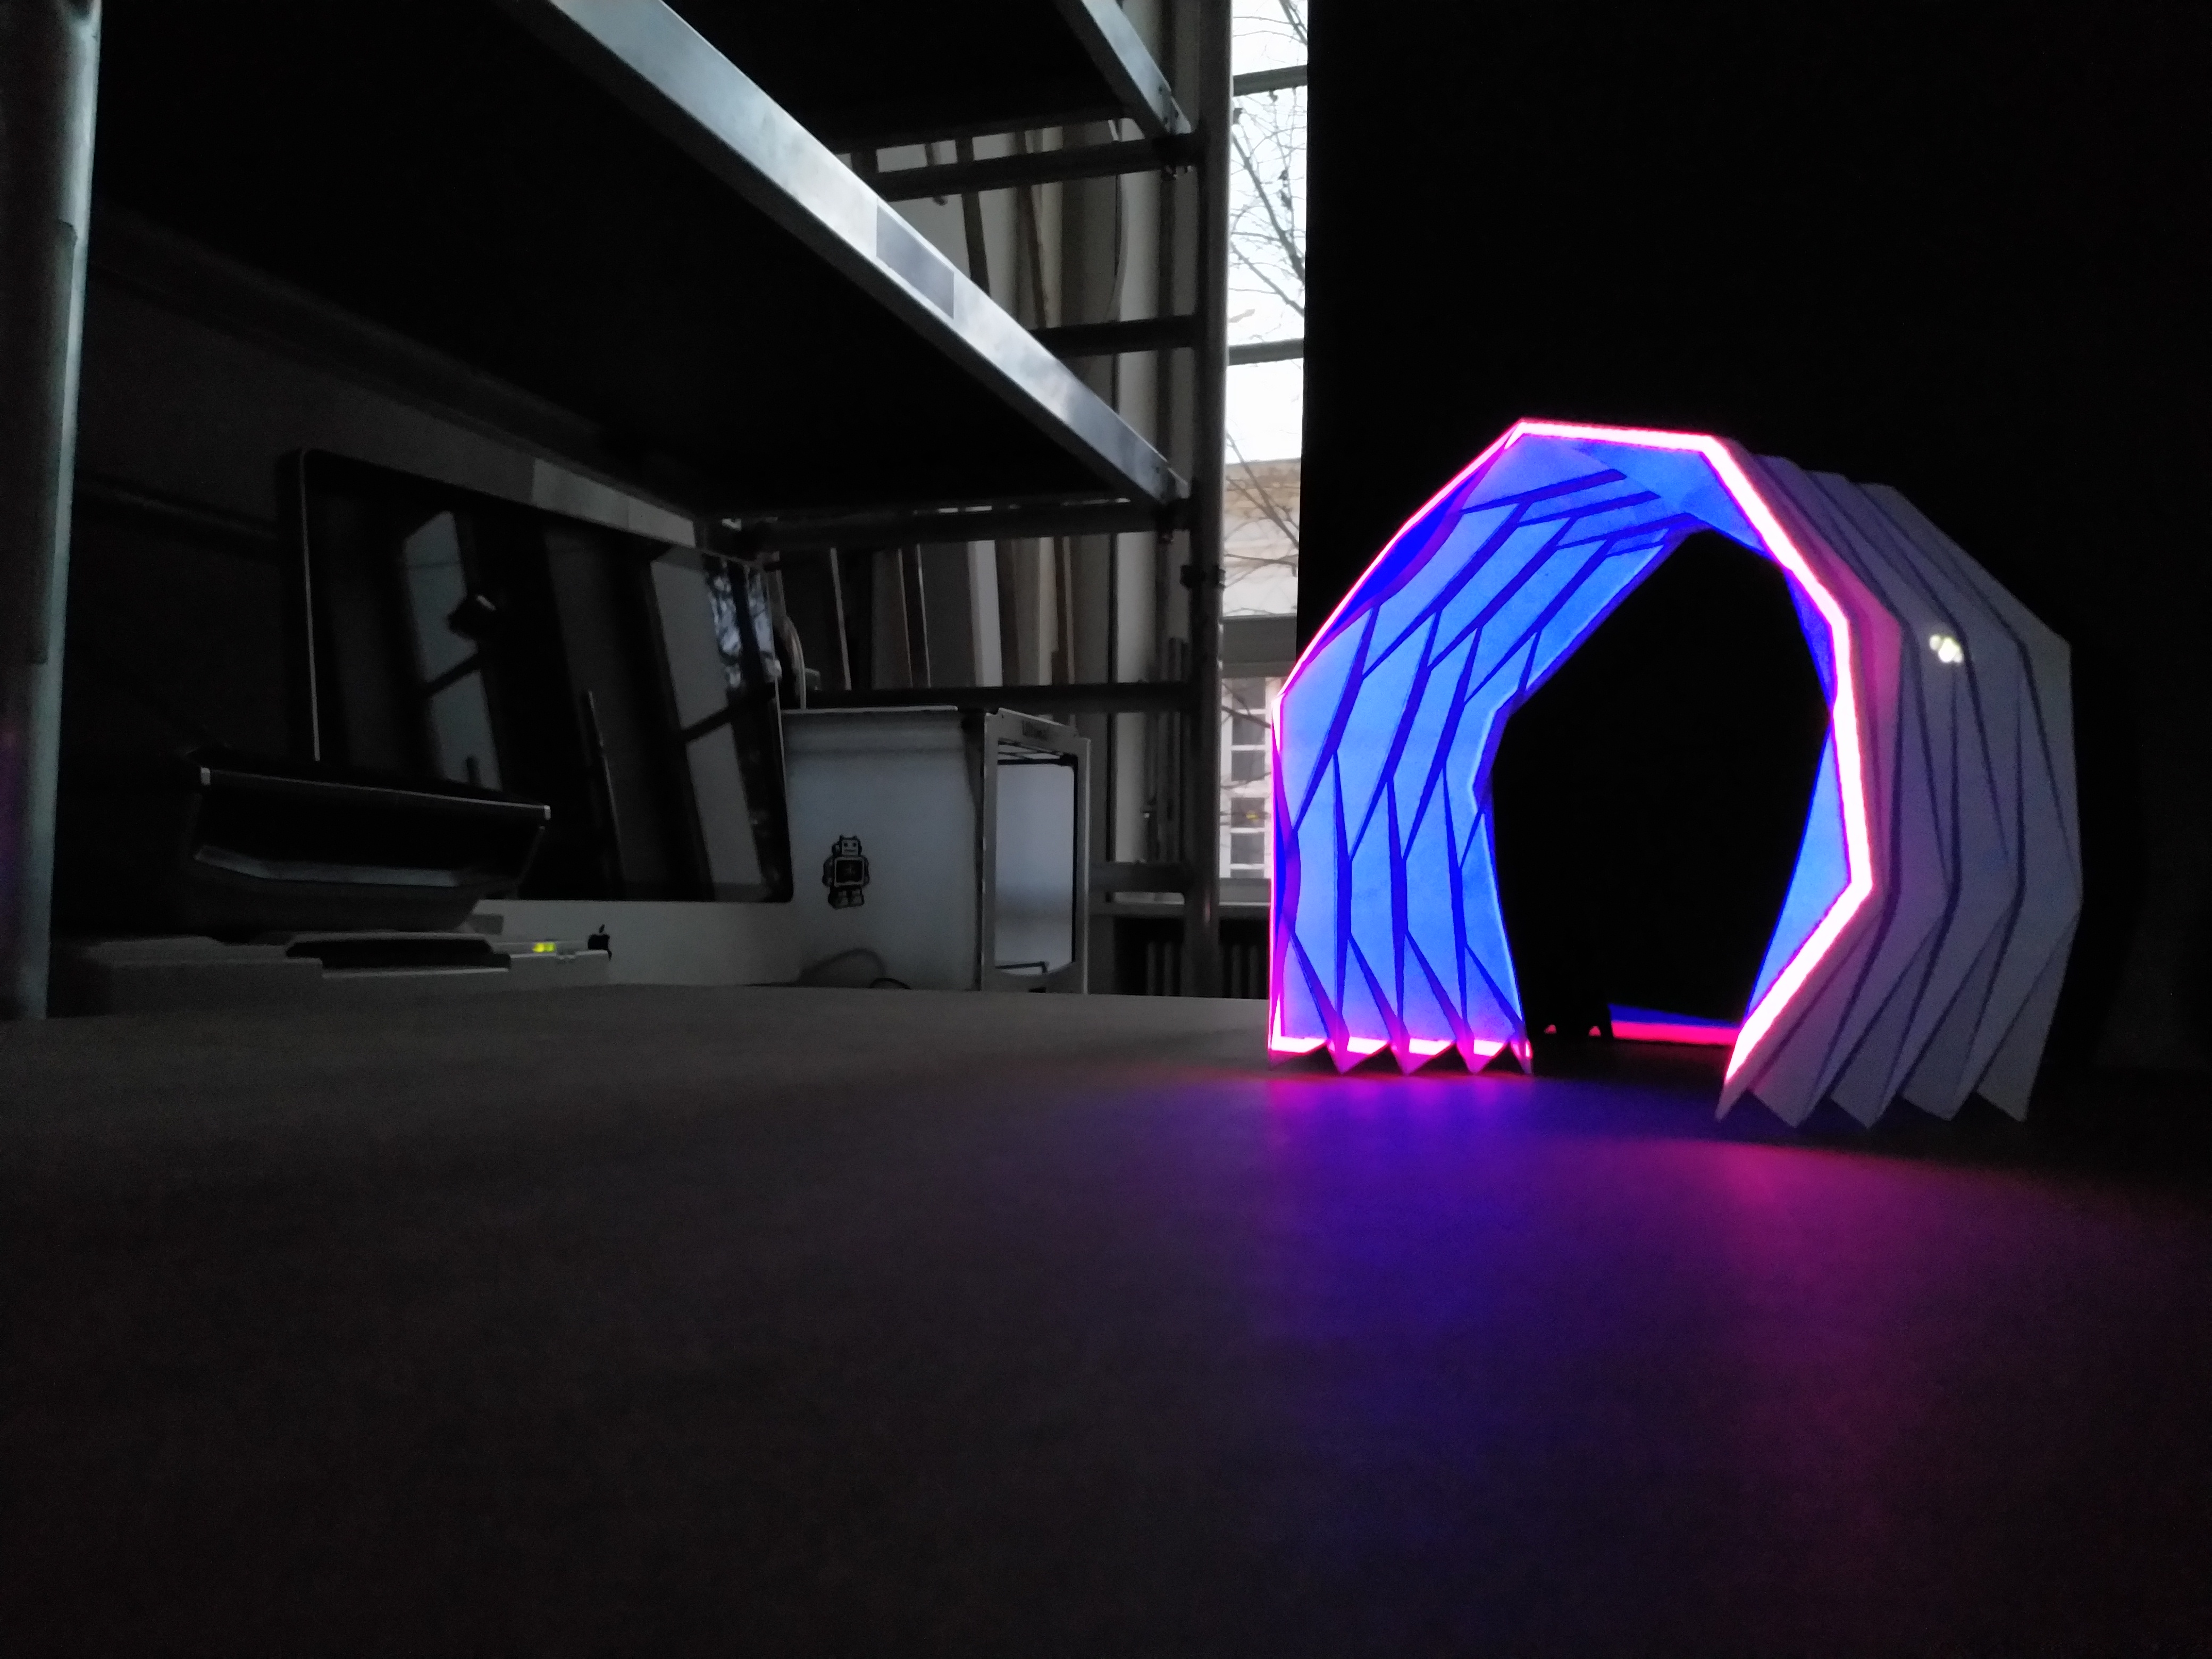

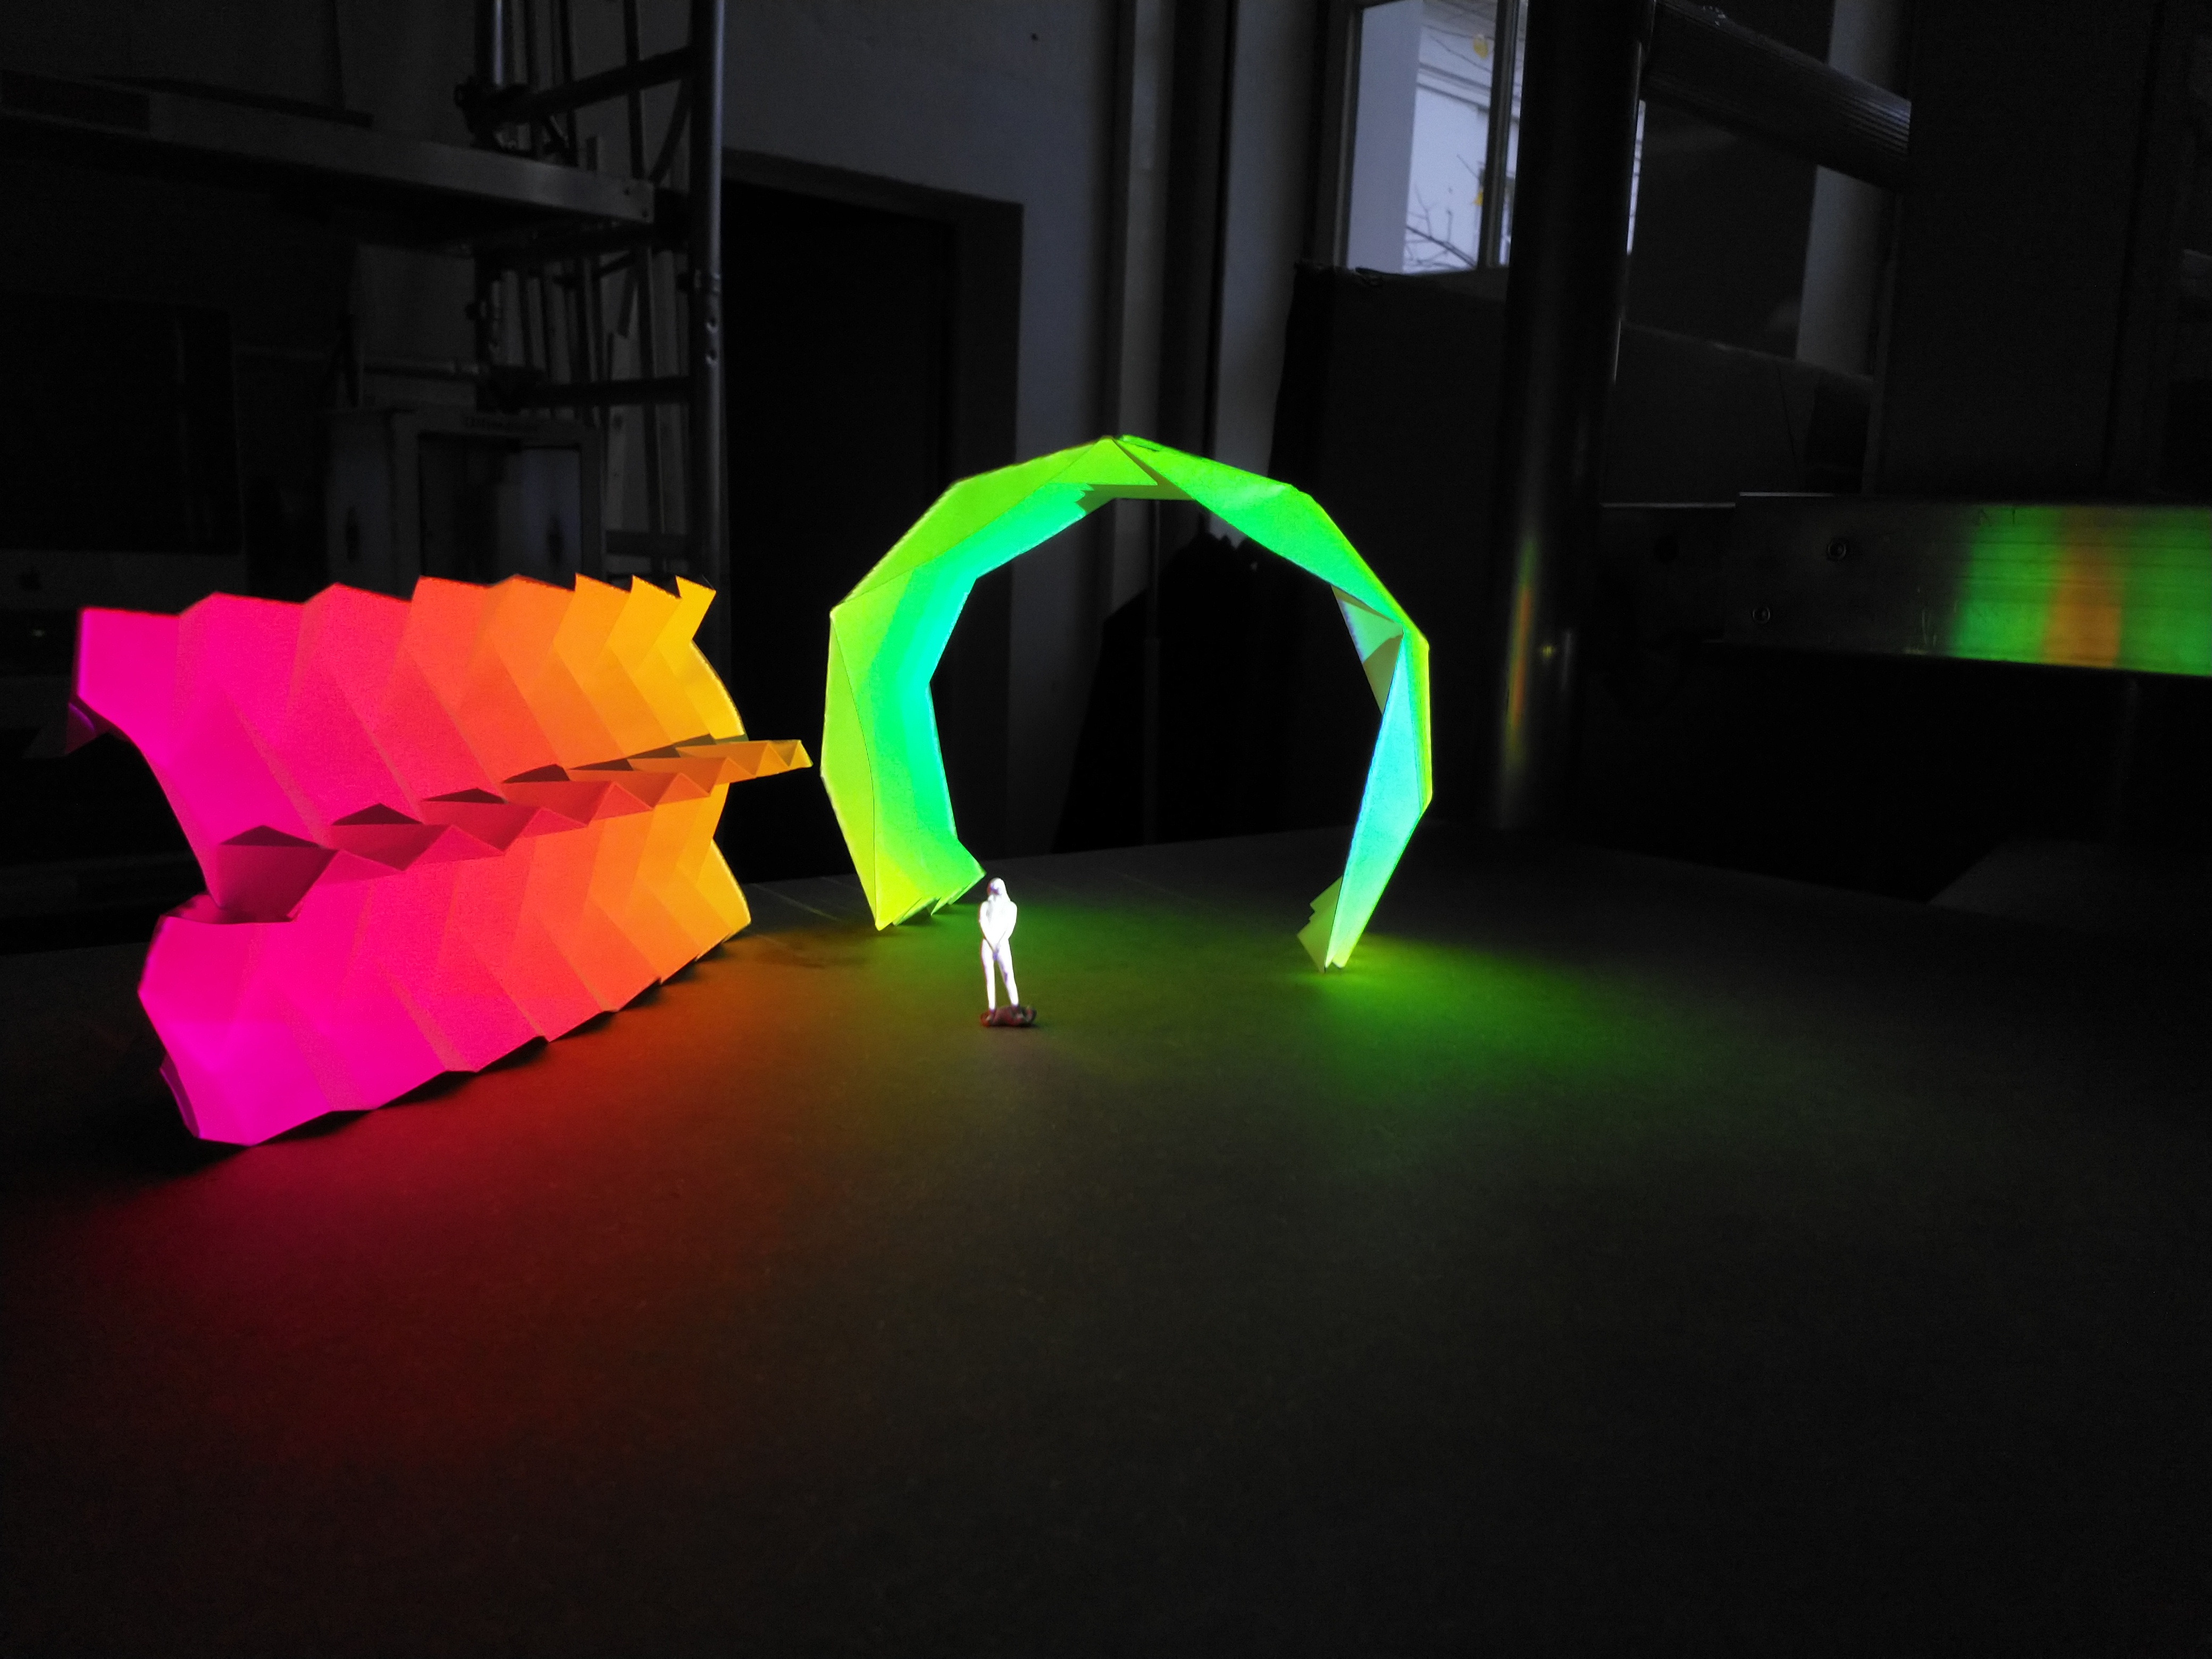
Session 1 => Paper Folding
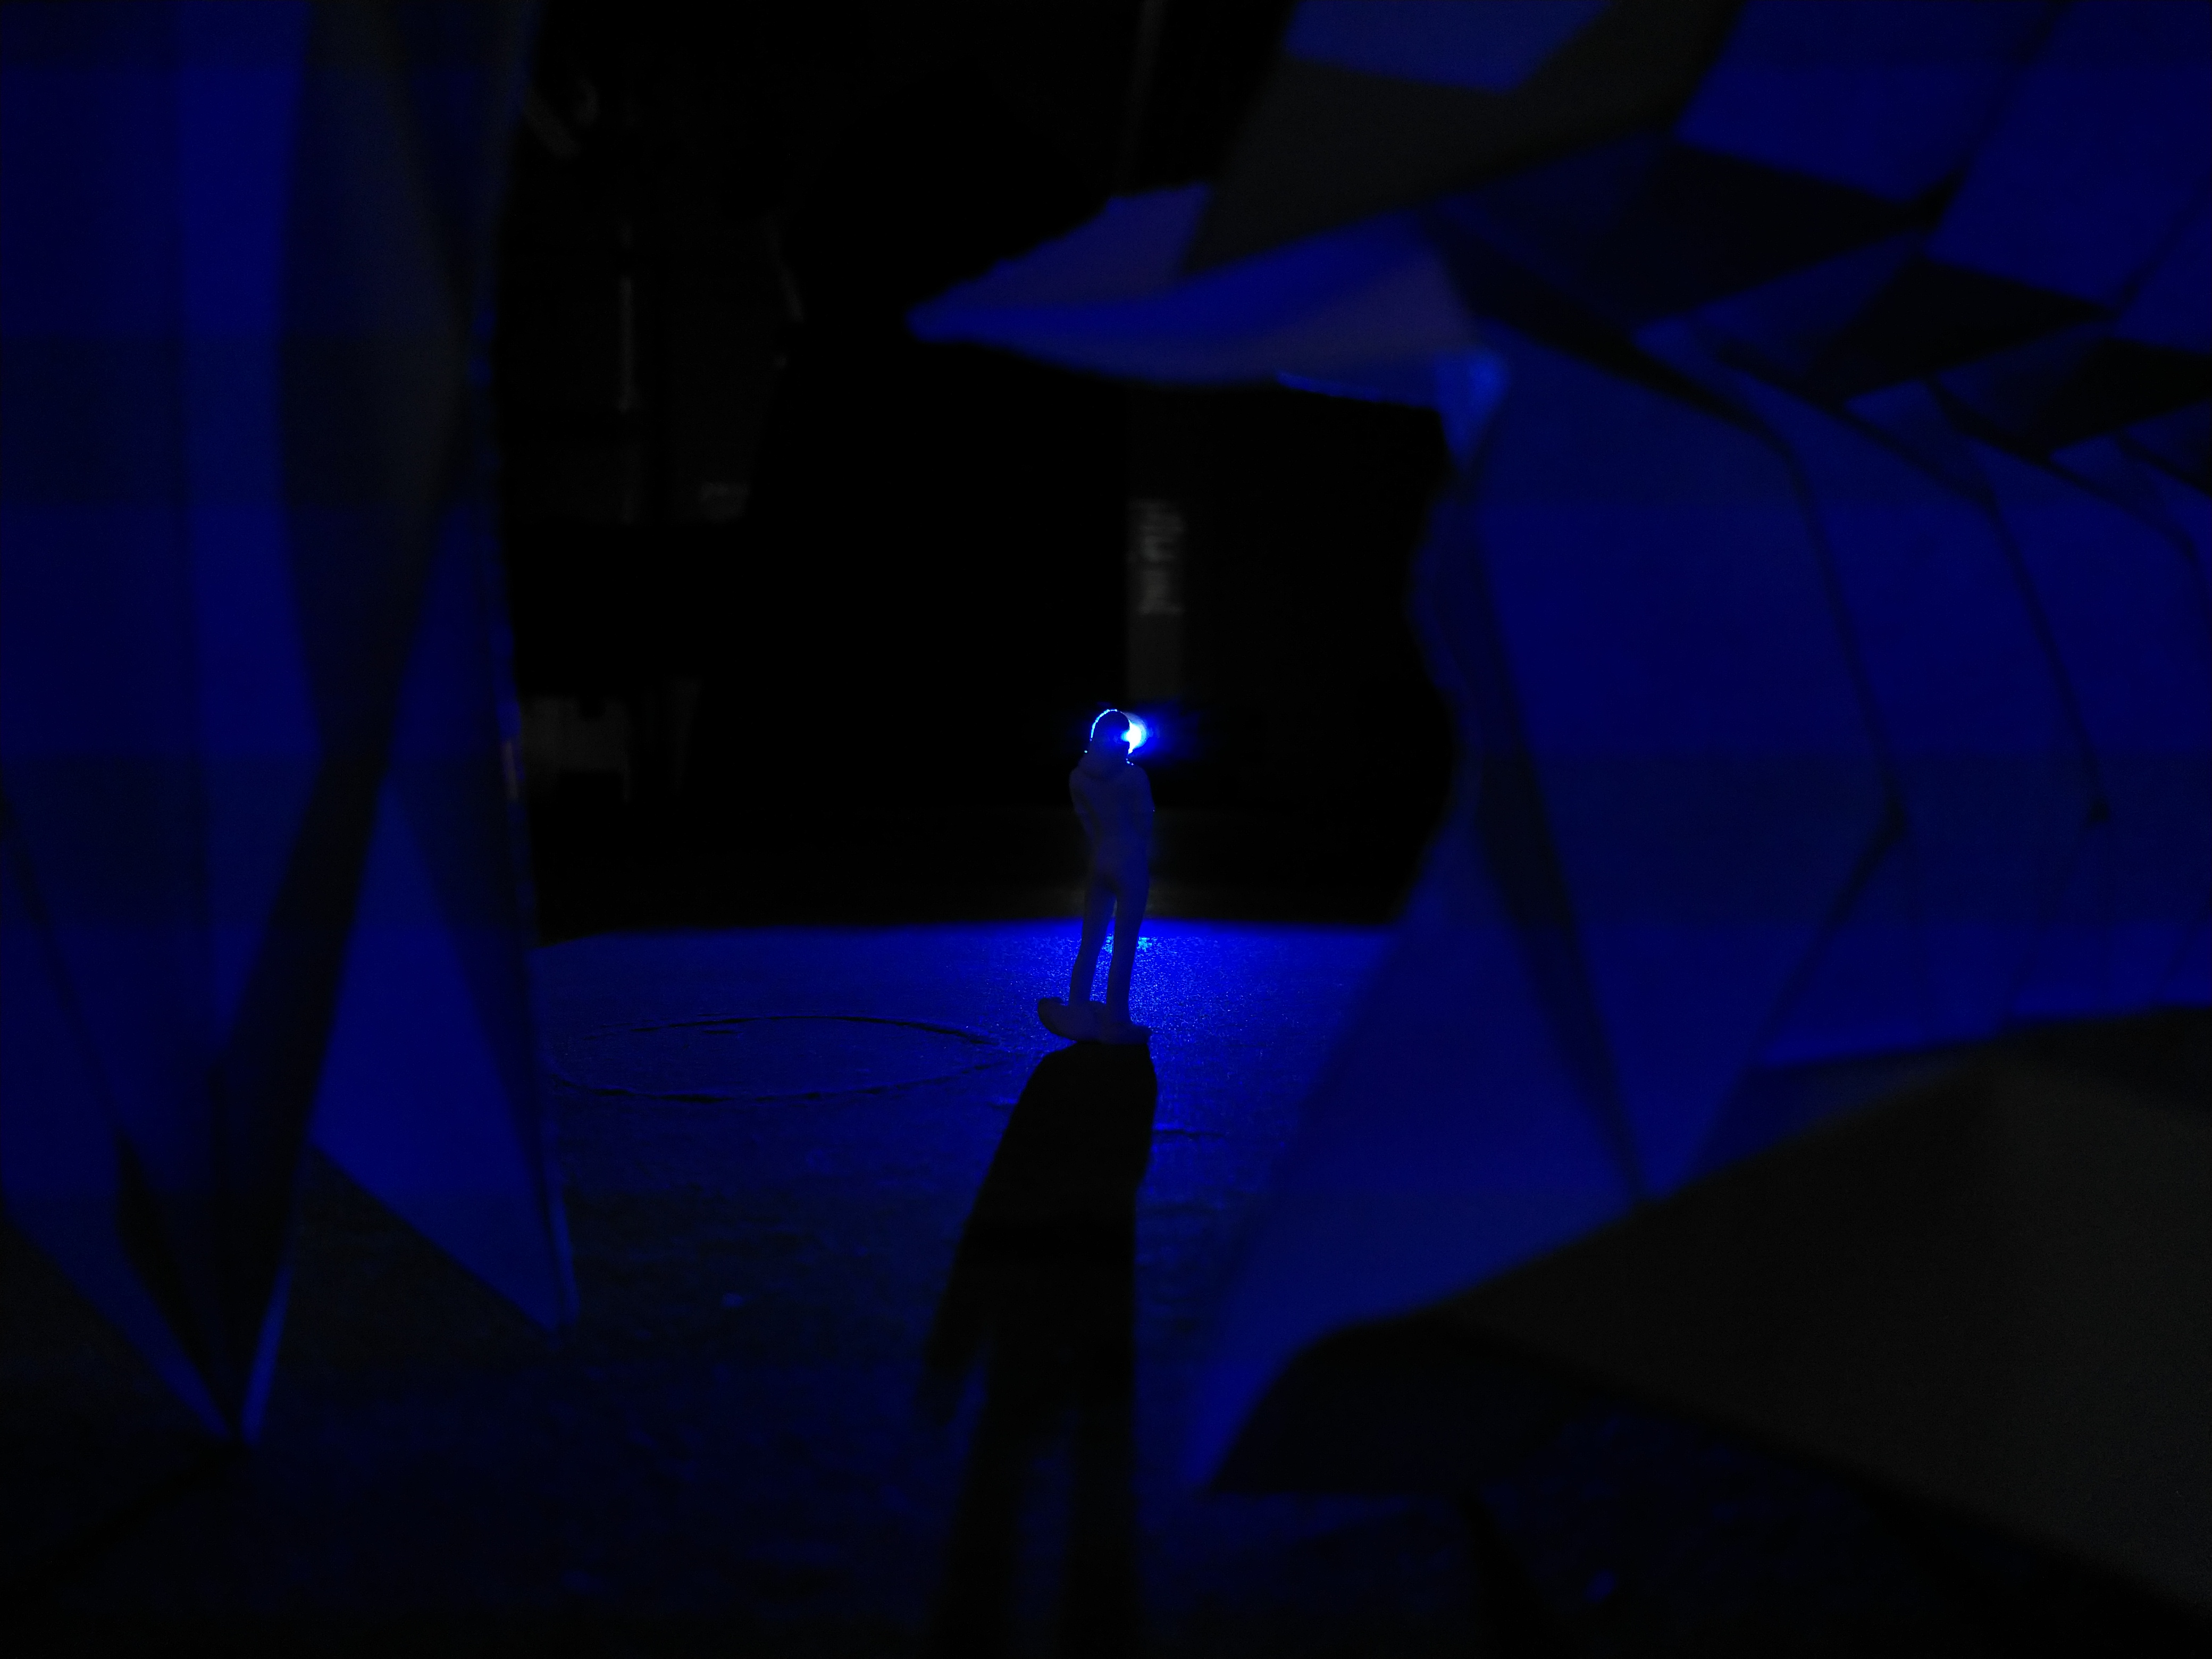
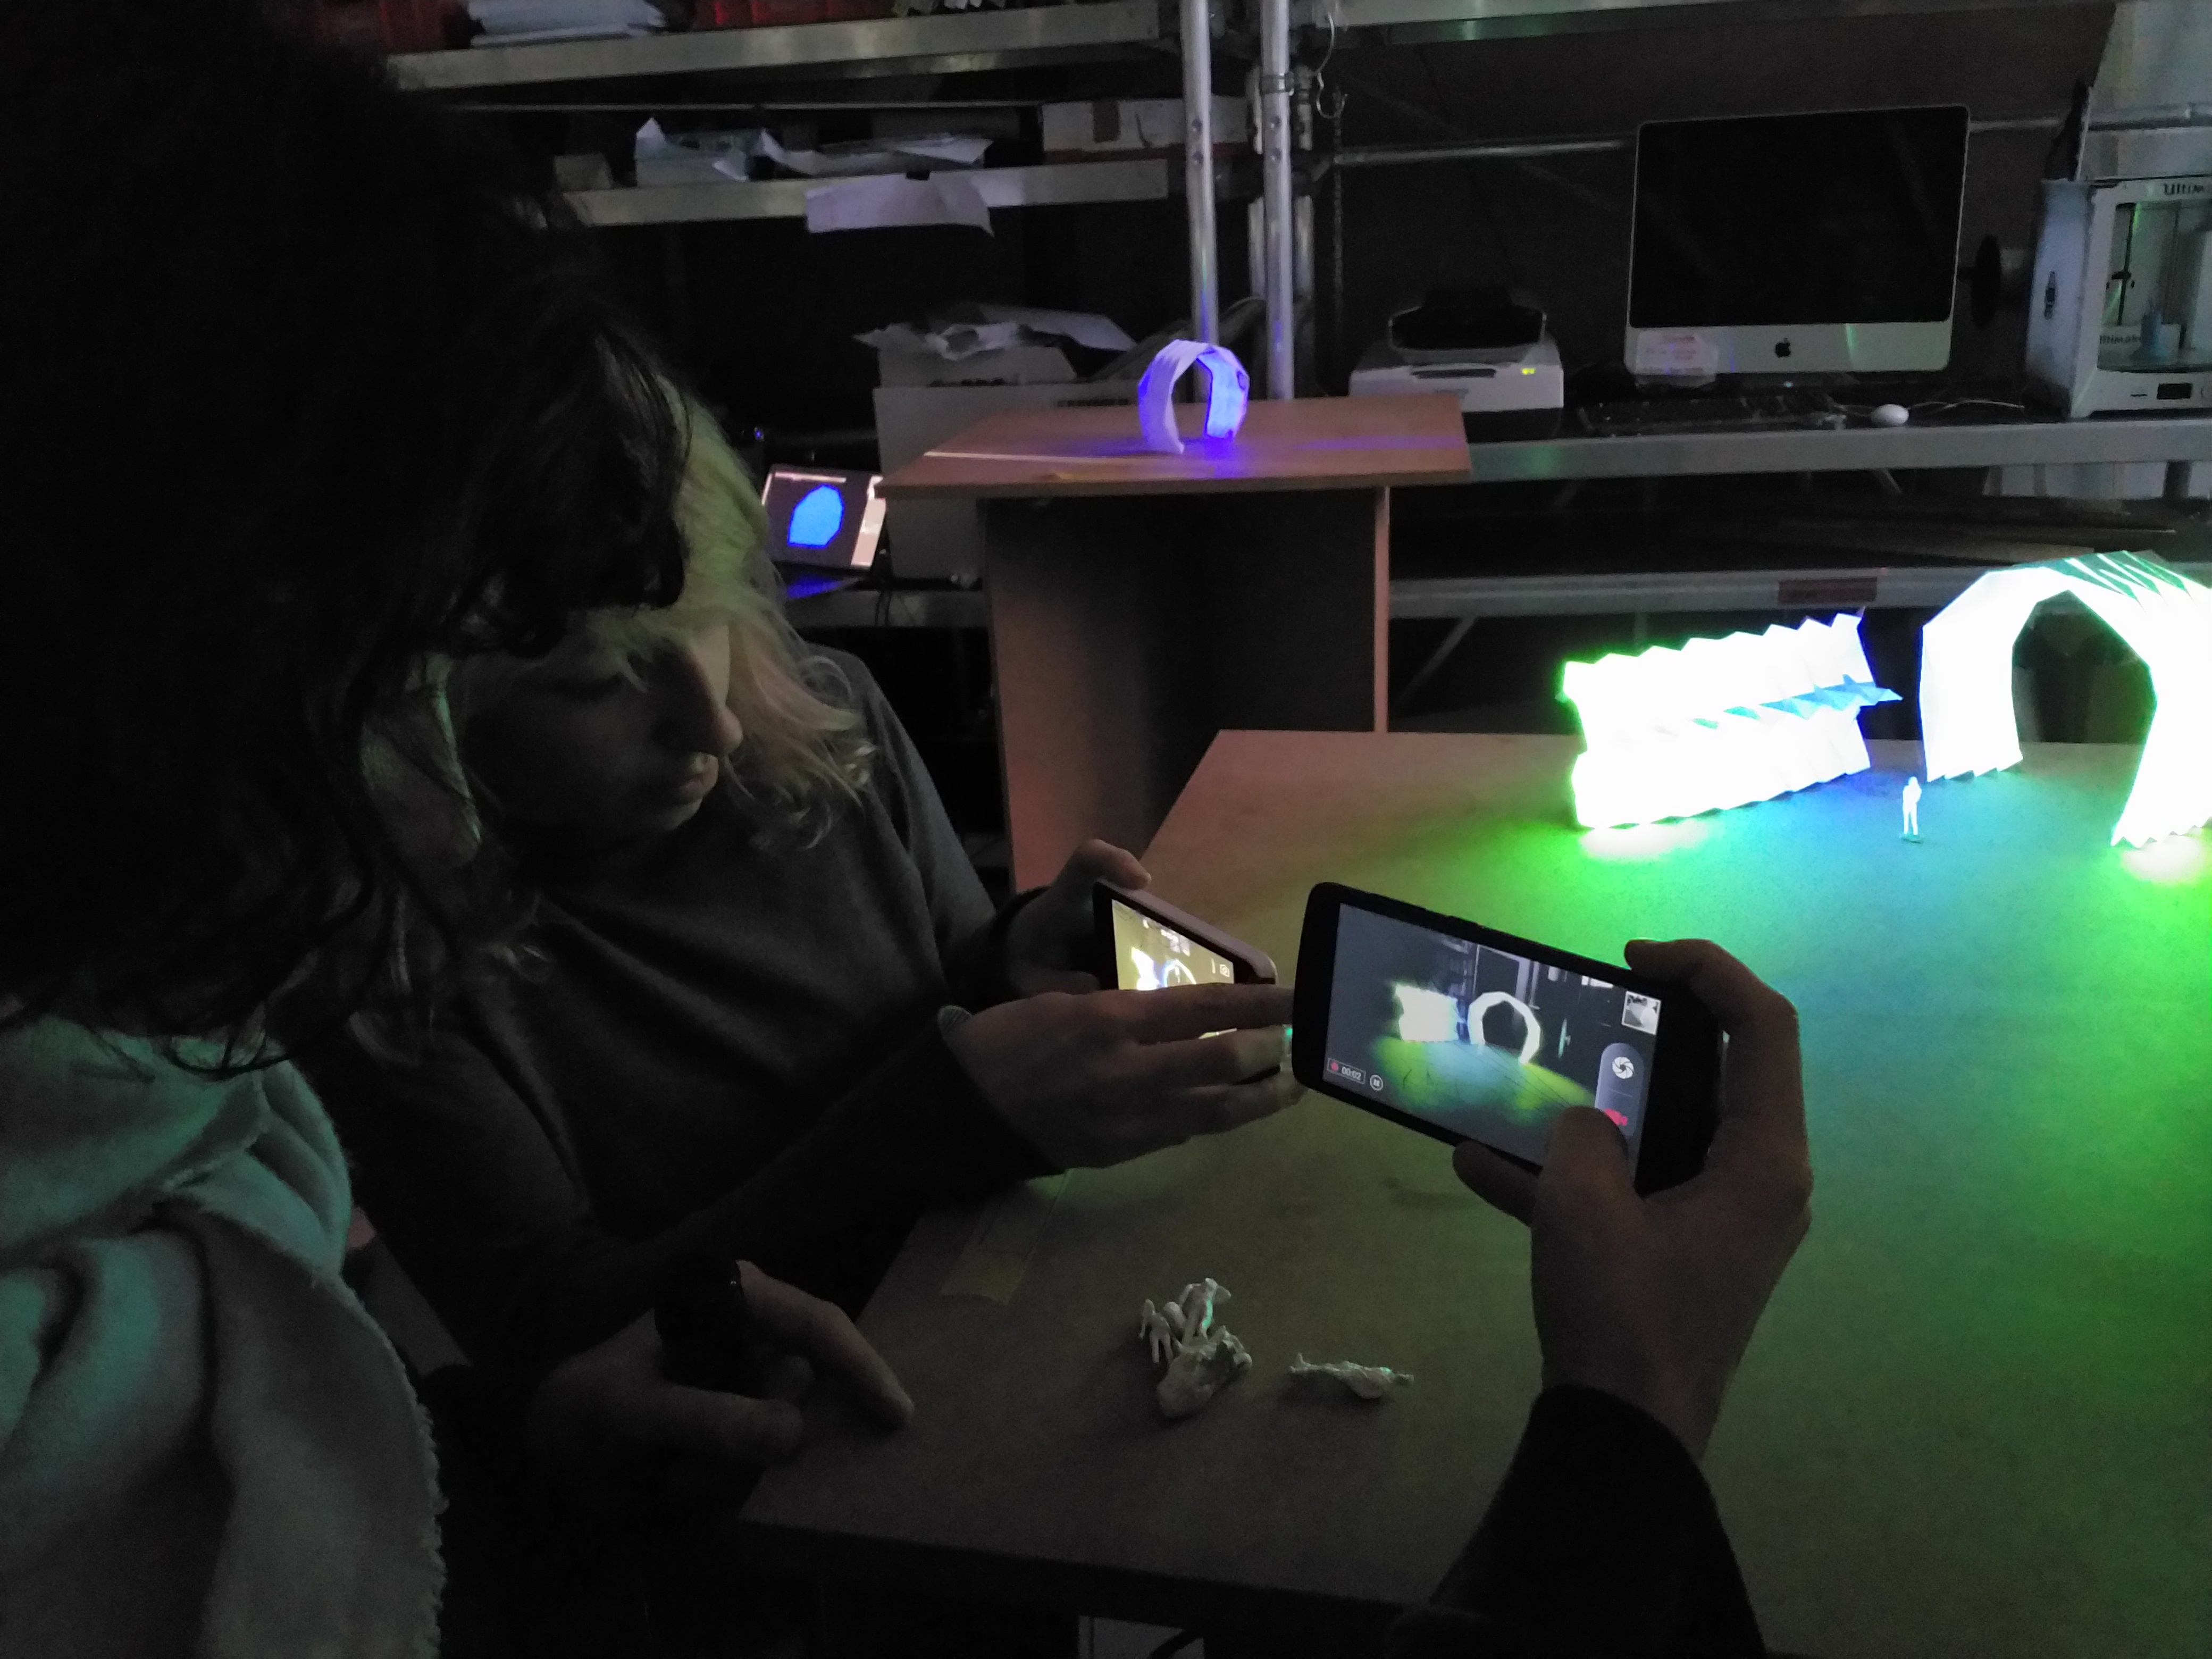
Example Structures


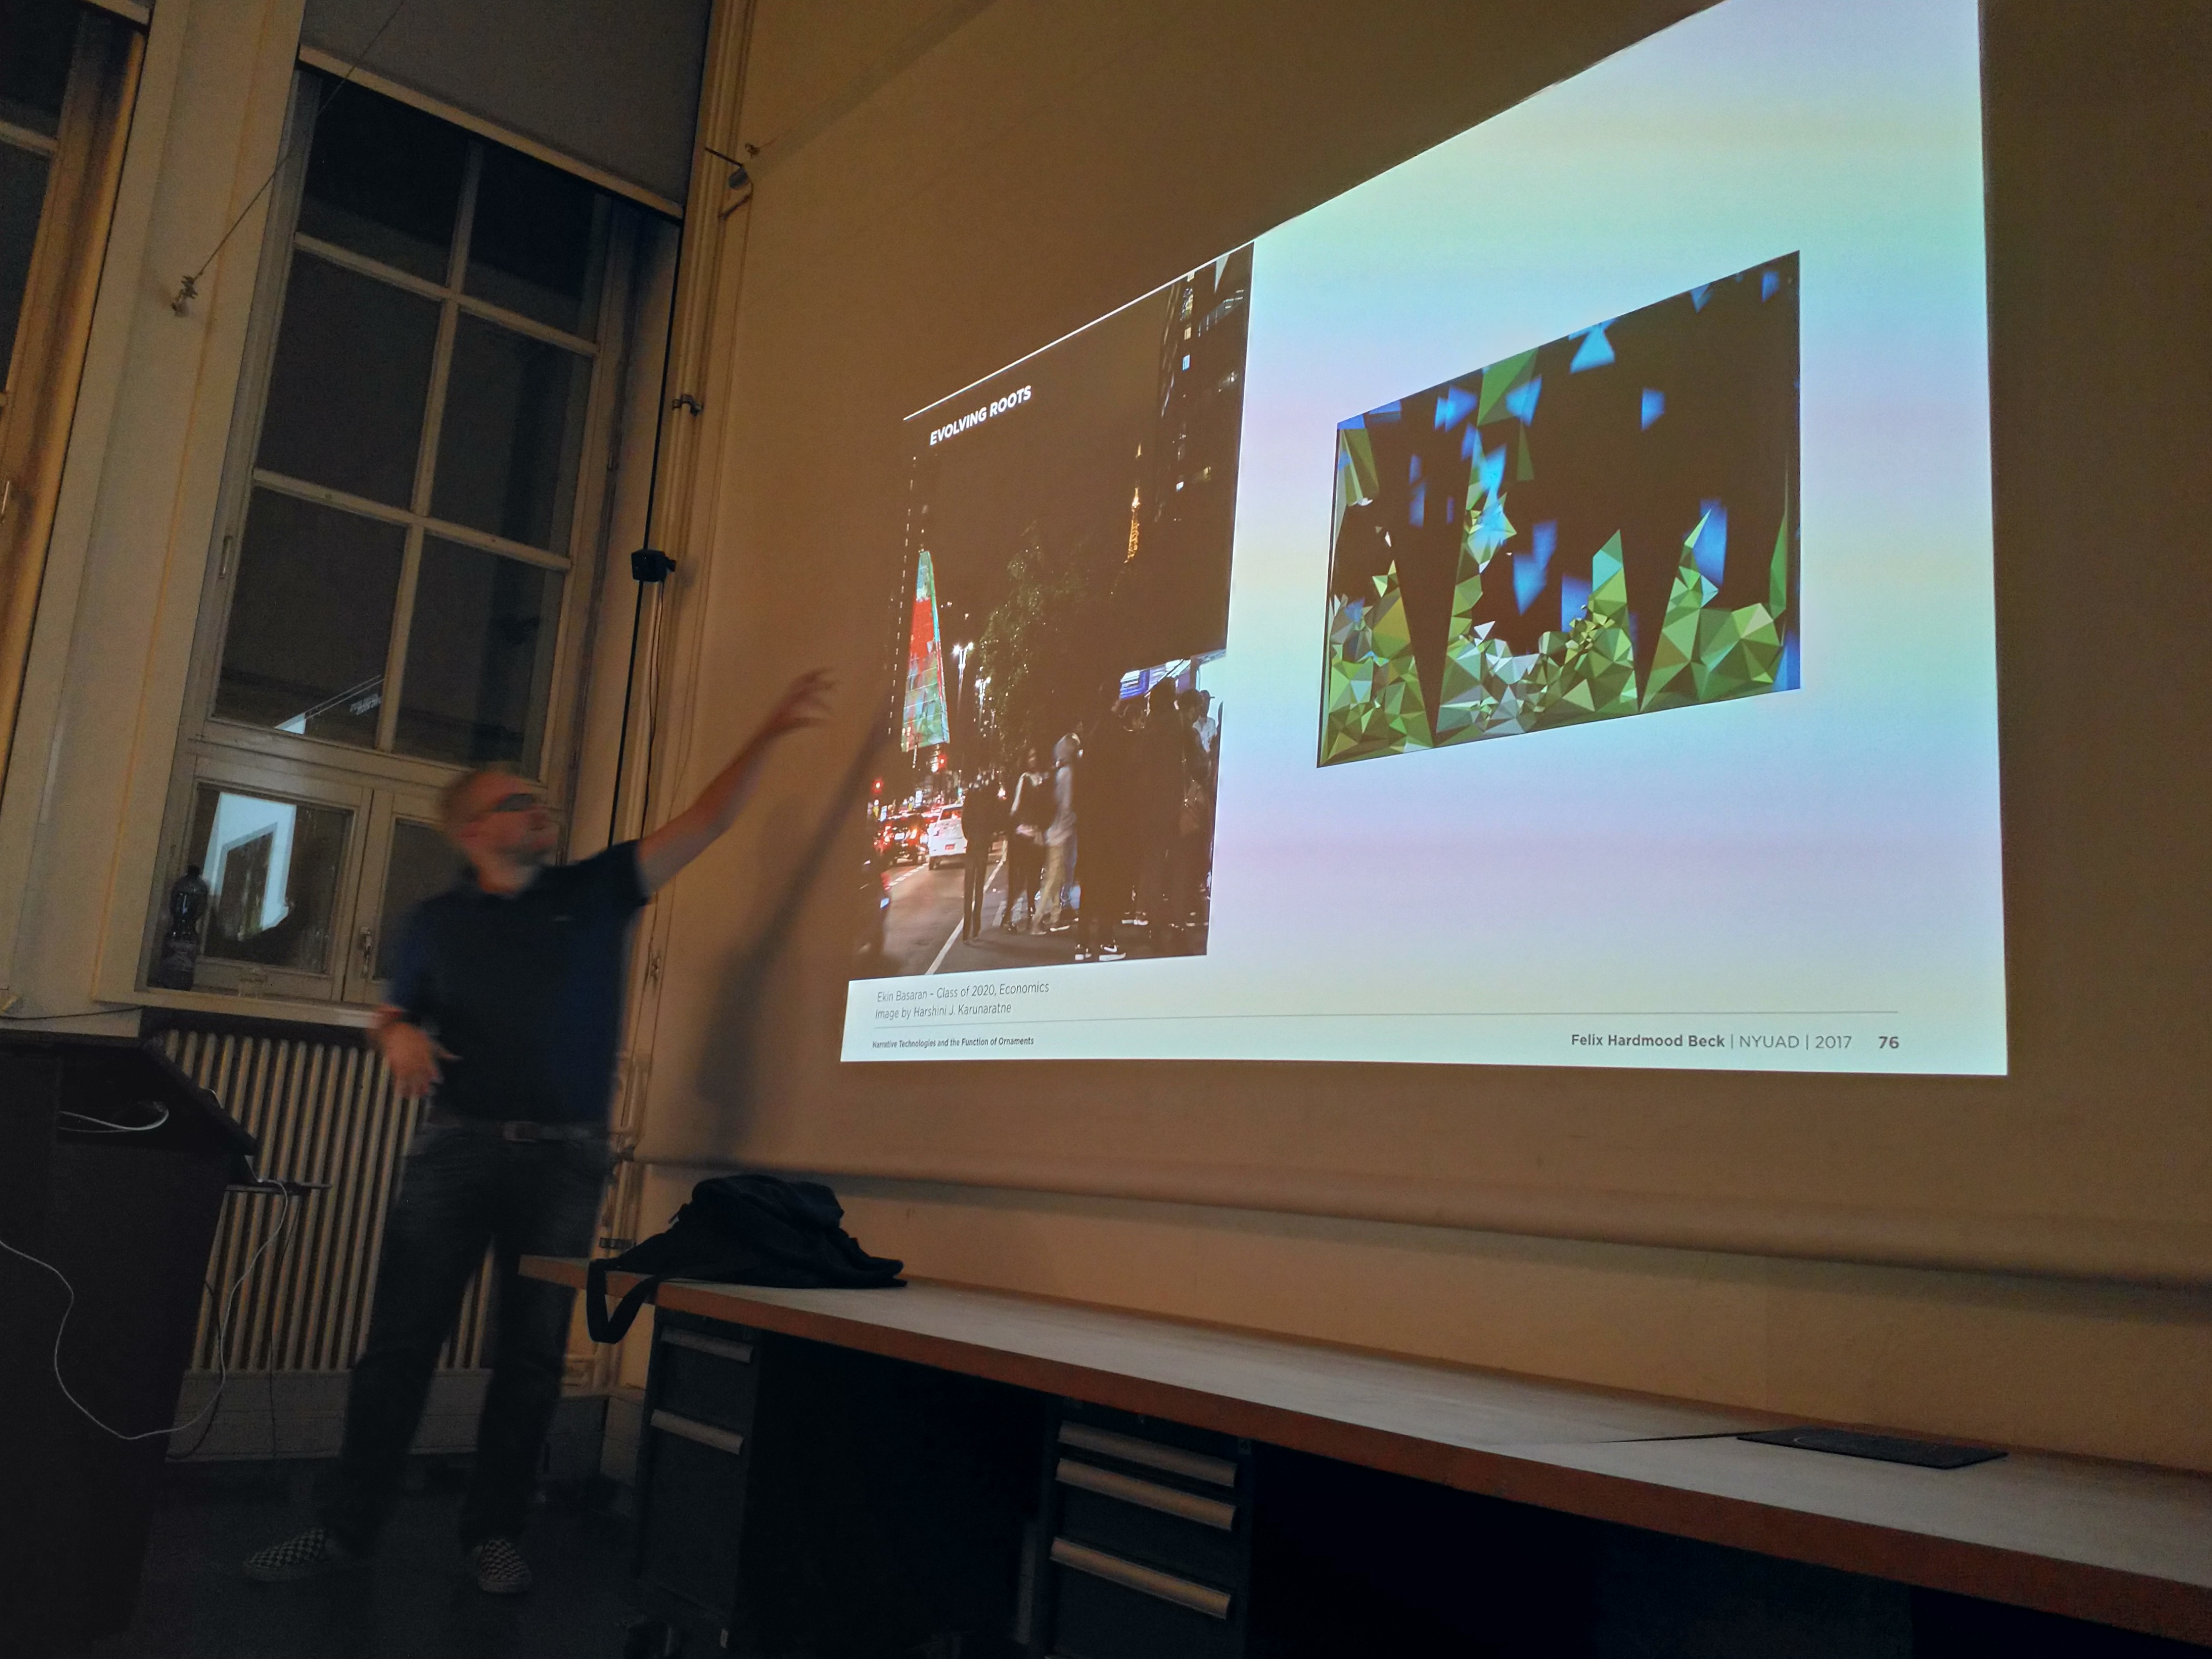
Look at the above structures and set them into an architectural context. Imagine those structures to become a carrier of information using different media: For instance printed images (e.g. as anamorphosis), or medial augmentation (e.g. through projection mapping) – in combination with the right media such structures create interesting spatial environments to transmit content.
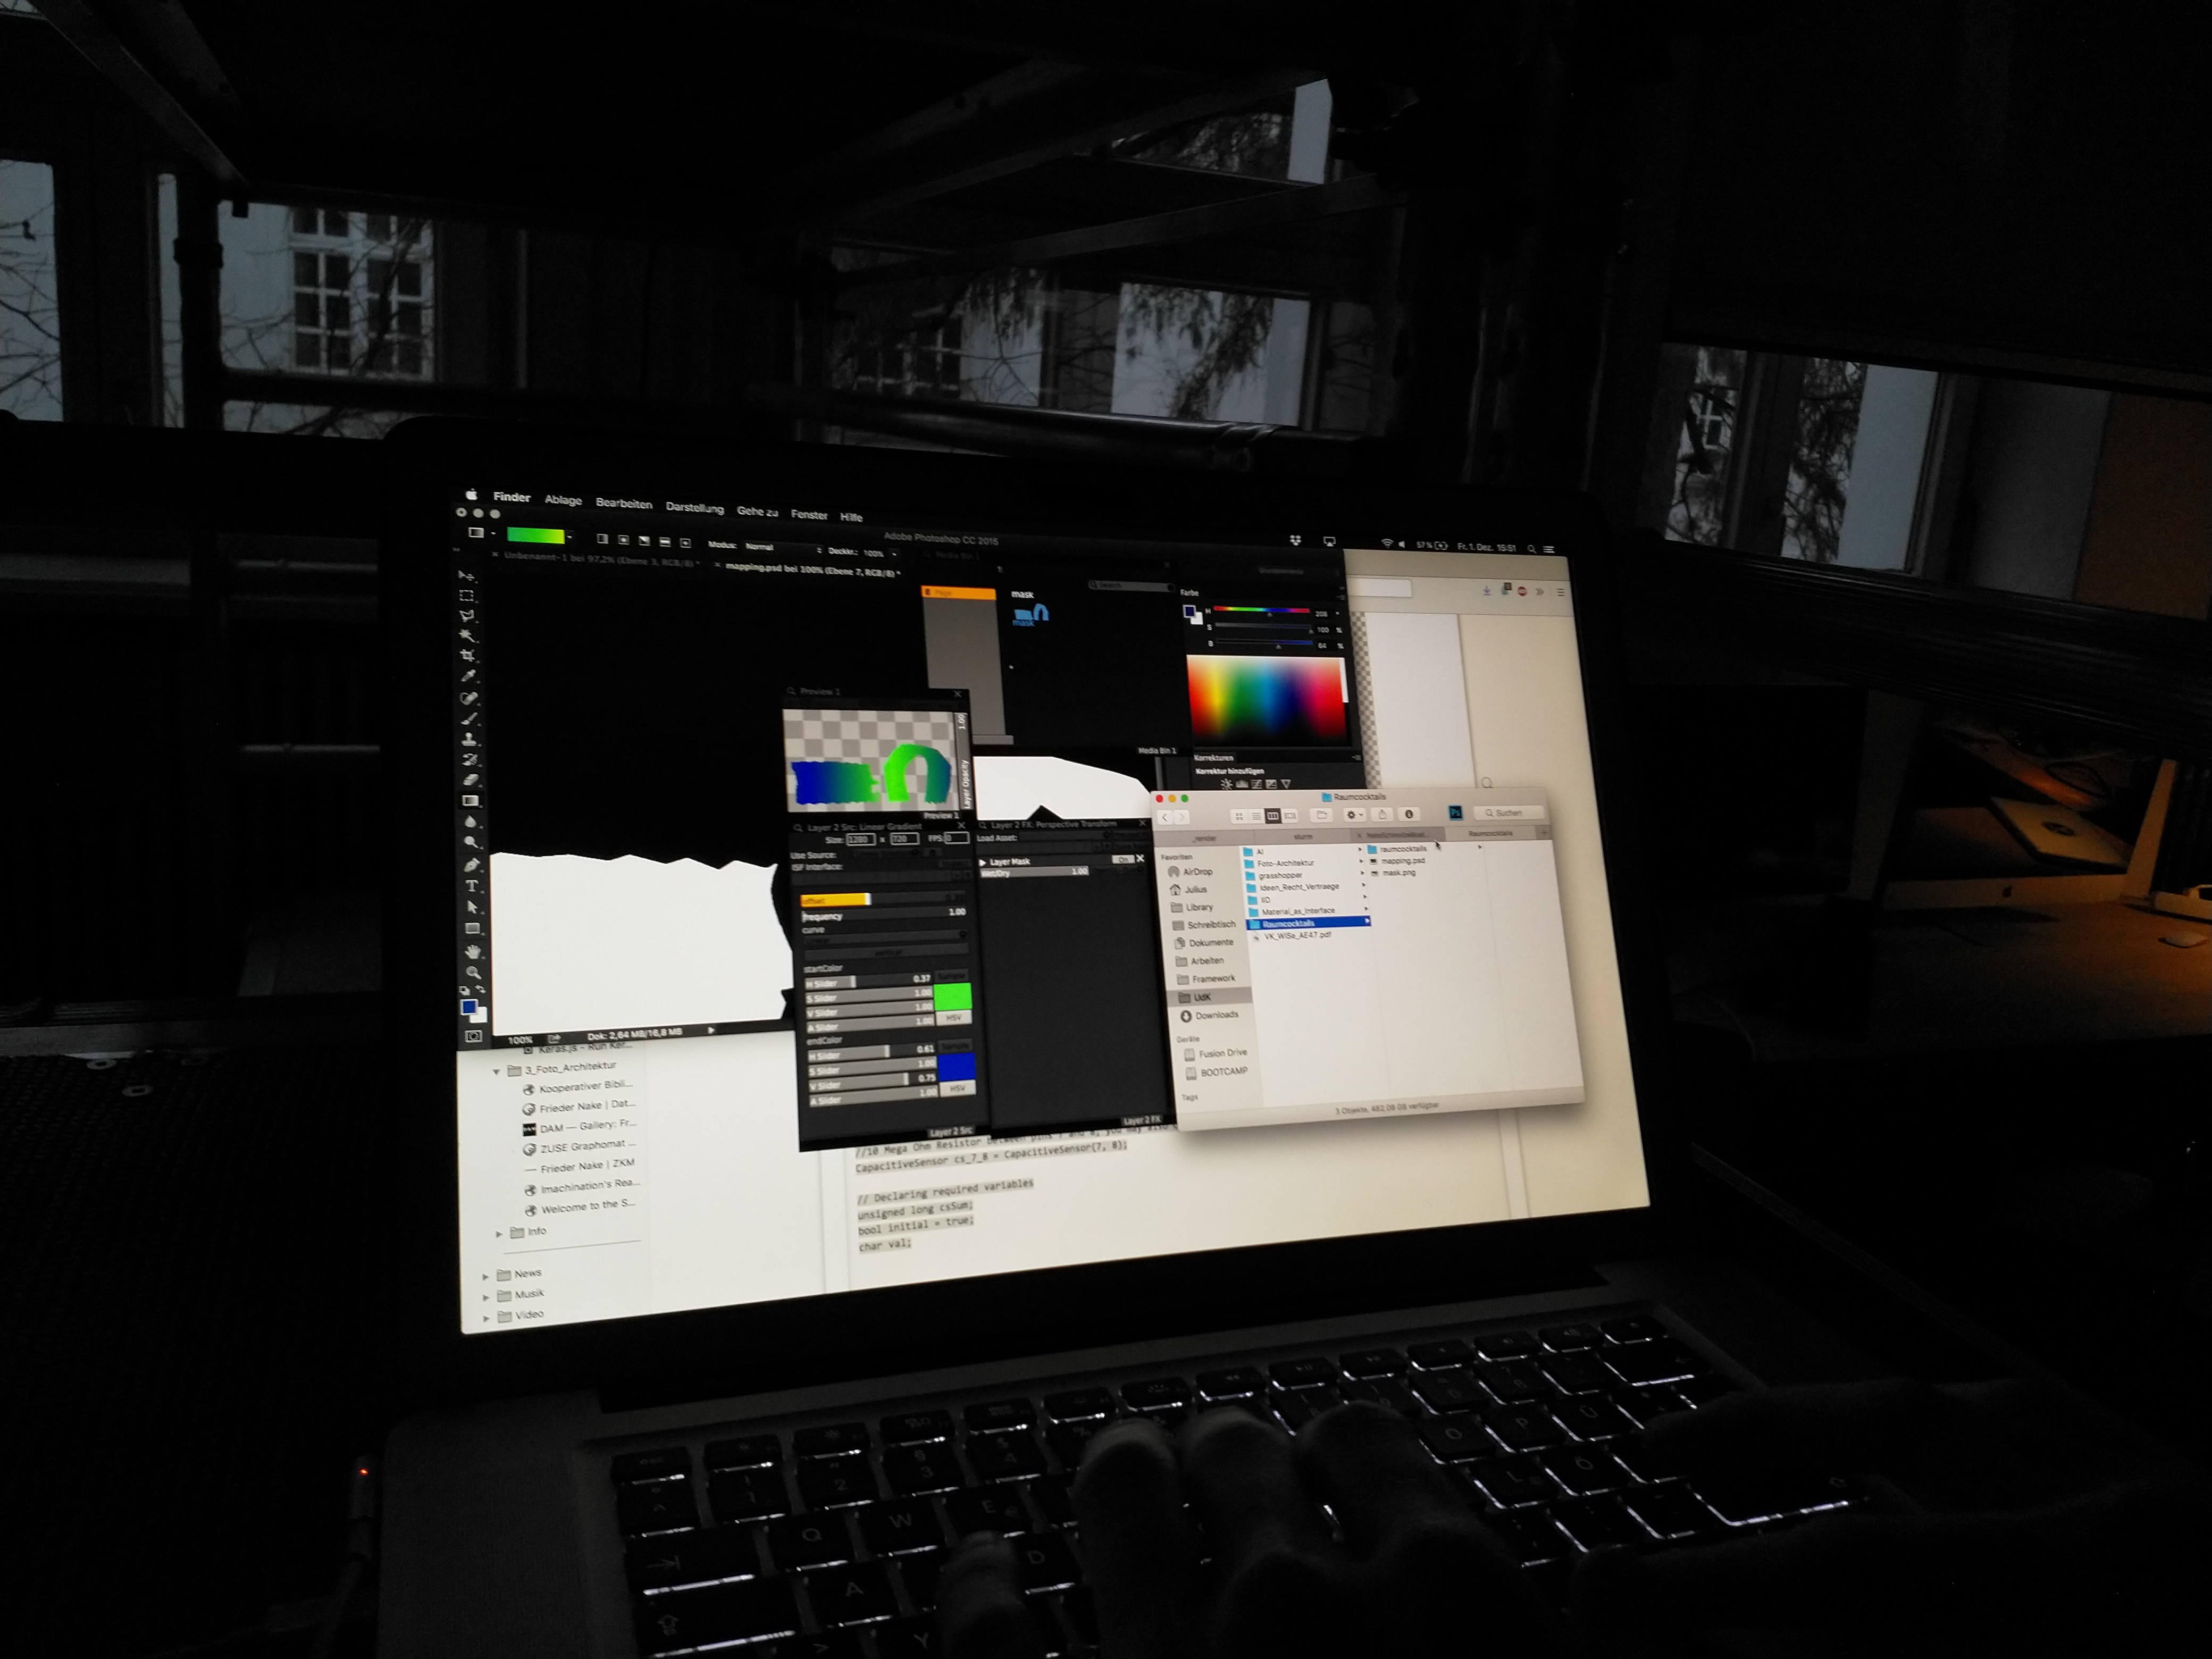
Session 2 => Shortcut for switching layer compositions in Photoshop
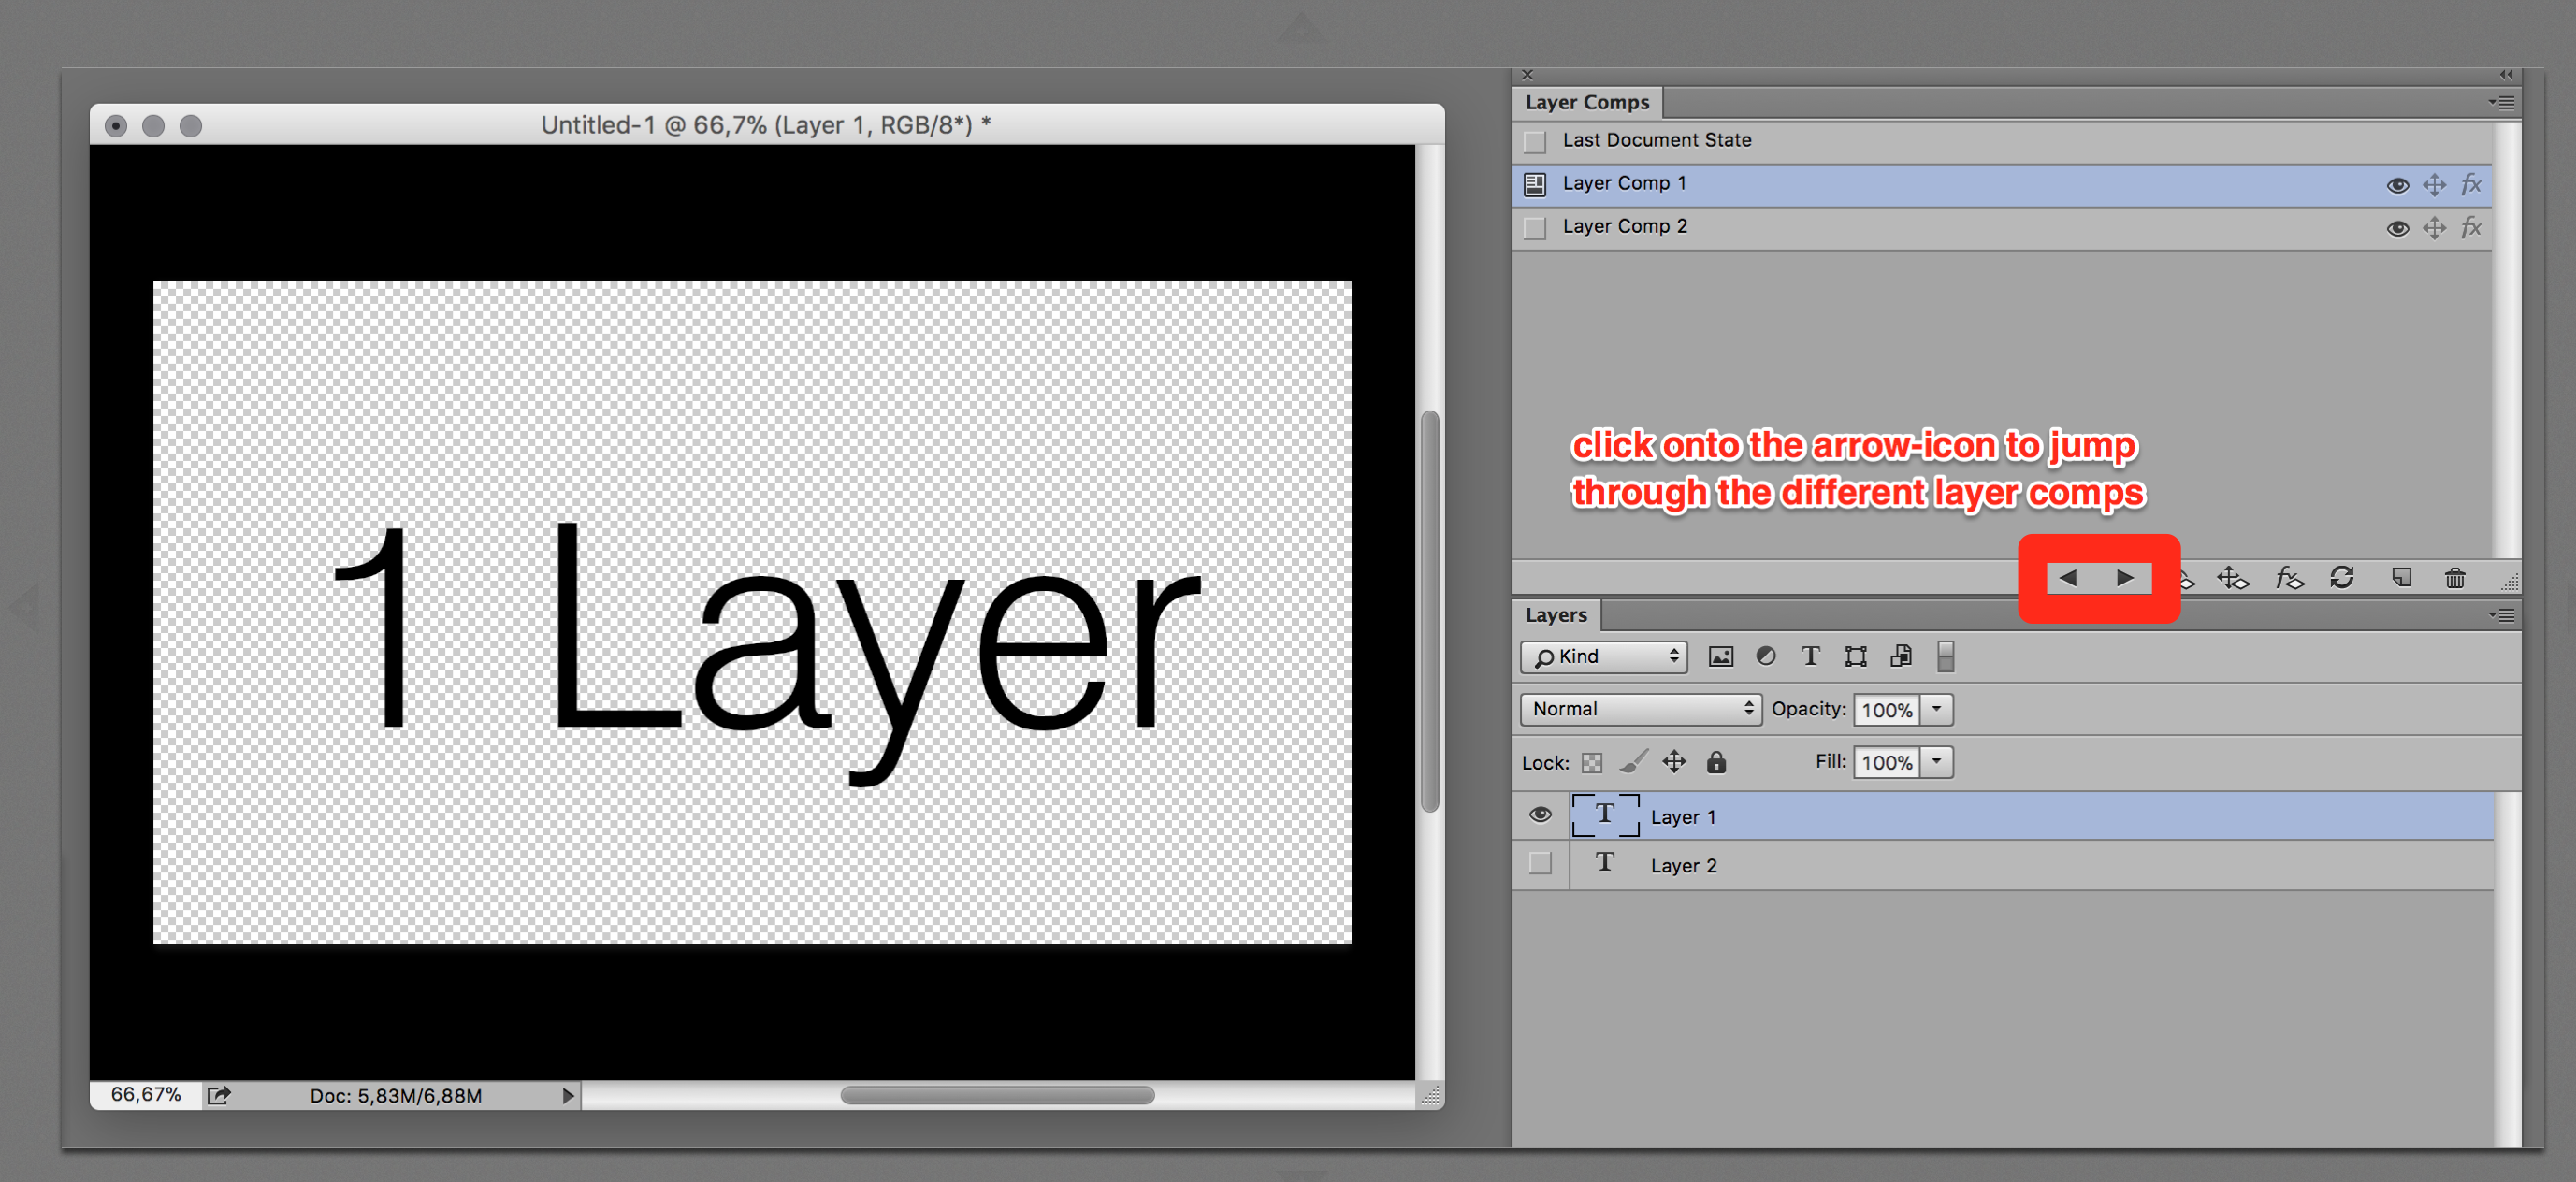
My favourite Photoshop feature is the layer composition tool. A layer comp is a snapshot of a state of the Layers panel. To switch between different layer comps you can click onto the arrow-icons (see red box in screenshot below),…
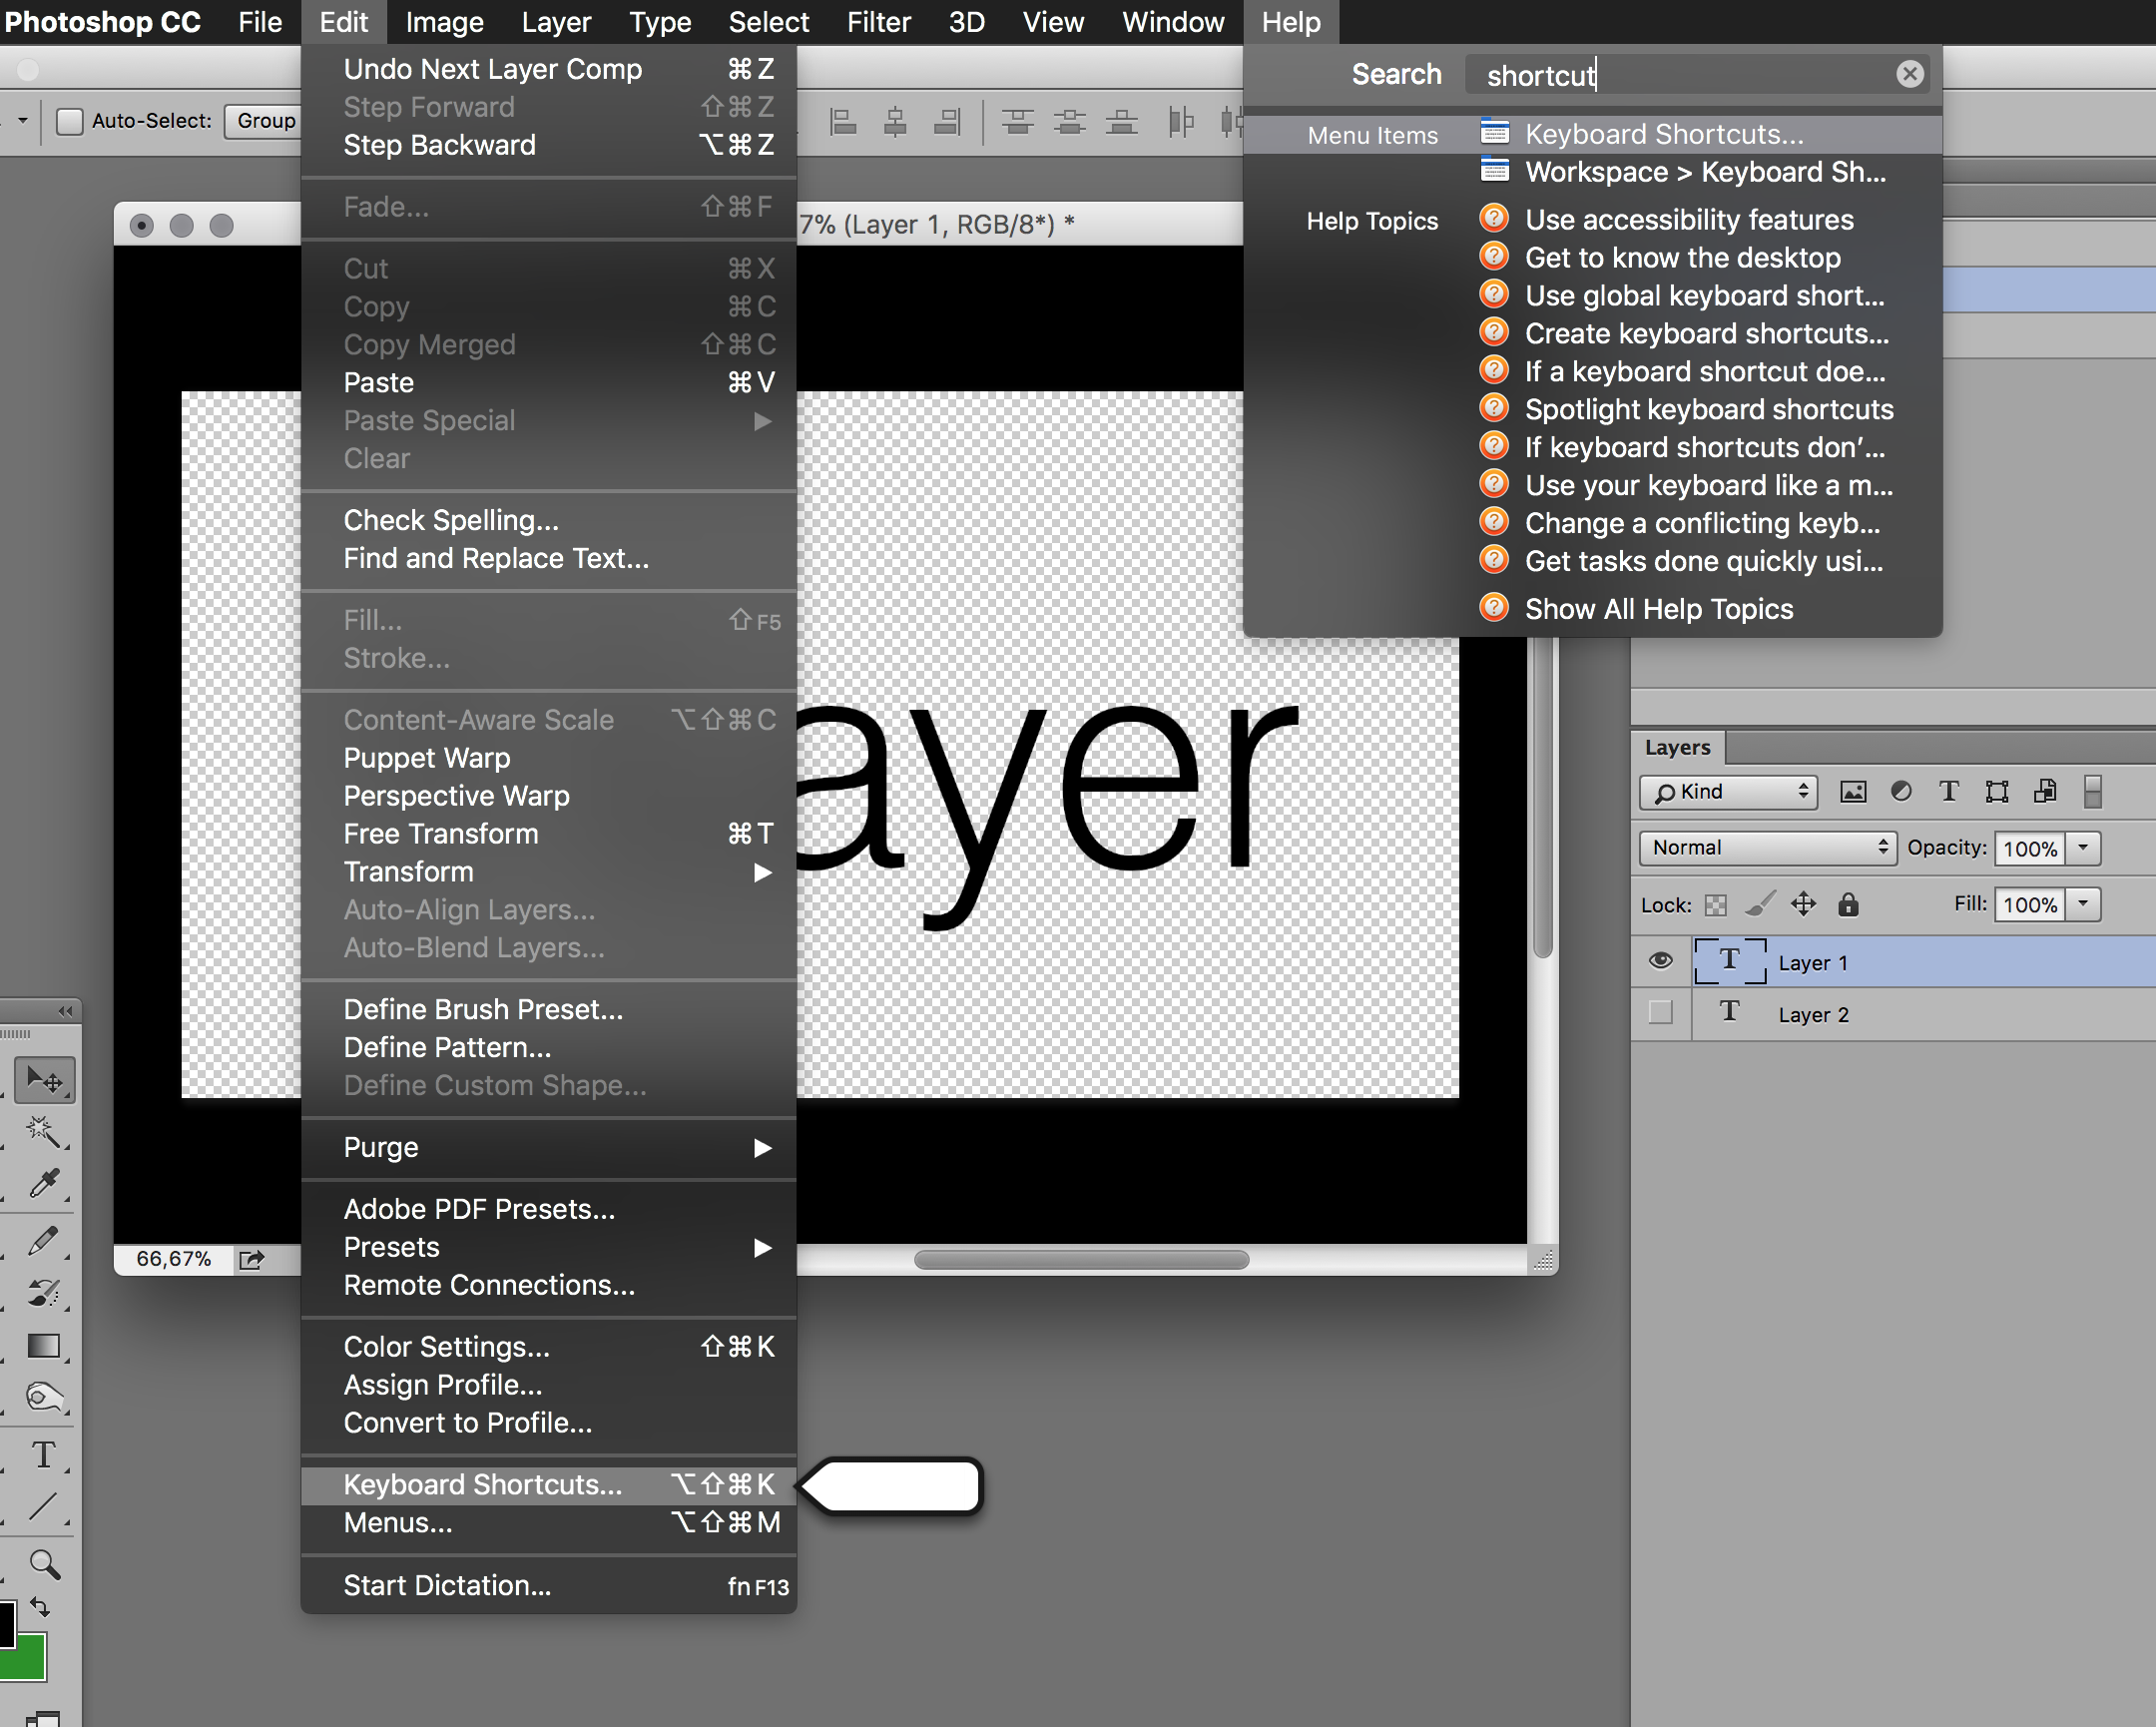
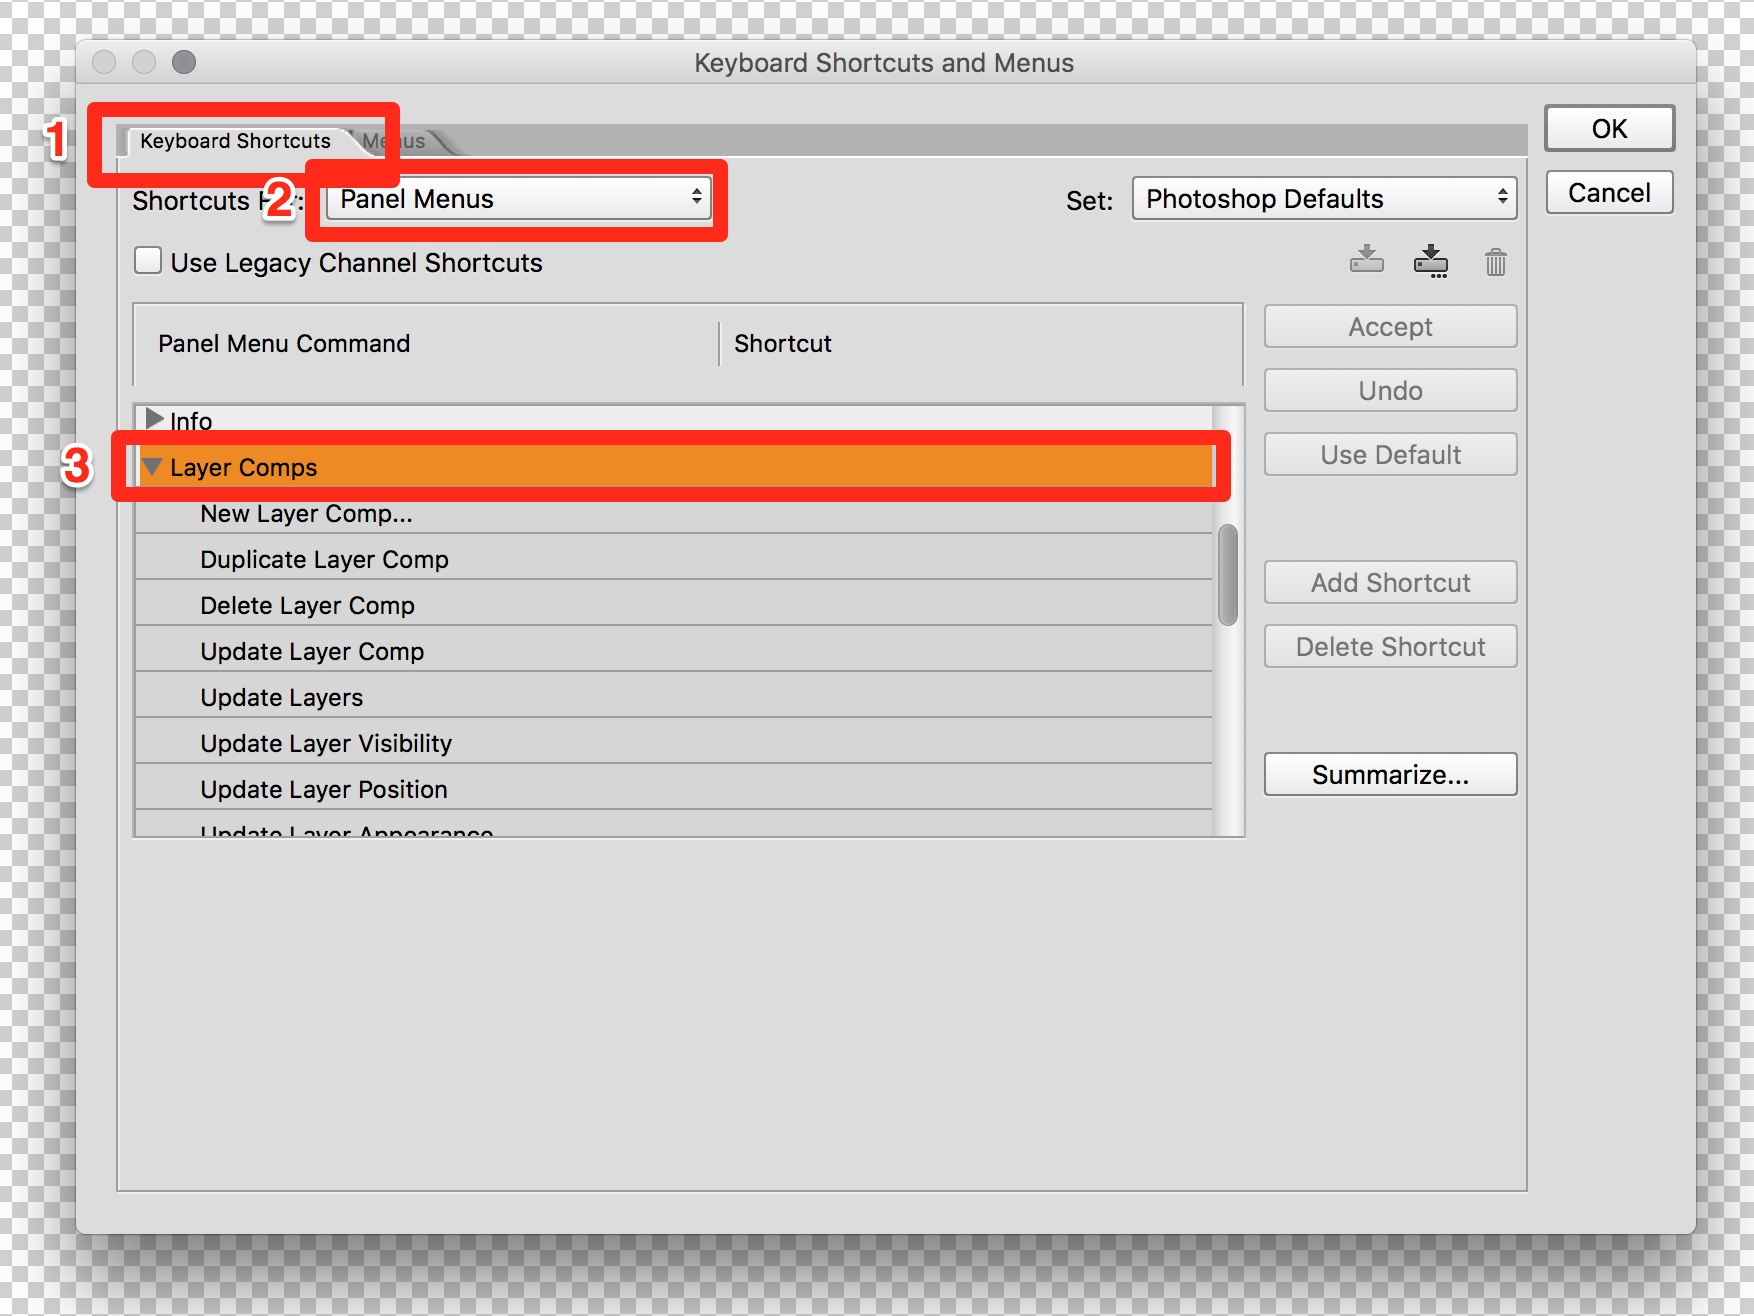
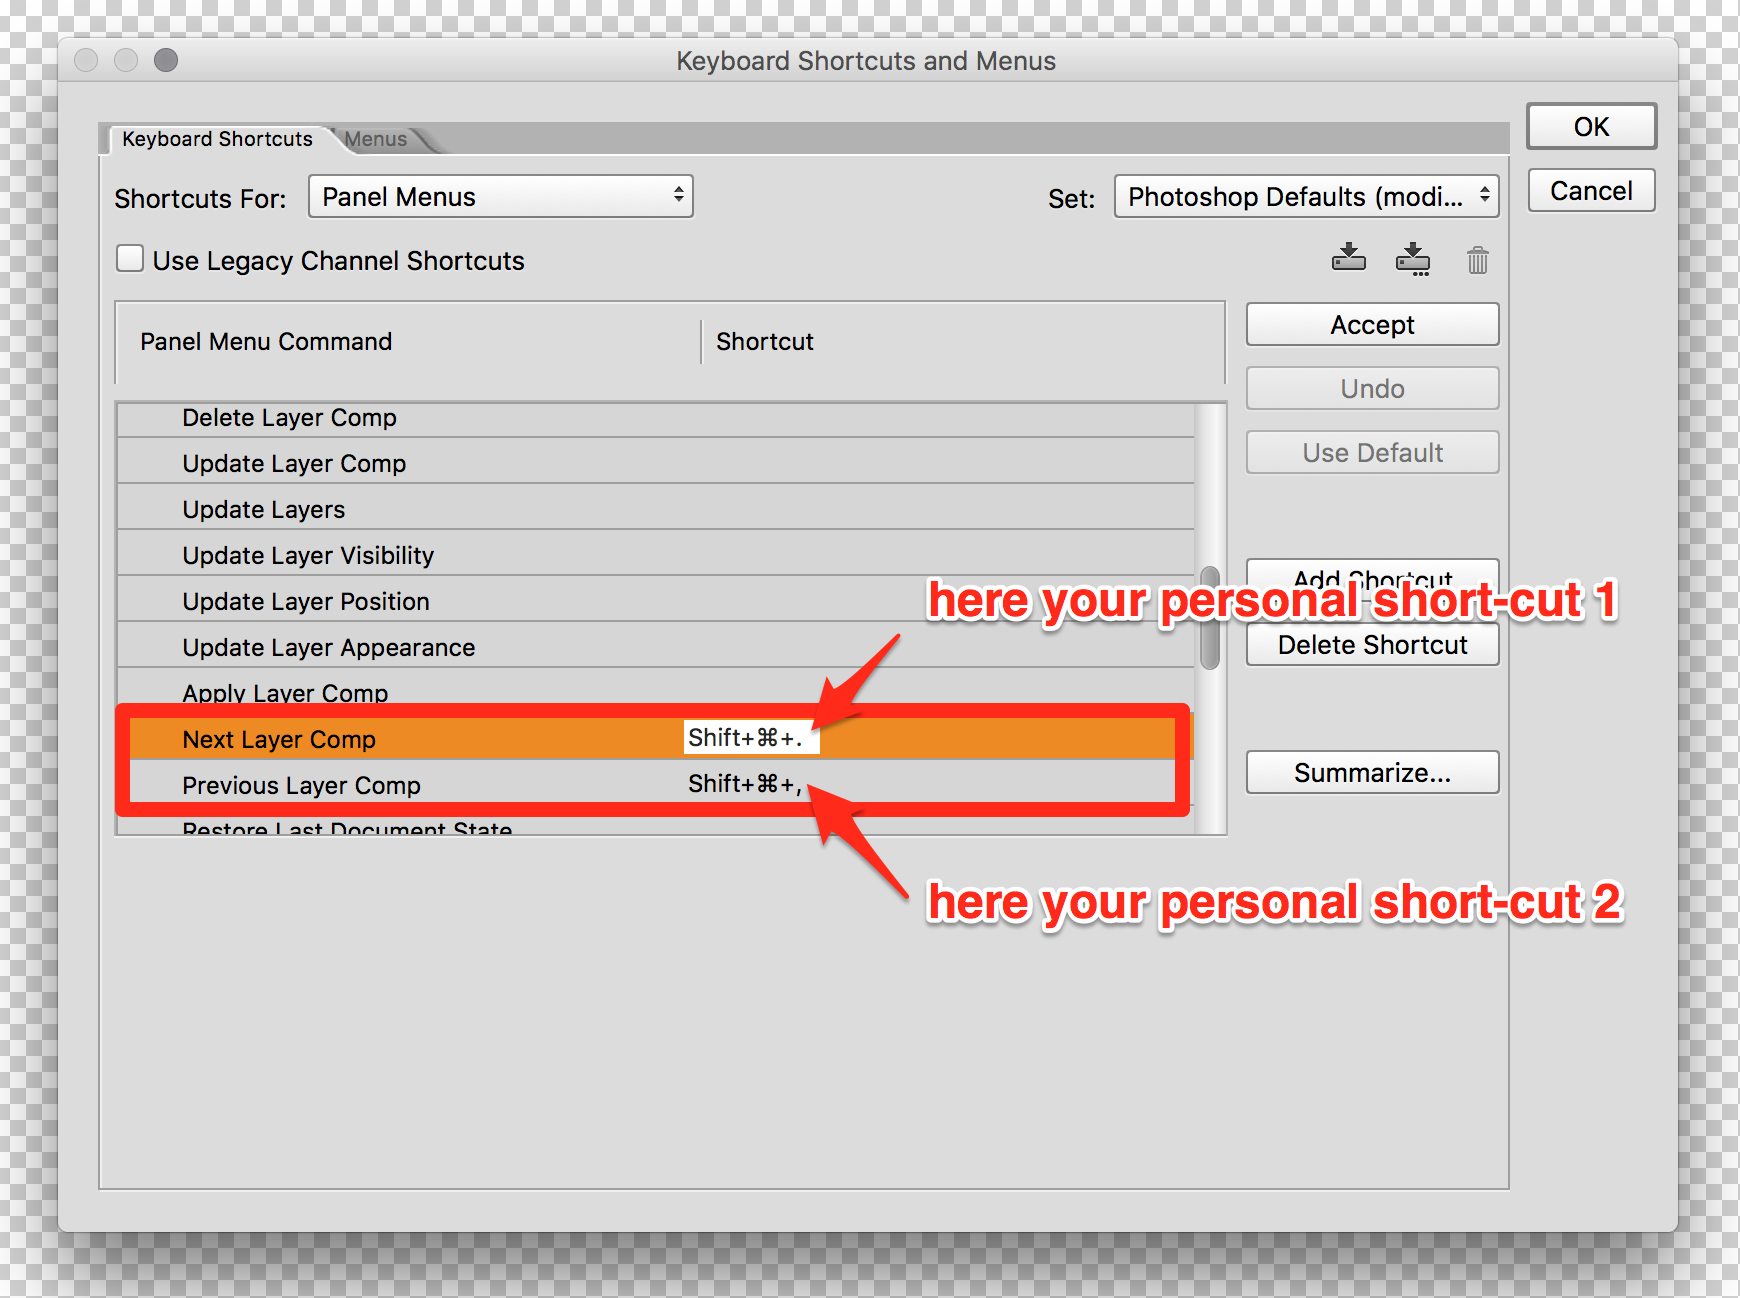
…or create an individual short-cut. The screenshots below lead you through the steps of how to create such a short-cut.
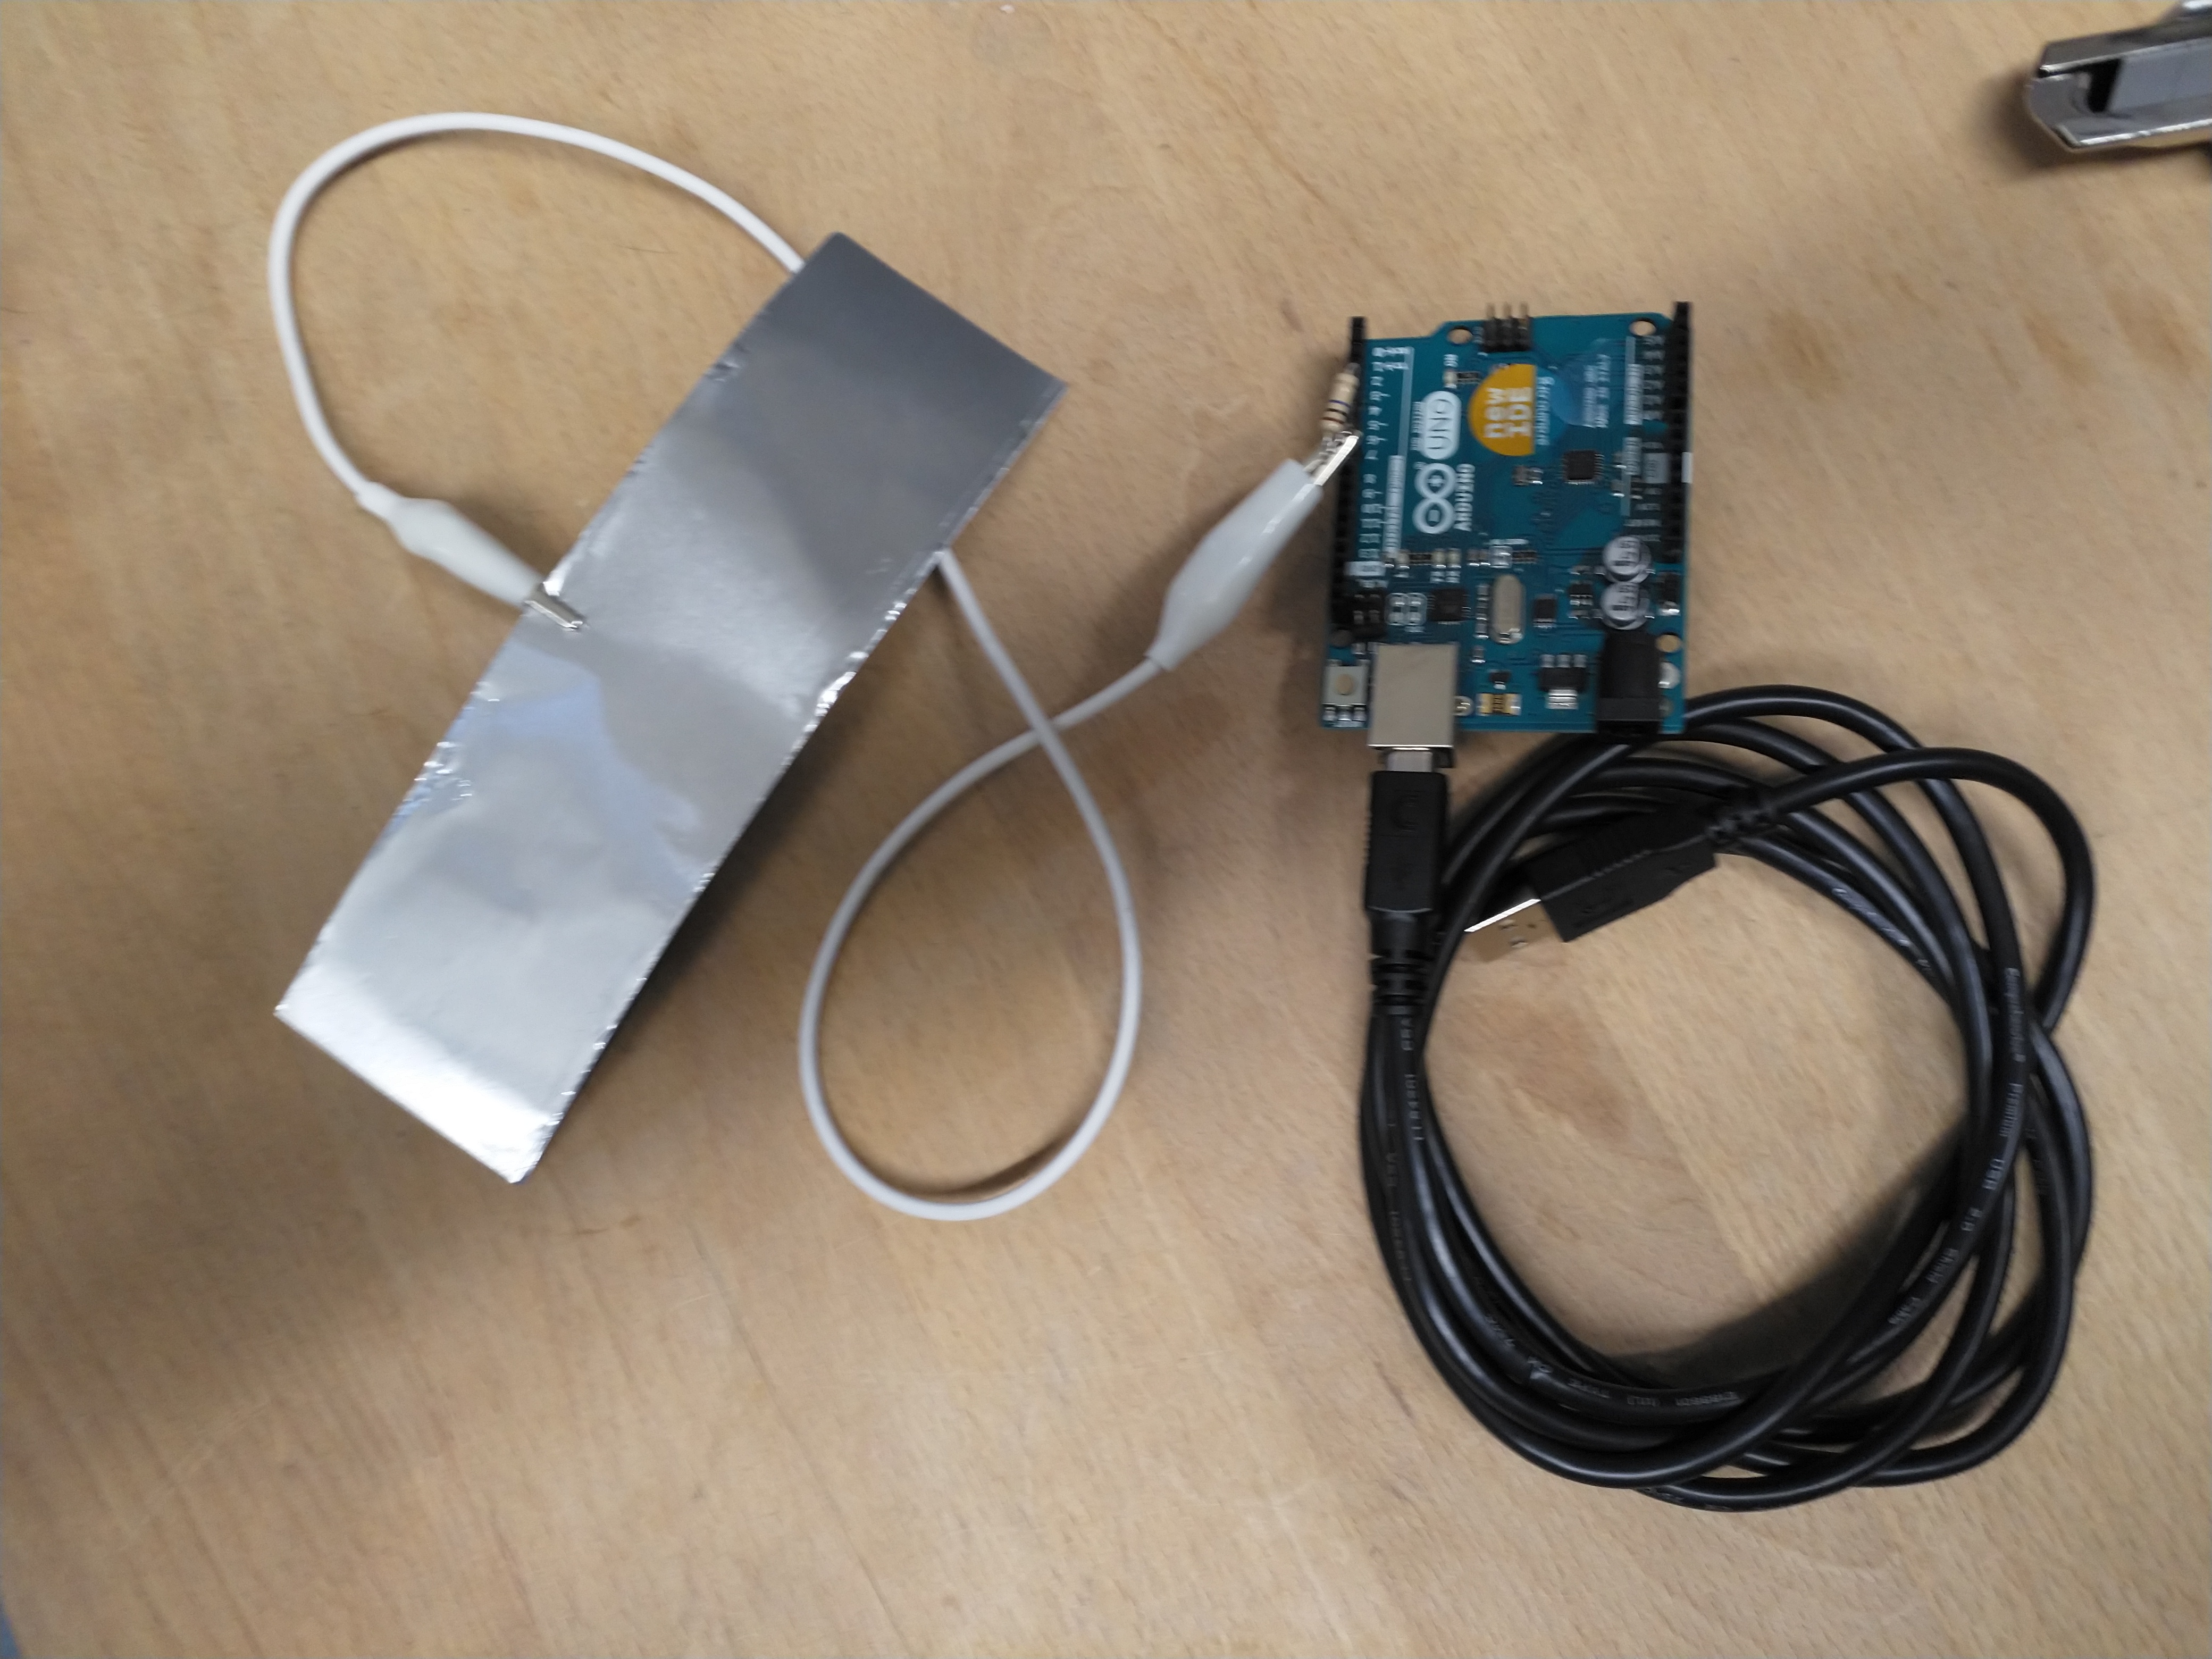
Session 3 => Arduino Sketch
// Including necessary libraries
#include <CapacitiveSensor.h>

//10 Mega Ohm Resistor between pins 7 and 8, you may also connect the antenna on pin 8
CapacitiveSensor cs_7_8 = CapacitiveSensor(7, 8);

// Declaring required variables
unsigned long csSum;
bool initial = true;
char val;


// Initial setup that runs only once in the beginning
void setup() {
  // Initiating the serial connection between Arduino and computer
  Serial.begin(9600);

  // Letting Arduino know that the builtin LED will be used
  pinMode(LED_BUILTIN, OUTPUT);
}


// Main program loop
void loop() {

  // The loop for the inital handshake with the Processing code
  // Basically, Arduino board broadcasts "1" to the computer until
  // it receives "2" from the computer. Later, Arduino sends "2"
  // back to the computer to show that it received the message
  while (initial) {

    // Keep sending "1" to the computer
    Serial.println("1");

    // Wait for 50 milliseconds
    delay(50);

    // If any data is available to read from the serial connection
    if (Serial.available()) {

      // Read it and store it in val
      val = Serial.read();

      // If the read value is 2
      if (val == '2') {

        for (int x = 0; x < 5; x++) {

          // Send "2" to the computer
          Serial.println("2");

          // Wait for 50 milliseconds
          delay(50);
        }

        // Get out of the hand shake process
        initial = false;
      }
    }
  }

  // Read the pins and communicate with the computer
  // This function does the main job of letting the
  // computer know that someone has touched to the pin 8
  CSread();

}


// Function definition
void CSread() {

  // Sensor resolution is set to 80
  long cs = cs_7_8.capacitiveSensor(80);

  // Arbitrary number to detect the chnages
  if (cs > 100) {

    // Accumulate the reading values
    csSum += cs;

    // This value is the threshold, a High value means it takes longer to trigger
    if (csSum >= 4000) {

      if (csSum > 0) {
        csSum = 0;  //Reset
      }

      //Stops readings
      cs_7_8.reset_CS_AutoCal();

      // turn the LED on (HIGH is the voltage level)
      digitalWrite(LED_BUILTIN, HIGH);

      // Send "1" to the computer to indicate that button is activated
      Serial.println("1");

      // Wait for 50 milliseconds
      delay(50);

    } else {

      //Timeout caused by bad readings
      csSum = 0;

      // turn the LED off by making the voltage LOW
      digitalWrite(LED_BUILTIN, LOW);

    }
  }
}
Session 4 => Processing Sketch
// Import required libraries
import java.awt.Robot;
import java.awt.event.KeyEvent;
import java.io.IOException;
import processing.serial.*;

// Declare required variables
Serial myPort;
int maxPort;
int correctPort;

String val;

boolean found = false;
boolean initial = true;
boolean setupFinished = false;

int x = 1;

PImage tick;
PFont f;

//////////////////////////////////////////////////////////////////////////////
/******************** KEYBOARD SHORTCUT IS DEFINED HERE *********************/

// Command key + Shift key + Number One (1)
int keyInput[] = {
  KeyEvent.VK_META,
  KeyEvent.VK_SHIFT,
  KeyEvent.VK_1
};

/* KeyEvent.VK_META is the cmd key for **macs**                             */
/* KeyEvent.VK_CONTROL is the ctrl key for **windows** pcs                  */
/* KeyEvent.VK_ALT is the alt key                                           */
/* KeyEvent.VK_SPACE is the space bar                                       */
/* KeyEvent.VK_GREATER is the ">" key                                       */
/* KeyEvent.VK_A is the "A" key and others letters follow the same syntax   */
/****************** Check the website below for other keys ******************/
/** https://docs.oracle.com/javase/7/docs/api/java/awt/event/KeyEvent.html **/
//////////////////////////////////////////////////////////////////////////////


// Initial setup that runs only once in the beginning
void setup() {
  size(250, 250);
  // List all the available serial ports
  printArray(Serial.list());

  // Get the number of the avaliable ports
  maxPort = Serial.list().length;

  // Required initializations   //\\\\\\\\\\\\\\\\\\\\\\\\\\\\\\\\\\\\\\\\\\\\\\\\\\\\\\\\\\\\\\\\\\\\\\\\\\//
  tick = loadImage("tick.jpg"); //\ DON'T FORGET TO PUT THE "tick.png" IN THE SAME DIRECTORY WITH THE CODE \//
                                //\\\\\\\\\\\\\\\\\\\\\\\\\\\\\\\\\\\\\\\\\\\\\\\\\\\\\\\\\\\\\\\\\\\\\\\\\\//
  f = createFont("Arial", 16);
  background(255, 255, 255);

  textFont(f);
  fill(0);
  text("Please wait...", 10, 30);
  delay(1000);
}


// The main program loop
void draw() {

  //////////////////////////////////////////////////////////////////////////////////////////////////////////////////

  /****************************************************** PART 1 **************************************************/
  /* This part of the program finds the port which is connected to the Arduino board. Later, it initiates the     */
  /* handshake between the Arduino board and processing code                                                      */

  // Find the correct port which arduino is connected
  while (!setupFinished) {

    while (!found) {

      for (int x = 0; x < maxPort; x++) {

        try {
          // Try to connect to the port
          myPort = new Serial(this, Serial.list()[x], 9600);

          // read it and store it in val
          val = myPort.readStringUntil('\n');
          val = trim(val);

          // If read data is "1" which is the data that Arduino sends
          if (val.equals("1") == true) {

            found = true;
            correctPort = x;
            // Print it out in the console
            println("Correct port is found");
          }
        }
        catch (Exception e) {
          // Handle the error, or just print it, like:
          println("Error: " + e.getMessage());
          println("Trying another port");

          try {
            myPort.clear();
            myPort.stop();
          }
          catch(Exception b) {
          }
        }

        println(" ----- ");

        // Wait for 100 milliseconds
        delay(100);
      }
    }

    // Print it out in the console
    println("Connected to the port"); //print it out in the console

    try {
      // Try to send "2" to the Arduino to initiate the handshake
      myPort.write("2");
    }
    catch (Exception h) {
      // Handle the error, or just print it, like:
      println(h.getMessage());

      // Try again to connect to the port
      myPort.clear();
      myPort.stop();
      myPort = new Serial(this, Serial.list()[correctPort], 9600);
    }

    try {
      // read it and store it in val
      val = myPort.readStringUntil('\n');
      val = trim(val);

      if (val.equals("2") == true) {
        setupFinished = true;
        // Print it out in the console
        println(" ---- ");
        println("Connected to the Arduino Board");
        println(" ---- ");
      } else {
        // Print it out in the console
        println("Trying to connect to the Arduino Board");
      }
    }
    catch (Exception z) {
    }

    delay(100);

    background(255, 255, 255);
    textFont(f);
    fill(0);
    text("Connected to the Arduino Board", 10, 30);

    image(tick, 47, 45, tick.width/2, tick.height/2);
  }

  //////////////////////////////////////////////////////////////////////////////////////////////////////////////////

  /****************************************************** PART 2 **************************************************/
  /* This part of the program is the main part that send the key stokes to the operating system                   */

  // The main program loop
  try {
    // read it and store it in val
    val = myPort.readStringUntil('\n');
    val = trim(val);

    // If button is touched
    if (val.equals("1") == true) {
      setupFinished = true;

      try {
        Robot robot = new Robot();
        robot.delay(500);

        // Start sending key strokes to the operating system
        for (int i = 0; i < keyInput.length; i++) {
          robot.delay(25);

          robot.keyPress(keyInput[i]);

          robot.delay(25);
        }

        // Finish sending key strokes to the operating system
        for (int i = 0; i < keyInput.length; i++) {

          robot.delay(25);

          robot.keyRelease(keyInput[i]);

          robot.delay(25);
        }

        // Print it out in the console
        if (x == 1) {
          println("Action completed");
          x = 0;
        } else {
          println("--Action completed");
          x = 1;
        }

        // Get the current date time information
        int s = second();  // Values from 0 - 59
        int m = minute();  // Values from 0 - 59
        int h = hour();    // Values from 0 - 23

        String sVal, mVal, hVal;

        if (s<10) {
          sVal = Integer.toString(s);
          sVal = "0" + sVal;
        } else {
          sVal = Integer.toString(s);
        }

        if (m<10) {
          mVal = Integer.toString(m);
          mVal = "0" + mVal;
        } else {
          mVal = Integer.toString(m);
        }

        if (h<10) {
          hVal = Integer.toString(h);
          hVal = "0" + hVal;
        } else {
          hVal = Integer.toString(h);
        }

        fill(255);
        stroke(255);
        rect(0, 203, 250, 50);

        textFont(f);
        fill(0);
        text("Button last pressed on:", 10, 220);
        text(hVal +":" + mVal + ":" + sVal, 10, 240);
      }

      catch (Exception r) {
        // Handle the error, or just print it, like:
        r.printStackTrace();
        exit();
      }
    }
  }
  catch (Exception m) {
  }
}
Here is the “tick.jpg”

Bibliography
- Gjerde, Eric, Origami Tessellations: Awe-Inspiring Geometric Designs, CRC Press, 2009
- Jackson, Paul, Folding Techniques for Designers, Laurence King, 2014
- Jackson, Paul, Cut and Fold Techniques for Pop-Up Designs, Laurence King, 2014
- Moussavi, Farshid, The Function of Form, Havard University, 2009
- Moussavi, Farshid, The Function of Ornament, Havard University, 2006
- Zeier, Franz, Papier, Versuche zwischen Geometrie und Spiel, Haupt Berne, 2009